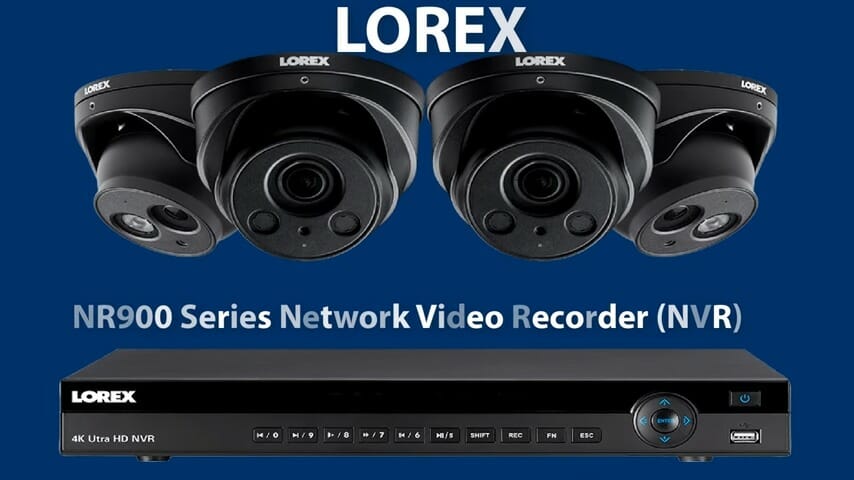
The Lorex 4k Ultra HD NVR is a video recorder that is capable of recording 4k Ultra HD videos which provides a whole new level of clarity and detail.
The Lorex 4k Ultra HD NVR user manual helps users understand the advantages of this network video recorder. The user manual also helps to describe how it works.
Lorex 4k Ultra HD NVR Manual Overview
Lorex 4k Ultra HD NVR often comes with a user manual which helps users understand how the video recorder works. In case you didn’t receive the manual or you’ve lost it, you can download the manual from this link here.
The manual basically covers everything you need to know about the device. At the beginning of the manual, there are sections about important safeguards, package contents, recorder overview, etc. These sections will inform you about general safety information and device information.
Next, there are sections about Basic System Setup and Camera Installation. Then, there are detailed guided sections about every little thing such as How to use the mouse, How to set up Date and Time, How to use On-screen Display, etc. You’ll find detailed information about setting up the recording, playback, backup, motion detection, active deterrence, Smart motion detection, etc in the following sections. Next, there is a section about How to use the main menu. You’ll find detailed guidelines about different settings here.
At the end of the manual, there is a troubleshooting section, you’ll find many troubleshooting information such as Input / Output, Display, Recording, Playback, Storage, and many more.
Lorex 4k Ultra HD NVR Setup
- Test cameras by temporarily connecting them to NVR before selecting a permanent mounting location
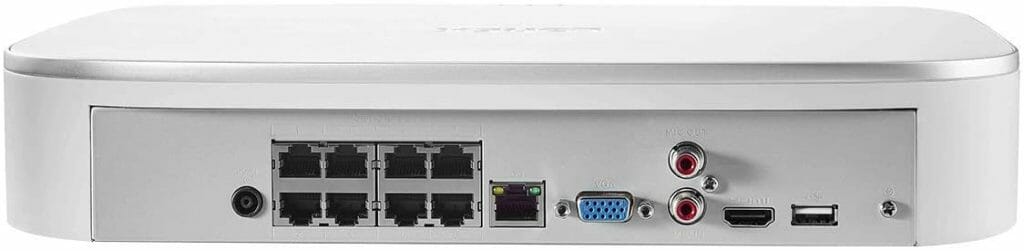
- Connect the video recorder to your router using the ethernet cable (1)
- Connect the wired mouse to the NVR
- To view on a monitor, plug in the HDMI cable to connect the recorder to the monitor
- Connect your recorder to a power outlet using the power adapter. Then power on the recorder using the power switch
- When your recorder comes on, it displays the Lorex Setup Wizard which helps with the system setting. Set up a password, date and time, and other necessities
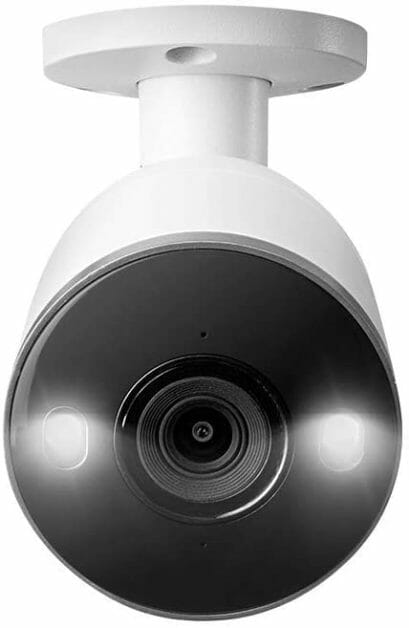
- Camera installation. Mount cameras to desired locations, which must be about 2.5 to 5meters to the ground.
How to restore Lorex NVR to default settings
If you faced a troubleshooting problem that you cannot resolve, you probably need to reset your NVR/DVR system to built-in settings. Resetting default settings will fix any conflicting settings that probably causing the problem.
To reset an LNR / LHV Series NVR / DVR to built-in settings:
- Access Quick Menu by right-clicking on Live View.
- Select Main Menu and then select the Settings icon.
- Choose Setting > Default.
- Tick the menus you want to reset to built-in settings.
- Save the settings by clicking Apply and then exit by clicking OK.
Wrapping Up
The Lorex 4k Ultra HD NVR manual gives a detailed explanation of the usage of the video record and how it can be set up to perform its function to the maximum capacity. (2)
Take a look at some of our related articles below.
References
(1) ethernet – https://www.businessinsider.com/what-is-ethernet
(2) manual – https://study.com/academy/lesson/the-purpose-content-structure-of-manuals.html