In the past few decades, cameras and their mountings have evolved to be used on drywall, cement, and even metal. Cameras can now be set up and installed by anyone.
Brick, however, responds differently than most surfaces. There are some tools and materials you might need, and there are a few tips you should remember.
Step-by-step Instructions for Installing Security Cameras on Brick
A little helper (an electrical box mount) comes in handy when you install security cameras on brick. This electrical box mount is used to attach your camera to an even surface that will be leveled.
Brick walls can be difficult to level perfectly due to their toughness. Since they are not perfectly flat, this can be quite challenging. This can result in a slightly crooked install.
Materials Needed
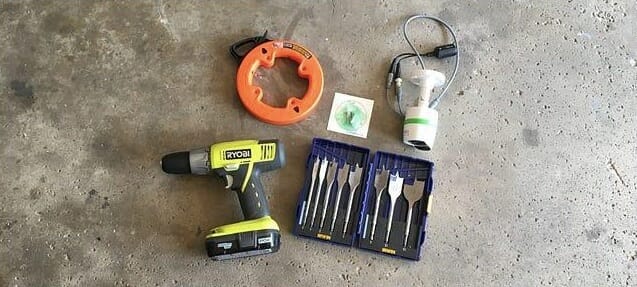
To install a security camera on a brick wall, you’ll need several essential tools, given below:
- Hammer Drill
- Masonry Drill Bits
- Screwdriver
- Ladder
- Long power Cables are required
- High-quality Ethernet connections for PoE network systems
- If you wish to conceal and protect your camera cables, use plastic conduits/ a Cable Raceway
These are the most important instruments for installing security camera systems inside and outside your home.
1. Drill
It is extremely important to have a powerful drill when drilling into the wall. One drill that may be worth your consideration is a hammer drill. Hammer drills usually drill anchor bolts, concrete screws, and wall plugs through hard materials.
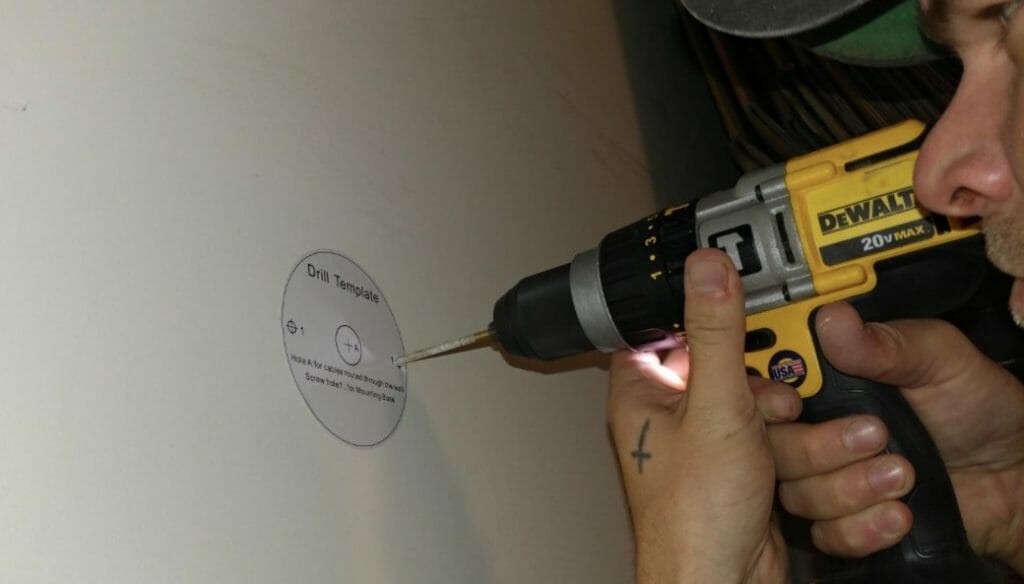
As part of the drilling process, take these steps:
- Determine the location where the camera should be installed. Make a point of identifying obstacles in the way of the camera.
- The mounting template should mark either the wall or the mounting surface. A mounting plate or camera can be used if your camera does not have a template. This will depend on the camera.
- Drill holes to accommodate your mounting screws or anchors, depending on what is being used.
- Drill a hole large enough to accommodate all the cables and connectors. The size of the hole should depend on the camera model. Depending on the camera, the cable may connect directly to the camera’s back or require the cables to be fed back into the wall again.
2. Use of Electrical Box Mounts
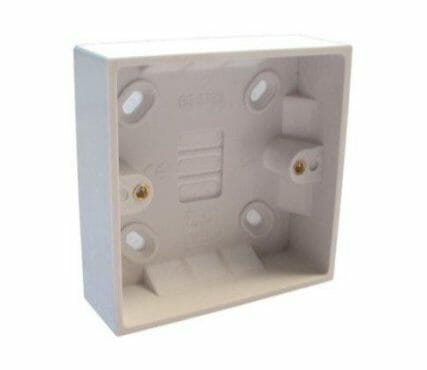
By installing box mounts, you can seal the hole through which the camera’s cable runs from outside to inside and stop airflow. All this while maintaining perfect performance and perfect connection.
Attaching electrical box mounts to brick walls can be accomplished by drilling. While they are more expensive than drill holes, they are more convenient and secure because they cover the hole completely. Security cameras and electric box mounts are available together. You can purchase the electric box mount online if you do not already have one. Our recommendation, however, is to use the electric box mounting system rather than just drilling holes into the box. (1, 2)
3. Mount and Install
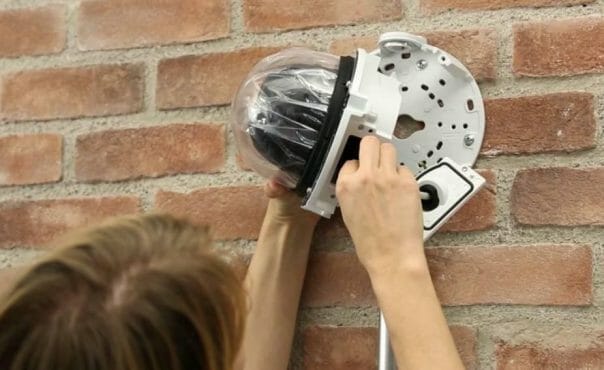
The first thing you need to do is choose a setting and a location for your camera. Depending on the camera you purchased, you might receive an adhesive template or may be able to find one online.
One must be attached to the brick wall to guide you while drilling. When mounting your camera, you should be certain to match its size and location to ensure a perfect fit. It is important to know that you need a DVR or NVR connection cable and an Ethernet cable. This might mean you should allow a little more room.
Now that all the holes have been drilled, the mount can be attached to the camera, and the screws can be installed. Make sure you adhere the electrical box mount to the electrical box and caulk it before you set down the camera. After you have attached all the wires, check to ensure the camera is working.
Other Alternatives
To get complete home security, you generally need a package that includes all the equipment necessary – and a video surveillance camera is often part of that package. Regardless, mounting that camera could involve drilling holes in the wall, to the homeowner’s dismay. Alternatively, a renter may have difficulty drilling holes into the walls to mount cameras if they are using a DIY system. In addition to drilling holes in your walls, you can install a security camera in several ways.
Below are three commonly used ways to install security cameras:
- An adhesive strip or suction cup
- It is possible to use a small hook without drilling, leaving only a small hole.
- The camera can be placed on a shelf or table, where it’s not necessary to mount it.
The most important aspect of mounting a security camera is to ensure it is set up to see everything it is supposed to – and that it is situated in an area where the homeowner feels comfortable.
Despite this, there is much more to the story. In addition to the security camera mounting, the camera must be mounted correctly, which means no holes in the walls or ceiling.
Installing security cameras on brick is not as difficult as it seems. However, you have to be careful and confident. It would be best to inspect all the necessary equipment and ask for assistance.
Choosing the right security camera for your needs is the first step, followed by identifying the right place to install it. After choosing a drill hole or an electric mount box, you can get started.
Once the camera is mounted, you must test it to ensure it works.
References
(1) electrical box – https://www.thespruce.com/electrical-switch-and-junction-boxes-1824666
(2) brick – https://www.britannica.com/technology/brick-building-material