If you like to skip the camera installers and do everything by yourself, you have come to the right place. This how-to guide will discuss security camera installation through the soffit (decorative vertical trim placed over the roof’s edge). The wiring part is usually the trickiest step of the installation, but don’t worry; I will get you through it, start to finish. Let’s dive right in!
Starting Preparations
Putting a security system in place is hard and takes a lot of planning before even placing the first screw.
You will need to have all the right tools and a detailed plan of where to place the cameras so that you know where to run all the wiring.
You will also need extensive knowledge of the layout of your house and its electrical systems, so you do not drill over any previously laid wires or trouble areas.
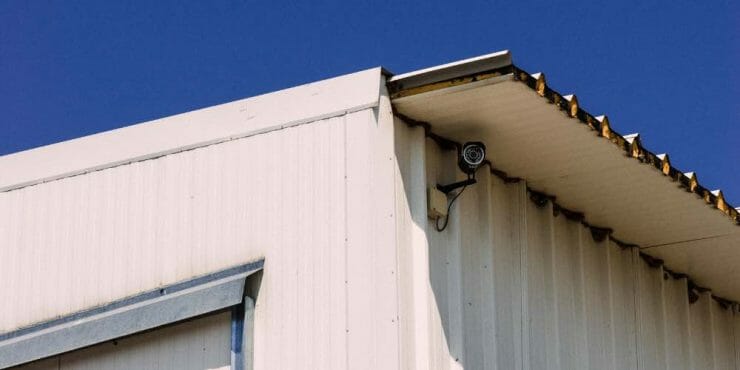
Now, wherever you decide to place the central hub, the soffit will allow you to have the cables run through it completely hidden out of view. This minimizes exposure and ensures that the cables will be protected from being cut by intruders.
Getting Ready For The Installation
You must fully understand the security system you will install and how everything will be connected. This is crucial because this will determine how the cables will run throughout your house. Every type of CCTV system has its own unique design and follows an already predetermined set of instructions.
If you have wiring diagrams of your house make sure you label the dangerous points so you do not drill through something dangerous.
After deciding where to mount all the cameras comes the wiring part. Which is what we are here to help you with today. Let’s get started!
Wiring Process Through Sofit With A Drill
For this, you will need to use a drill first because you will need to drill a few holes in the walls and ceiling. Besides the drill, you will also need a couple of other tools and wiring accessories. Let’s quickly go through them to ensure you have everything you need before starting the installation. Here’s a list of everything:
- Drill and Bits
- Screwdriver
- A Fishing Rod
- A Flashlight or A Headlamp
- The Camera Wires
- Electrical Tape
- A Hole Saw (optional)
- A Grinder (optional)
Make sure you have everything on this list, and we can continue.
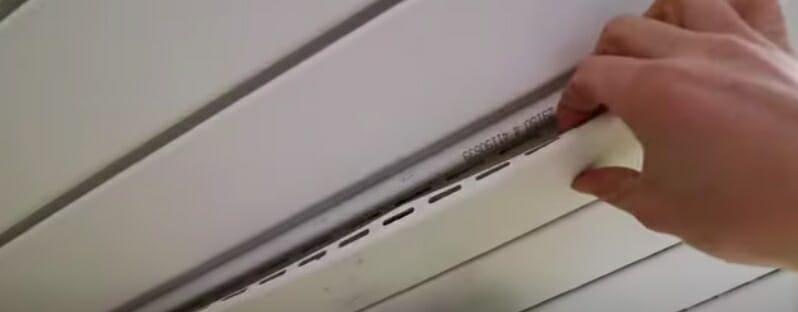
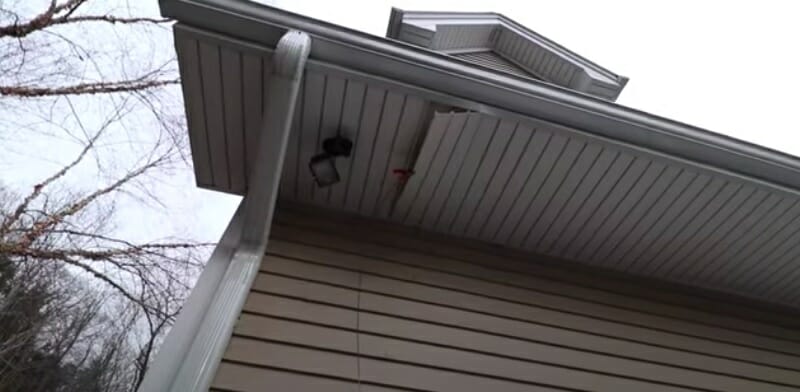
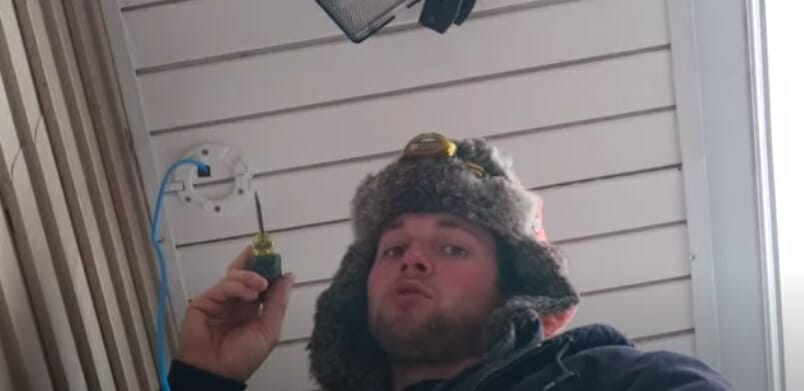
Step 1 – Start by removing the soffit where the wire will pass through. This technique will work with any soffit material, even if it’s vinyl, aluminum, wood, fiber cement, etc. Please measure the camera’s width and cut a piece of wood for it. This wooden piece will help you to mount the camera easily.
Step 2 – Take the drill and make a hole in the middle of the wood. You will feed the camera wires through this hole. And if you have a hole saw, use it to make the hole larger so it can fit all the wires.
Step 3 – After that, make smaller holes for the mounting screws of the camera. A template sticker should come along with the camera, which will help you make accurate holes.
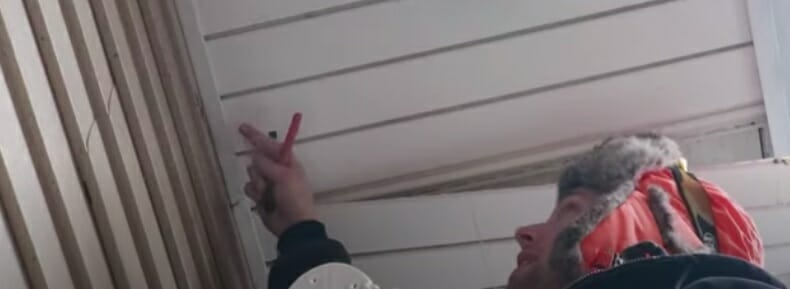
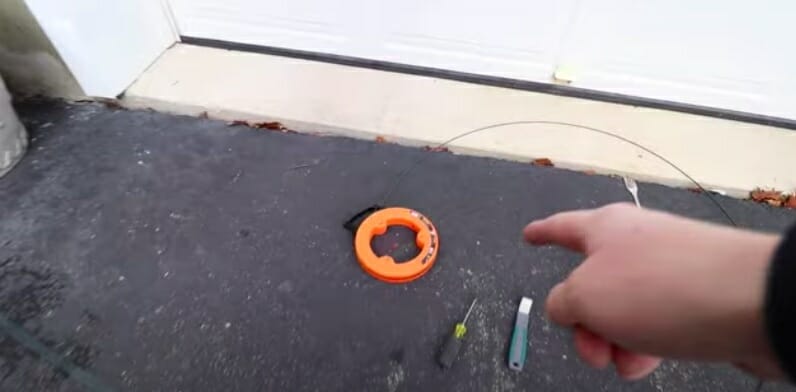
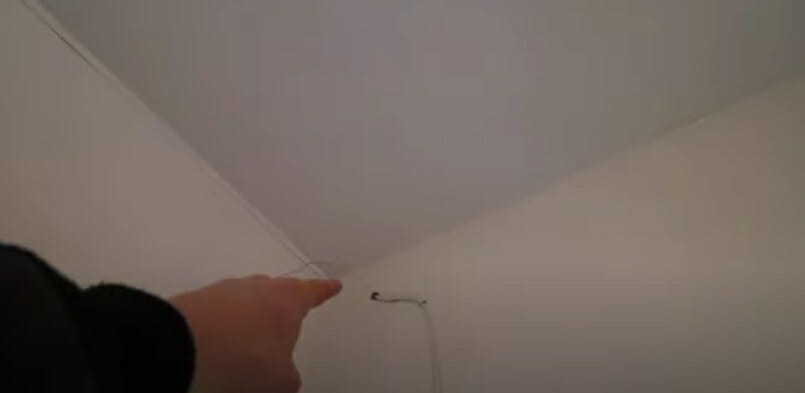
Step 4 – Take the fishing rod and tape the start of the cable to one of the rod’s ends. Then, push the rod through the hole that you have drilled through the soffit, which leads to the attic. Take extra care when drilling this hole because it will probably pass near some of your home’s electrical wiring. Try not to cut your power supply.
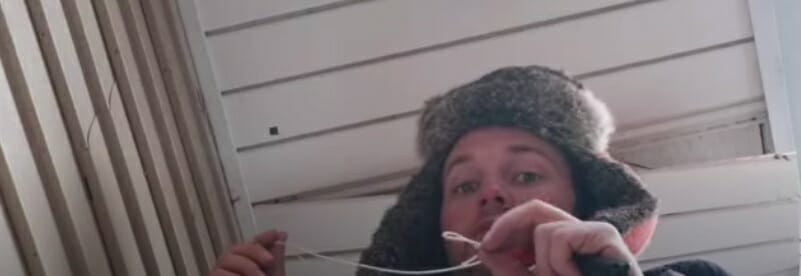
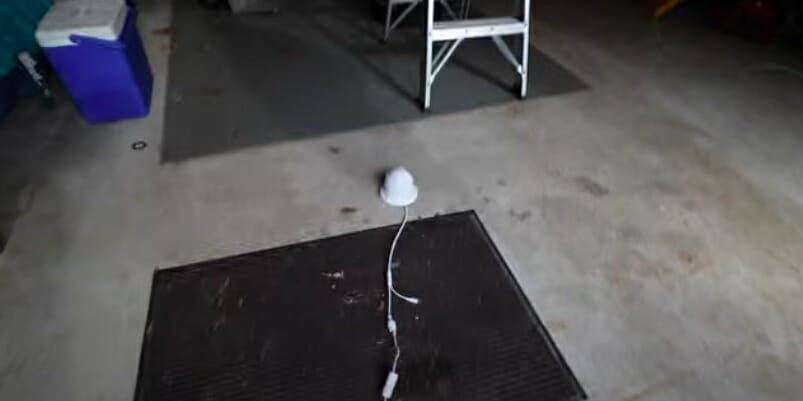
Step 5 – Afterward, go to the attic, pull the fishing rod out, and plug the cable into its respective port. Then, repeat all the previous steps until you finish connecting the cameras you plan to mount. Ensure the cables don’t span over a great distance to avoid any voltage drop issues.
Step 6 – This is all planned with your security camera recorder set in the attic. If that is not the case, you will need to make another large hole for the cables to pass through to the room below, where you have placed the security camera recorder.
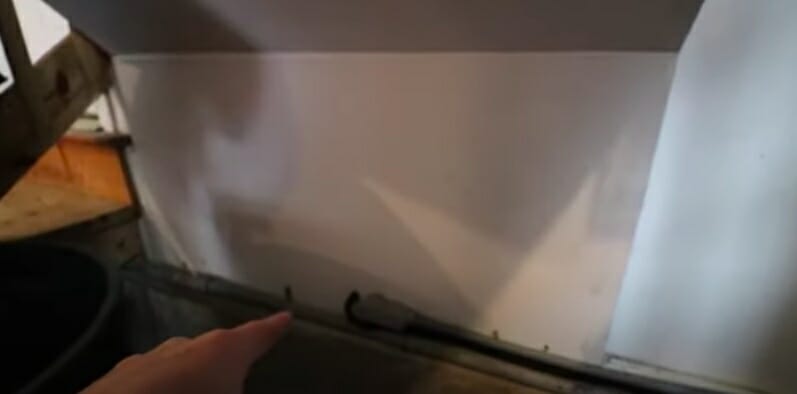
Step 7 – After making that hole, push the cable down using the fishing rod, which should come behind the wall.
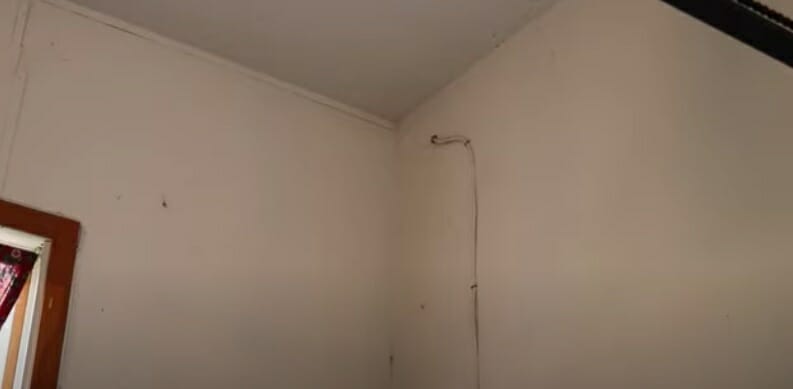
Step 8 – Make a hole in the wall, pull the cable and fishing rod out, and connect them to your central hub. With that, you’re all done.
Wiring Without A Drill (An Alternative Method)
Let’s discuss an alternative way to finish the task if you don’t own a drill. Or if you don’t want to make any holes in your walls. This method involves running the security camera cables from the attic to the soffit through your gable vent. If you want to go with this method, your surveillance hub must be placed in the attic area.
Moreover, it’s better if the gable vent is placed near the roof overhang where the soffit lining is. That will minimize cable exposure by taking the cables by the shortest path to their end target. Also, the soffit should be vinyl because it’s easier to make a hole in it if you need to, unlike the other materials, which are harder to puncture. For this method, you will need the following:
- The Camera Wires
- A Screwdriver
- Electrical Tape
- A Fishing Rod
If you have everything you need, continue to Step 1.
Step 1 – Prepare your tools and remove the vinyl near the gable vent and any places you plan to place your cameras.
Step 2 – If your soffit is connected directly to the attic, you won’t need to use the gable vent. Just create a path for the wiring so the cables can penetrate without issues. Otherwise, it would be best if you used the screwdriver to pierce a hole in the gable vent screen.
Step 3 – Again, tape the start of the camera cable to one end of the fishing rod’s ends. Then push it through the hole, straight to the attic.
Step 4 – Repeat these steps if you have additional cameras, but use the soffit smartly. Feed the cables to the attic if you have additional vents close to the other camera’s positions. Remember to replace the vents to ensure maximum airflow circulation into the underside roof and attic. (1)
Finishing The Installation
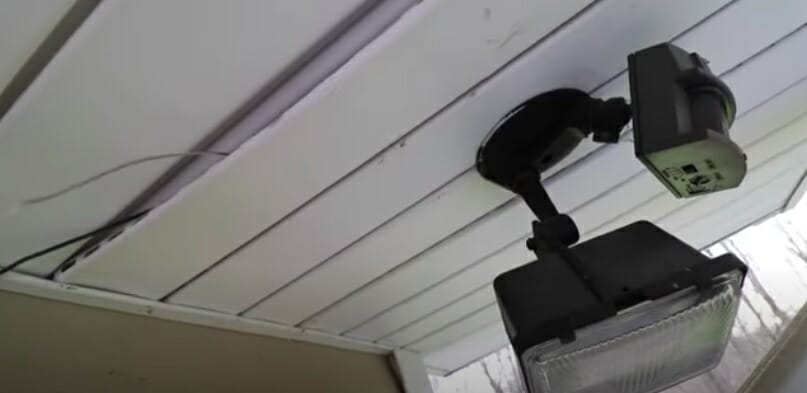
Now that you are done with the wiring, which is honestly the hardest part of the installation, you’re almost done. All that’s left is to mount all the cameras and connect them to the cables you have already placed for each. Adjust the viewing angles to your liking and power them on to test them.
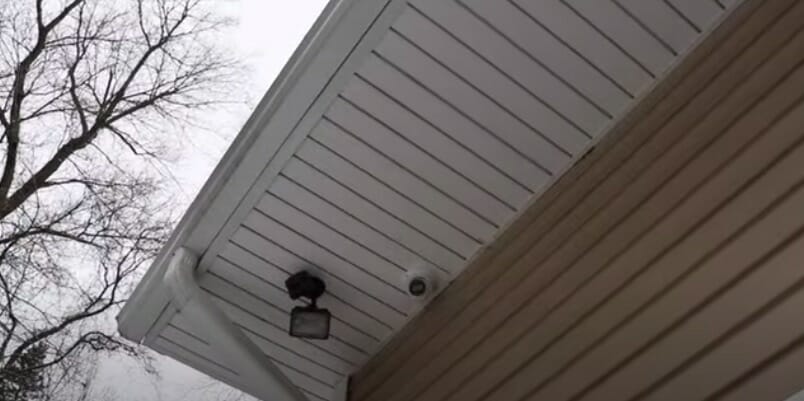
If everything is working properly, the only thing left is to set all your preferences for the security system at the central hub and start watching and recording.
Final Words
Knowing how to install security camera wiring through the soffit is far better than simply using methods such as cable raceways. This is because by using the soffit, the camera wires will be completely out of view, which also prevents them from being cut or tampered with. This maximizes the security of your system. Plus, this way doesn’t take away from the aesthetic appeal of your home if that is one of your requirements.
This installation might seem easy at first, but it is a tasking process, especially if you won’t or can’t place the central hub in your attic. So maybe call a friend or two to give you an extra hand with the installment. And you should all be careful not to damage your house’s electrical wiring while installing. (2
References
(1) airflow circulation – https://www.sciencedirect.com/topics/engineering/supply-airflow
(2) electrical wiring – https://www.familyhandyman.com/project/how-to-roughin-electrical-wiring/
Video Reference
OldSoulMillennial