Vinyl is inexpensive and easy to install. It’s also much stronger than aluminum siding and requires fewer seams, which reduces the chance of leaks.
Because of this material’s durability, it’s convenient to mount your security camera to vinyl siding. The installation process is relatively simple. But, if you don’t do it right the first time, you might cover your walls with unsightly holes.
To help you, I have made a step-by-step guide on how to mount a security camera on vinyl siding:
Find the Right Angle
Before you start the setup procedure, you should determine the best camera location. Put the device as high as possible to get the best view. To prevent potential thieves from tampering with the camera, choose a place that can only be accessible by ladder. You should also ensure the view is free from trees, plants, or other structures that may obscure it.
Take Into Account the Height and Location
The majority of residents install security cameras in high-traffic areas around their property. This ensures that your camera will capture video from different angles.
To help you, here’s a list of places where it is best to install security cameras:
- Your garage
- Your front doors
- Close to first-floor windows
- The back doors
It would be best to put the camera at a height difficult to tamper with yet close enough to the entranceways to provide a clear view. There are several security cameras nowadays, meaning there will be varying clarity levels. Before installing any screws or mounting hardware, test the camera in several spots to confirm that you can see well.
Be Aware of your Vinyl’s Fragility
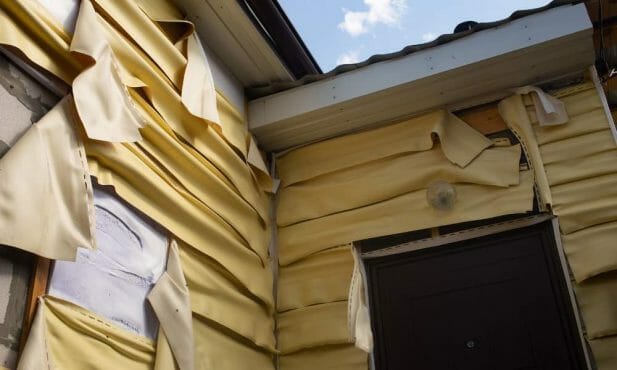
Vinyl may break at cooler temperatures, so it can be risky if you are screwing into it in the cold. So, before you start working on your vinyl, you should know how it can interact with the elements. If you reside in a cold climate, you may wish to postpone the mounting process until the weather warms up. (1)
How to Mount a Security Camera to Vinyl Siding
Tools You Will Need
- Drill
- Drill bit
- Screws (make sure to choose the appropriate size and type for your camera and siding)
- Screwdriver
- Ladder (if the camera needs to be mounted at a high level)
- Pencil (to mark the spot where you want to mount the camera)
The installation procedure is straightforward; I will go into more detail below.
Step 1 – Get a Sturdy Ladder

It would be best if you got a solid and dependable ladder. Place it firmly on level ground. Then have someone assist you by holding the ladder in place while you climb.
Step 2 – Inspect and Mark the Surface for the Screws and Wires
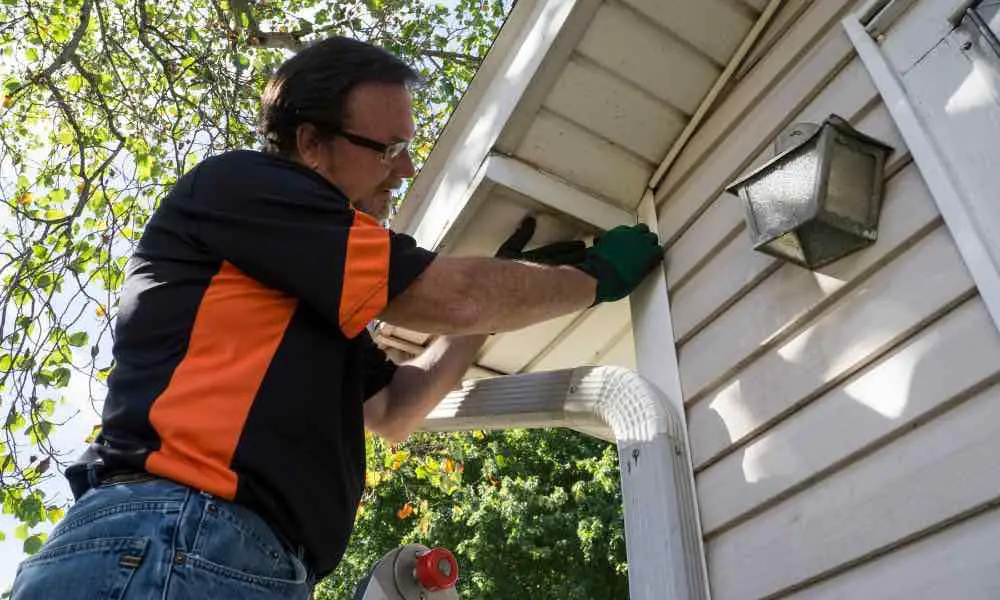
Examine the top section of the siding by lifting the roofing shingles a little. Examine the wall behind it to determine whether it is masonry or wood. Then, using a tape measure, determine the depth of the vinyl siding. This will help you estimate the drill bit’s proper thickness.
Next, place the mounting bracket on the vinyl siding where you intend to mount the camera. Label the holes where the screws will go with a pen or pencil so you can readily see where to screw. Using a wired camera, you will need to mark more holes.
Step 3 – Choose the Proper Drill Bit

Choose a drill bit that has the same length as the siding with an extra inch. Position the drill against the mounting hardware markings you previously made. Drill into the siding with a steady hand. You don’t want to twist the drill at all.
As a matter of reference, you should use a drill bit that:
- It has a diameter about 1/16th-inch larger than the screws you’ll be drilling and is one inch longer than the depth of the vinyl siding.
- If the drill bit is too lengthy, wrap some masking tape around it at the appropriate level measurement.
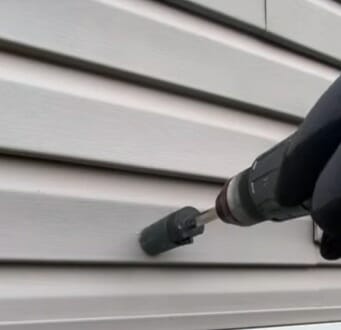
Step 4 – Properly Drill the Holes
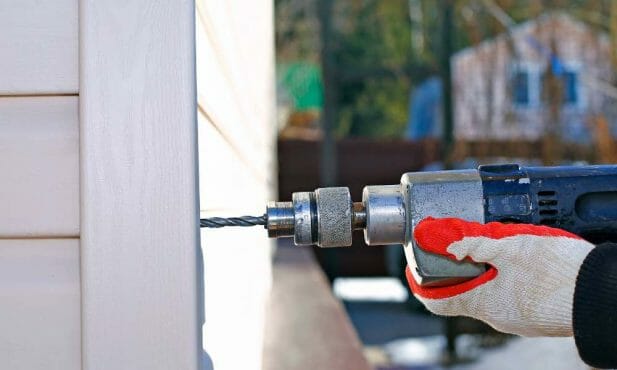
Take the power drill to the location and place one pencil mark on the siding with the drill’s tip. As the drill cuts through the siding, please turn on the drill and keep it steady. Keep drilling until the strip of tape is square with the siding’s surface. Once you breach through the siding, you will feel it slip forward.
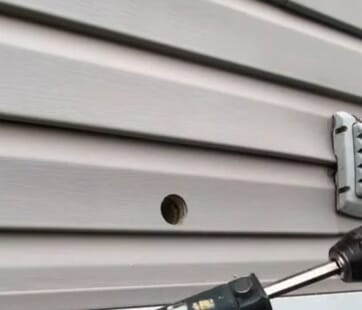
Drill the rest of the marks in the same way. Change to a more significant bit and punch through the siding where you plan to pull the wires. Drill a hole in the wall till it pierces the inside.
Clip Hooks with No Holes as an Alternative
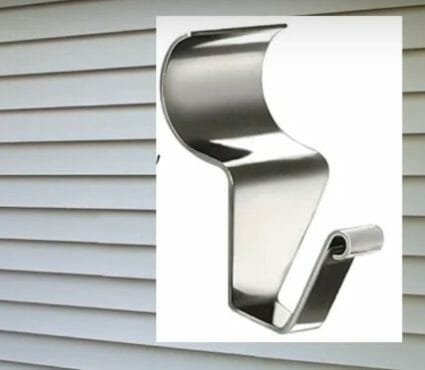
You may be unable to drill holes for mounting devices in some circumstances. You can use no-hole clip hooks instead of screws if you’re renting a house or an apartment that doesn’t allow screws in the vinyl. You can use a vinyl siding clip to easily mount the security camera to the vinyl without needing holes.
These vinyl siding clips are easy to apply, and you can easily find them online. Clip hooks are quick to install, and you can remove them immediately. They spring up and spin inside the vinyl, after which you can install the camera.
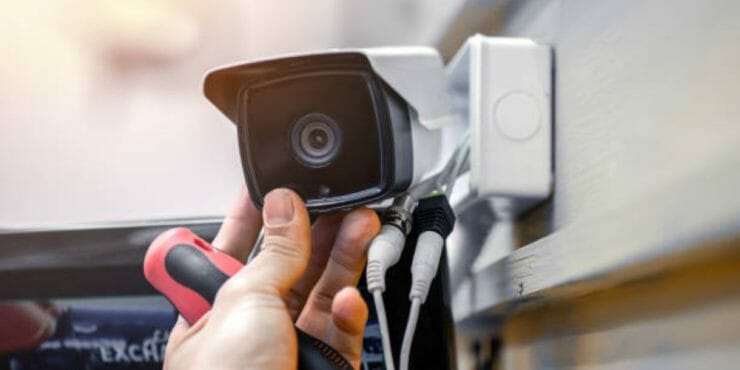
Step 5 – Mount your Camera / Pass Wires Through
Keep the camera against the siding; make sure the screw holes align with the ones on the siding clips or the ones you drilled. And then, individually, place the screws provided through the holes and fasten them securely with the drill.
If you are using a wired camera, pass the wiring through the hole you made in the wall. Make sure you insert it correctly. This way, you can keep your wires secured while making your camera look neat and clean. For more tricks on hiding your security camera wires, check our article on how to hide security camera wires outside.
You can seal the hole for additional protection, keeping the wires in place and protecting them from water damage. (2)
Step 6 – Connect the Cameras to the Monitor and Configure the Settings

The final step in figuring out how to mount a security camera to vinyl siding is to set up your DVR/NVR and configure the camera. Below are the steps on how to do this process on either wired or wireless cameras:
For Wired Cameras
- Link the surveillance camera’s coaxial wires from the cameras’ output to the DVR input using BNC connectors (male and female).
- Attach the camera’s power cable to the power adapter, then insert the adapter into a nearby power outlet.
Some cables contain two wires, one for a Coaxial cable and the other for power. If you wish to use a separate connection for power and another for the signal, you can. However, it might not be a good idea.
For PoE Cameras
- Calculate the distance between the PoE IP (Internet Protocol) cameras and the NVR (Network Video Recorder).
- Buy a Cat5 Ethernet cable and connect it with RJ45 connectors on both ends.
- Plug the PoE camera into one end of the line and the NVR port into the other.
- If you have a lot of IP cameras, you can connect them all using a switch and then link the switch to the NVR.
For Wireless Cameras
- Install the wireless security cameras in an open area with no obstacles in the way of the Wi-Fi signal.
- Maintain your wireless cameras close to the router and a power outlet at all times.
- If you want to place your security cameras far away from your house, use a Wi-Fi range extender.
There’s also an article on mounting a security camera to brick in case vinyl siding isn’t for you.
References
(1) Vinyl – https://www.britannica.com/science/vinyl-compound
(2) water damage – https://www.familyhandyman.com/list/12-tips-for-water-damage-repair/