One of the worst things after a power outage is finding out certain electronics have stopped working. Knowing what you can expect from a Nest thermostat and how to repair it during a power outage can be a lifesaver.
Here are some quick fixes if your Nest thermostat seems to be offline in the Nest app or continues disconnecting on its own.
Before you Troubleshoot
Problems arising from power outages are unavoidable for any homeowner, it isn’t much you can do about them cropping up, but you can take steps to fix them quickly.
- If your thermostat displays a low battery signal, replace the batteries first since you won’t be able to troubleshoot anything else if your battery goes out in the middle of your work.
- Ensure the heating and cooling system’s circuit breaker is turned back on if you previously turned it off.
- If you received an N260 assistance code while installing the Nest Power Connector, ensure your HVAC equipment’s lid is closed. With the lid removed, there is usually a safety switch that prevents operation.
Refer to the Equipment Information

Use the Home or Nest app to get technical information about your Nest thermostat, such as its network IP address or software version. Depending on your thermostat model and software version, you may not be able to access all technical details.
To view technical information
(for the Google Nest Thermostat, Google Nest Thermostat E, or Google Nest Learning Thermostat in the Home app)
Follow these steps:
- Click the Home app
- Tap your thermostat on the home screen
- Select Settings
- Choose Device information
Use your thermostat to access its equipment details to narrow down the sources of a “No power” notice.
- To wake up your thermostat, tap the touch bar if necessary. To return to the Menu view, tap once more. After that, go to Settings.
- Hover over Equipment by using the touch bar.
- There should be a “No power” or “No system power” alert.
- There should be an error code (like N## or E##)
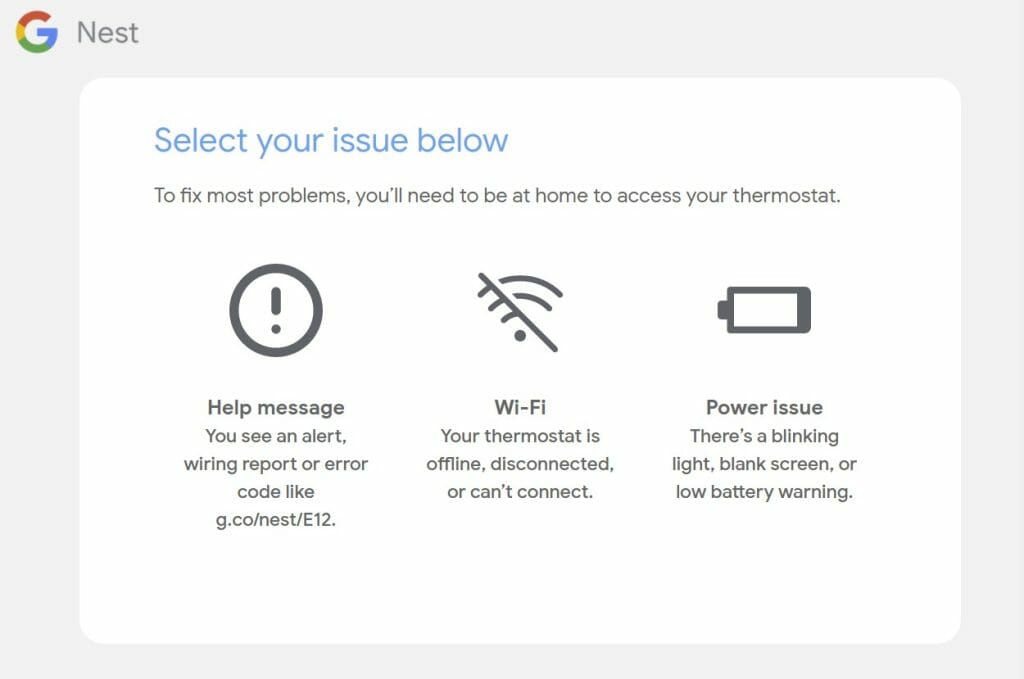
Check Nest Services
First, use this tool to see if services are available online. If the Nest service is unavailable, the app may display “The Nest service can’t be contacted right now.”
Wait for the Nest service to resume before checking whether your thermostat is working again.
Check the Batteries
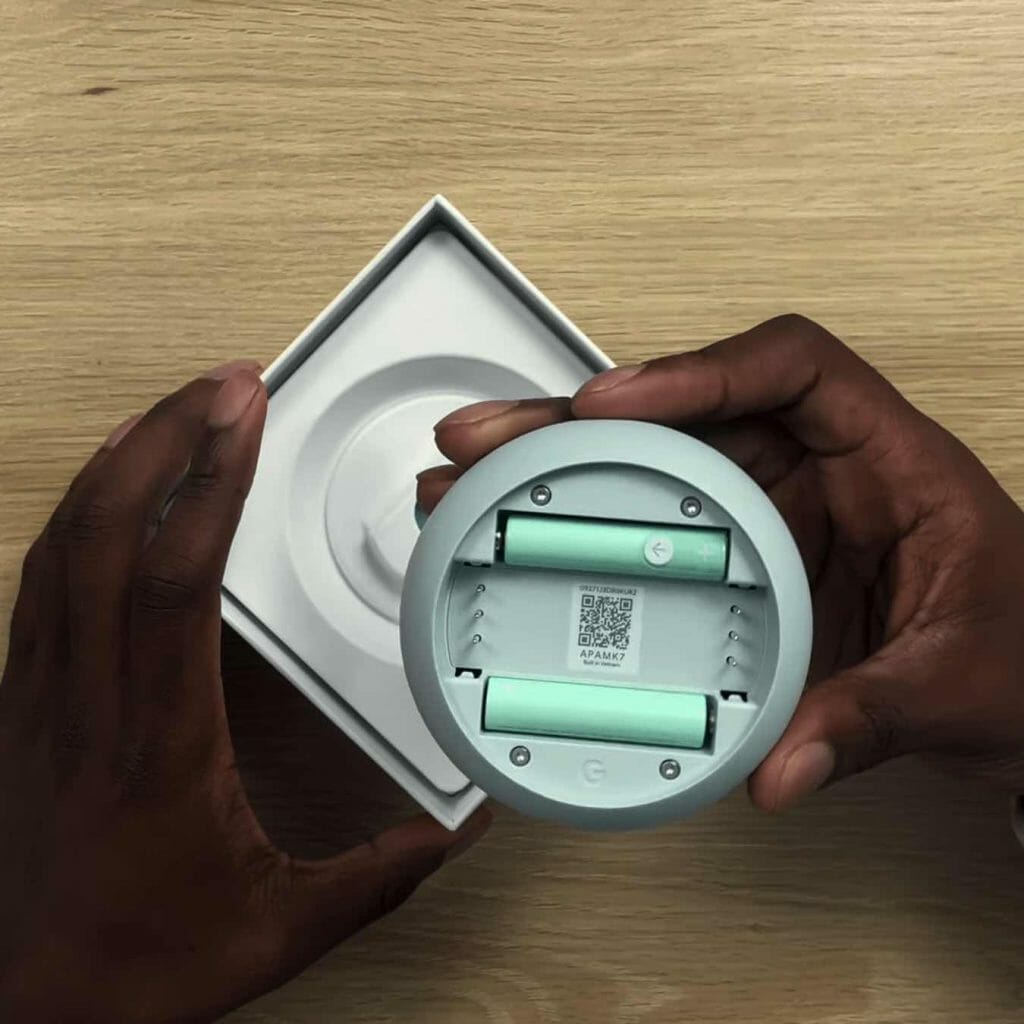
If the battery in your thermostat runs out, it will disconnect from Wi-Fi. This is to save energy so that it can continue to control your system.
The Nest will disconnect from your Wi-Fi if the battery level falls below 3.6V.
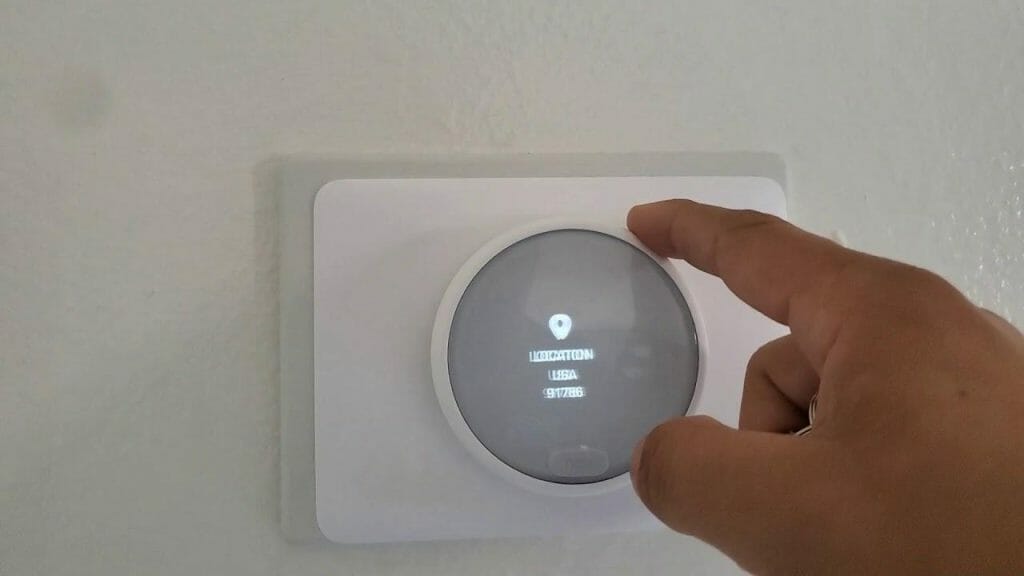
Go to Settings > Technical Info > Power on the thermostat.
The first number you see should be the battery voltage. You’re safe if the voltage is greater than 3.6.
If the voltage is low, your Nest may not be charging properly due to a wiring issue. Unplug it from the wall and then plug it back in to see if it helps. If not, you may need to get your wiring checked by a specialist. (1)
Reset
If the batteries are in good condition, try resetting your router and Nest. Here’s a quick guide to resetting your router.
Click Settings > Reset > Network > Reset > Confirm.
Now, go to Settings > Network and connect your Wi-Fi to your thermostat by following the on-screen instructions.
When you reset your thermostat:
Depending on your option, your thermostat will wipe some or all of its data. The thermostat’s factory preset settings will be restored.
This is important if you’re moving out and need to put your thermostat somewhere else or if you want to leave your thermostat behind but keep all your personal information. (2)
Important: Before resetting your thermostat, note the wiring information so you can quickly enter it if necessary.
Go to the Nest settings icon on your thermostat and then Equipment. You might wish to perform the same with additional parameters like system heating type and Safety Temperature.
Before Selecting Restart or Factory Reset from the Settings menu, you’ll be asked to confirm your selection by your thermostat. Once you’ve confirmed, your thermostat will restart or reset in a few minutes.
If you choose Factory Reset, your settings will be erased. You’ll need to set it up and add it to your home in the app again after reverting to defaults, exactly like you did when you originally installed it.
Contact a Local Pro

Contact a local pro if you detect a problem with your heating and cooling system or if your system requires a C wire. Nest Pros is a network of independent businesses or consultants that Google does not employ. If you notice that wires are wrongly connected to your thermostat and require extra assistance, contact Nest support.
Google does not supply, sell, or receive payment for installation services, and the services you obtain from an installer are completely determined by the installer. To find the best-qualified professionals in your area, you can use the Nest Pro Finder.
Check the Wiring

Warning: Using this step may be dangerous, so make sure you are either well versed with using wires or are very careful since there is a risk of electrocution or permanent damage to your system that may void the warranty.
A C-wire, often known as “common wire,” is a power supply required for a smart thermostat to function properly. It’s a dedicated line that ensures your thermostat receives enough power at all times.
If you’re familiar with the Nest thermostat wiring, you’ll understand what C wire is for and why it’s so important.
First, Go to Settings, Equipment, and Wiring Info on your Nest Thermostat to check the wires. Look for cables that are grey. This indicates that your thermostat is not receiving voltage from the wire. Some cables, such as the C or R wire, must pass voltage to keep your thermostat powered on.
If all cables are grey, the system may be turned off or have another power problem. If any wire is grey, your thermostat will not detect it electronically.
Important: Before inspecting the system cables, ensure the system is turned off. This will protect it as well as your thermostat.
- Turn off the system’s power. The circuit breaker, fuse box, or system switch normally has a power switch. It may resemble a light switch near some homes’ heating or cooling equipment.
- To remove your thermostat, pull it away from its base.
- It would be best if you double-check that the wires are properly identified. You’ll have to re-wire your thermostat with the correct information if they aren’t.
- To detach each wire, gently pull it out by pressing down on its connecting tab. Then, when needed, do the following:
- Straighten the end of the wire.
- The wire should be fully seated in the proper connector.
- Reattach your thermostat to its base once all of the wires are connected.
- Restart the system by turning on the power.
- After a few moments, go to the Menu view and then Equipment Nest Thermostat equipment on your thermostat to see if the problem has been resolved.
If you’re using an ADT alarm system and having an issue with turning it off, you may want to check the learning guide we created on how to turn off the ADT alarm system without a code. Until our next article!
References
(1) voltage – http://hyperphysics.phy-astr.gsu.edu/hbase/electric/elevol.html
(2) personal information – https://www.cloudflare.com/learning/privacy/what-is-personal-information/