When the battery is low, Nest will show a warning. There could be several causes for the low battery, and you must determine the core problem. To prevent your Nest Thermostat from going offline abruptly due to low power, there are a few tips for resolving the Nest thermostat low battery issue.
What Should You Do If Your Nest Thermostat Reports a Low Battery?
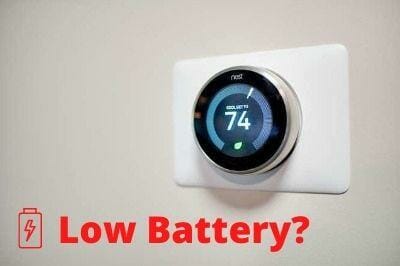
First, we must determine if the battery is not charging. This is normal because, even while not in use, the battery progressively drains over time. It will become unusable if the battery level falls below the minimum operational level. If you have the original Nest Thermostat, you can easily replace the batteries:
- Take the thermostat off of the base unit.
- Replace the two batteries in the thermostat’s back.
- Install the thermostat back into the base unit.
The Nest Thermostat E and Nest Learning Thermostats are sealed systems, and the battery cannot be replaced by the user.
If the low battery indicator has disappeared and has been off for several hours, the battery is fine. The sealed unit battery has a lifespan of at least five years.
Assuming the battery is in good condition, we need to figure out why the base unit isn’t charging it.
If the HVAC system is turned off, your Nest thermostat will shut down after a few hours due to battery exhaustion.
Where Does the Power for the Nest Thermostat Come From?
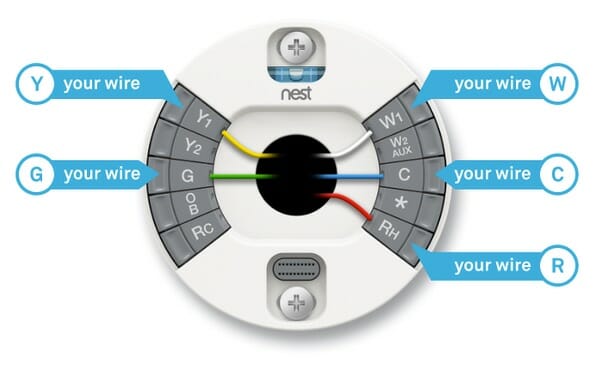
If your heating or cooling system is turned on, the Nest will draw power from it. Even when the Nest is not in use, it requires power. The heating wire will be pulsed, and the furnace will be turned on to draw some power.
The Nest Thermostat draws power from the base unit via its rear connector when plugged in. In a typical configuration, the Nest is not directly linked to a power source for battery charging. Instead, a tiny charge is taken from the HVAC control connections.
In some situations, the charge from this source is insufficient to keep the battery completely charged, resulting in a battery-low alert.
Problems and Solutions
1. Use the Charging Connector on the Back of the Nest Thermostat to Charge It
There are various reasons why you might need to manually change your Nest thermostat, for example:
When your HVAC system shuts down, the power is switched off, and your thermostat begins to operate on battery power.
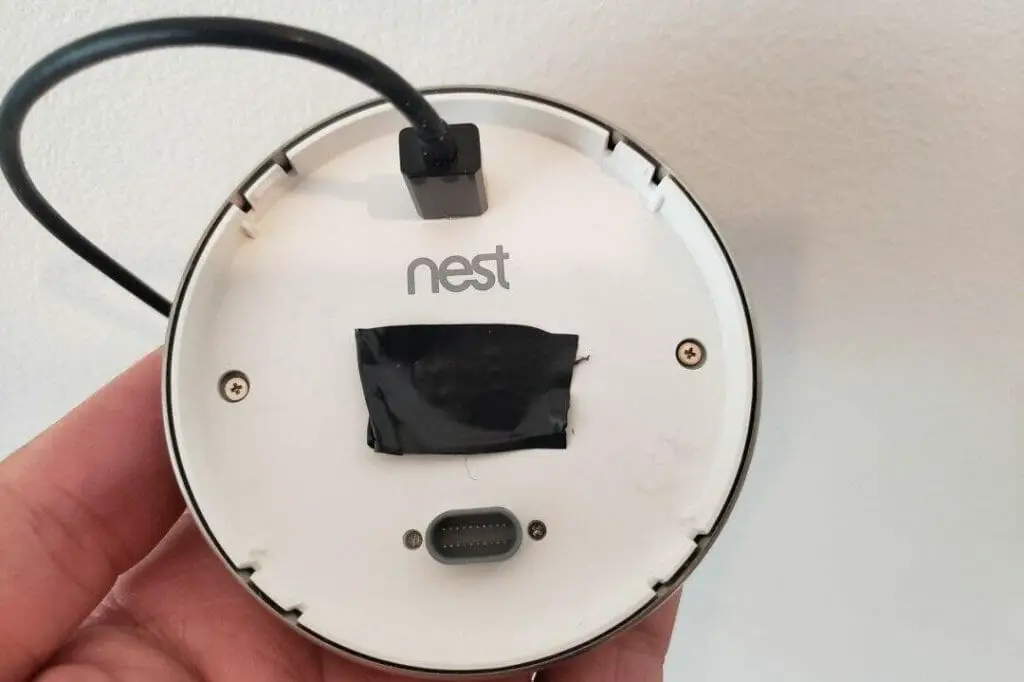
It’s simple to recharge the battery by using the charging port on the back. Depending on your model, you’ll need a phone charger and micro or mini USB connector. (1)
- Remove the Nest display and charge it via the USB connector on the back using a USB cord and a wall charger (a typical Android wall charger is fine). Depending on the model, the USB cable should be either a micro USB or a small USB.
- Connect the display to the thermostat base and verify the power with the Menu settings to see if it is 3.8V. Connect the phone charger to the wall outlet.
- Your unit is charged when the red light on the top of the unit stops flashing. This should take anywhere from 30 minutes to two hours.
2. Connect a C wire/ Common Wire
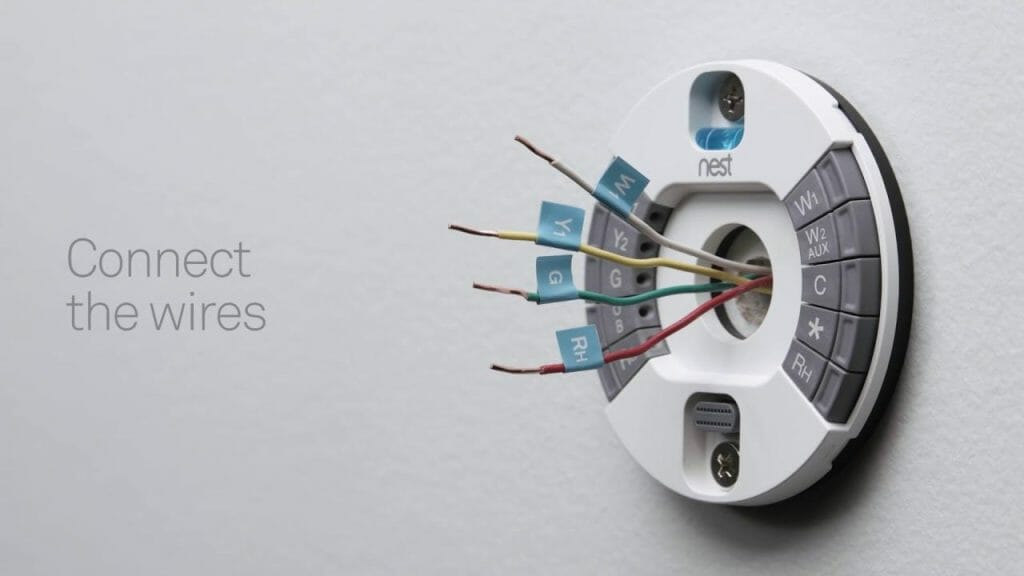
The heating and cooling control circuits usually supply enough power to your thermostat. If this is not the case, a C wire, also known as a Common wire, can be installed.
When the C-wire fails or your HVAC system fails to give enough power to your thermostat, a C-wire adaptor can be useful.
- Turn off the power at the breaker.
- Connect one wire to the ‘C’ terminal of your adapter and the other to the ‘RC’ terminal. If you have a cooling system, you must link the ‘RH’ and ‘RC’ terminals using a jumper.
- Plugin the adaptor and switch on the power at the breaker.
- After that, simply attach the faceplate to your thermostat and you’re done.
3. Choose a Common Wire Transformer
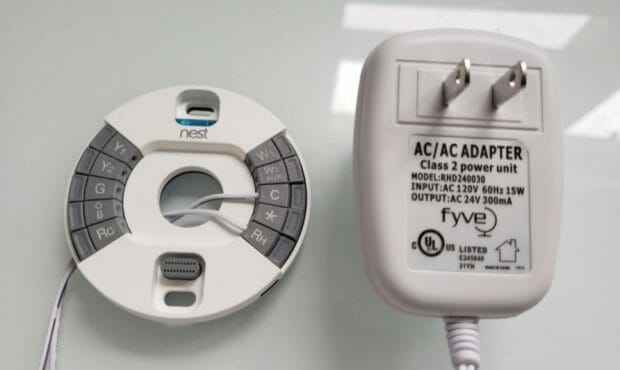
If your Nest Thermostat requires a common wire, you’ll usually know instantly or within a few days since the thermostat will display a low power error message. Once you’ve received the error message, you’ll need to install a C wire transformer to fix the problem.
The steps are simple:
- To ensure your safety, turn off the power.
- Take the Nest thermostat out of the base unit.
- If a cable is connected to the Rh connector, unplug it and securely tie it back up.
- Connect a transformer cable to the Rh connector.
- Connect the remaining transformer cord to the C connection.
- As the thermostat begins to warm up, the indicator light on the thermostat should begin to flash
4. Best Options If You Don’t Have a C Wire
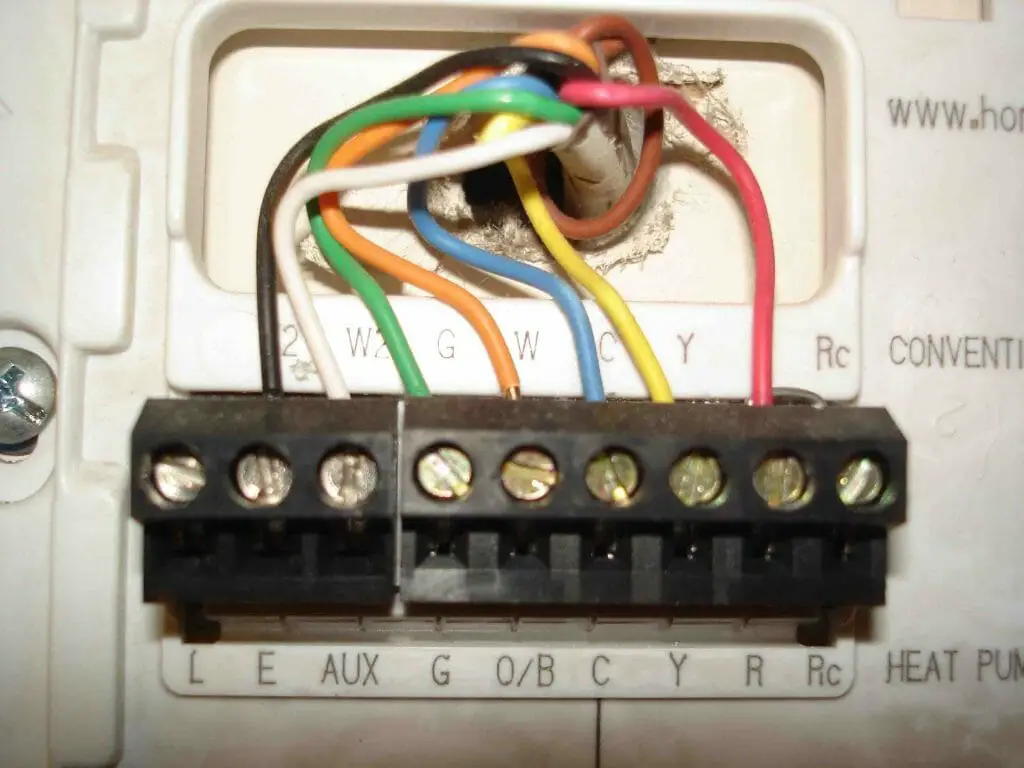
If you don’t have a C-wire, you have several options (most of which come down to “get a C-wire” or “buy a smart thermostat that doesn’t require a C-wire”)
Few options are based on the assumption that you have a low-voltage system.
- Install a new thermostat wire
- Buy a Venstar Add-a-Wire adapter.
- Select a thermostat that comes with an adaptor.
- Select a thermostat that does not necessitate the use of a C-wire or an adaptor.
- Change the cord from the G to the C connector.
5. Go to Settings – Reset and Restart
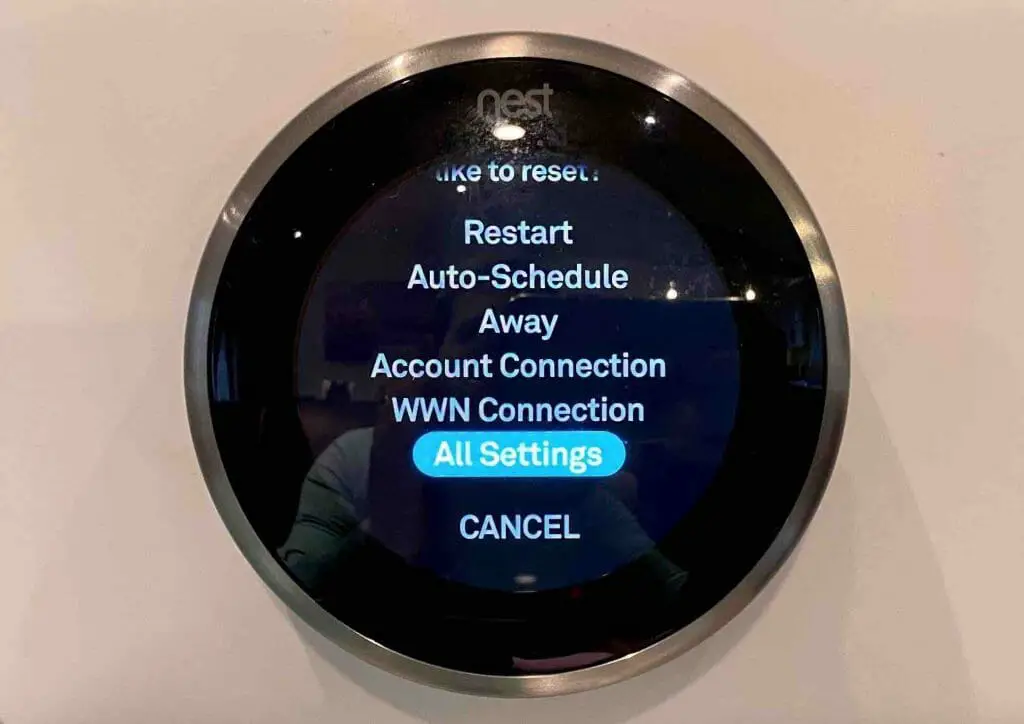
Some Nest thermostats have a software fault that caused the battery to cease charging and the unit to eventually stop responding.
You can also access Settings and reset your thermostat. This will allow you to re-initiate it. When you finish resetting the thermostat, the battery not charging problem will be resolved immediately since the settings that caused the problem will be restored to their original state.
You must manually restart your Nest thermostat as follows:
- If your thermostat battery is dead, take it out of the base unit, charge it, and replace it. Refer to the preceding method.
- By twisting the ring and selecting “Reset,” you can reset the device.
- You have two options here:
- Alternatively, you may choose restart, which will restart your Nest without erasing all of your data.
- Additionally, you can choose factory reset, which deletes everything and reboots your thermostat.
FAQs
How can I check the battery level in my Nest thermostat?
To open the Quick View Menu, press the thermostat ring, then navigate to Settings > Technical Info > Power. The battery is in good condition if the voltage is 3.8V or greater.
How long does the Nest thermostat battery survive when it is unplugged?
Your Nest thermostat battery will last between one and two hours without power.
How many volts does my Nest thermostat require?
Your Nest thermostat requires a stable 24-volt power supply to charge the battery. This is usually possible using regular connections to your HVAC system.
Why is the indicator on my Nest thermostat blinking red?
A blinking red light at the top of your thermostat’s display indicates that the battery charge is extremely low, but it is being charged. Depending on when you see the red light, there are different troubleshooting actions to take.
How can I tell if my Nest thermostat is charging?
When you connect your thermostat to a power source, you’ll notice a blinking red light. This shows that the battery is charging, and it will cease blinking when it is fully charged.
Is it possible to use a Nest thermostat without a C wire?
Yes, according to Nest, although it will depend on your HVAC system and existing arrangement.
Understanding the cause of low battery levels is critical for ensuring that your Nest Thermostat is functioning properly. It would be ideal if you checked to see if the machine is properly wired, receiving a consistent power source, or if its battery life is running low. (2)
Here’s another guide on what you should do when your Nest thermostat is not working after a power outage.
References
(1) USB connector – https://www.youtube.com/watch?v=pIZREjck9jg&vl=en
(2) battery life – https://whatis.techtarget.com/definition/battery-life
