One of the easiest places for a burglar to break into is your shed. I have personally had a shed security bar save me from a robbery on one occasion.
Most don’t even know there is an easy do-it-yourself option, and doing some research can save you time, money, and effort in the long run.
Below I will be going through the steps to build one yourself.
You can make a Shed Security Bar yourself at home by following these 12 easy steps:
- Choose the Material
- Choose the Type
- Choose the Bracket
- Gather the Equipment and Materials
- Measure Your Door
- Marking
- Drilling in the Wall
- Drilling in the Bar
- Drilling in the Bracket
- Install the Brackets
- Mount the Bar
- Test your Security Bar
1. Choose the Material
The shed security bar could be made of wood or metal; the material does not affect the amount of security offered by the bar. This is, of course, assuming that the bar is strong enough to withhold any attempts to break it.
Metal

Using a metal bar can make your job much easier when making a shed bar. This is because it is easier to use a lock with a metal bar. Whereas for a wooden bar, you would have to make a locking handle into the brackets, which might make the job more complicated.
You might buy a security bar lock bracket, but its added complexity might compromise its ability to prevent break-ins.
Choosing a metal bar can allow you to build a shed security bar with the minimum number of pieces; the fewer the pieces in the bar security system, the harder it is to break apart. (2)
Wood
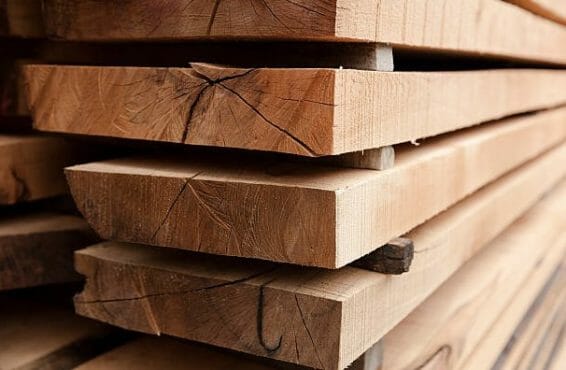
If you value aesthetics and want the bar to match the wood of the shed, if you already have a wooden bar, or if you have tools that work with wood but not with metal, or if you wish to make a wooden shed security bar for any other reason, you can also use the general instructions in this article to build a wooden shed security bar.
2. Choose the Type
You can build two shed security bars: the hook and sliding bars. Both of these types of security bars provide adequate security. But based on your specifications, one may be better for you than the other. Let’s take a look at what each of these types is like.
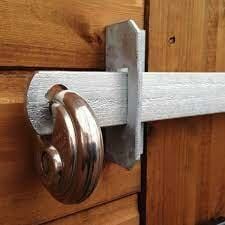
The Hook Bar
The hook bar is exactly what it sounds like; it is bent to one end at 90-degree angles. A slide bar cannot be placed where there is not enough space beside the door to slide the bar over.
A hook security bar is a perfect option in such a situation because it is placed and removed by turning it like a door. However, a hook bar is not as simplistic as a sliding bar. It needs to be made into a hook by curving the metal or welding a different piece of metal directly on the bar.
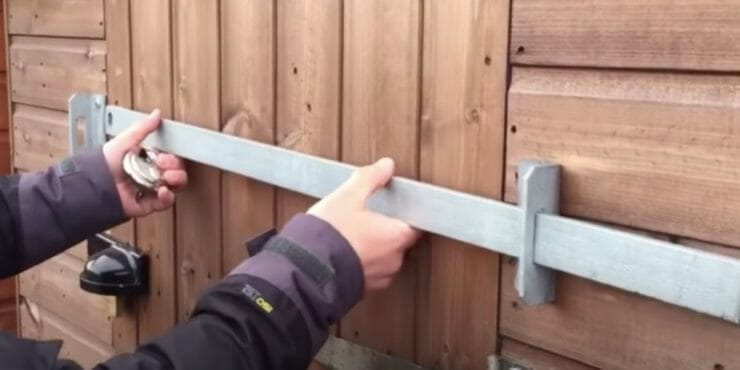
The Sliding Bar
A sliding bar is a relatively simple option than a hook bar. However, there must be enough space to slide the bar open next to the door. A reason to choose a slide bar, other than simplicity, is that a sliding bar can be as thick as you want. Since a sliding bar does not need to be bent, you can use any bar. You can even use a hollow bar to make your slide bar.
3. Choose the Bracket
The type of bracket you need depends on the type of shed security bar you want to make.
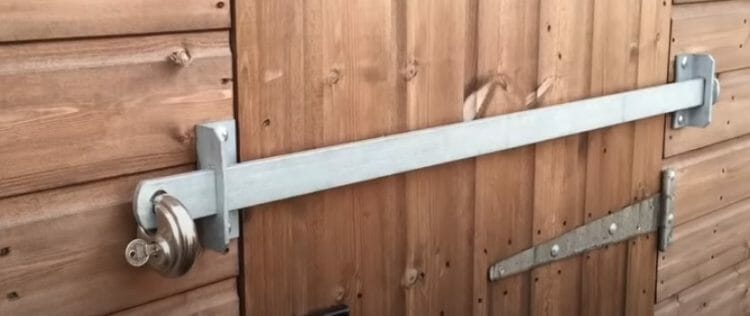
The curve of a hook security bar keeps it from moving in one direction. To lock it in place, you only need to restrict its motion in the other direction. This can be done by putting a lock on the side opposite to the curved side. The size of the lock alone will keep the bar from coming off: the bar does not have to be locked to anything.
A sliding bar is different, however. Since it can freely move in both directions, it has to be locked to the bracket. Hence, for a sliding bar, both the bar and one of the brackets should each have a hole where you can put the shackle in.
For a hook bar, any bracket that allows the bar to pass through will do.
4. Gather the Equipment and the Materials
Here’s a list of materials you need to build a DIY shed security bar.
- A metal bar
- Two brackets
- Carriage bolts, nuts, and washers
- A drilling machine
- An adjustable spanner
- A metal-cutting saw
- A lock
- A pencil
5. Measure Your Door
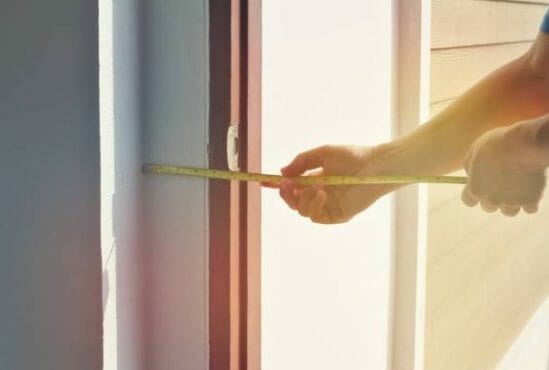
Your DIY shed security bar has to be of an appropriate length based on your door. In this step, you will figure out where the brackets should go and what length the bar should be.
Measure the width of your shed door and add 2 to 4 inches on both sides. This is the width your bar should be. You may use this length to cut the metal bar to the appropriate length or buy a bar of this length.
Knowing accurately how long a bar you need before cutting or buying one is a good idea, so you don’t have to cut or go to the market again. If you’re building a hook bar, you must buy a bent bar from the market. You may cut the bar to the appropriate length later yourself.
6. Marking

This is the step where you mark where the brackets will go and where the drill holes should be. Once your bar is cut to the appropriate length, you can mark where the brackets should go.
Hold the brackets with the bar against the width of the door such that the ends of the bar touch the wall on each side.
Now mark the location of the brackets.
After this, you can place the brackets on their location one by one to mark where the drill holes should be on the wall.
To increase the accuracy in positioning the holes, fill the entire area of the holes in the bracket. If the screws are accurately positioned, it will allow the brackets to attach firmly, making the DIY shed security bar sturdy.
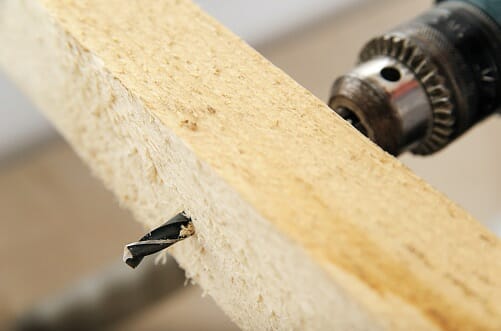
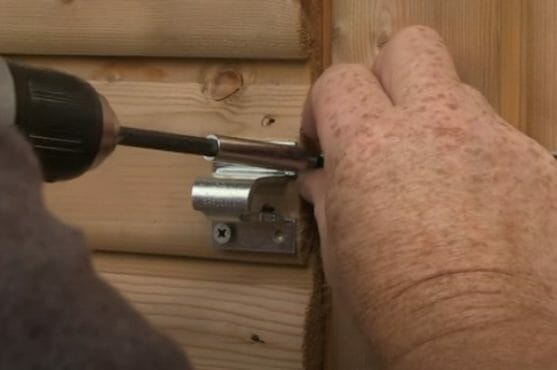
7. Drilling in the Wall

Once the locations have been marked, it’s time to drill the holes. One of the most important things you should consider before drilling a hole is the size of the bit. The drill bit should be the same size as your screws.
Make sure you drill accurately where you marked. Making a small hole with a nail at the center of the mark may increase your drilling accuracy.
8. Drilling in the Bar
Unless your bar already has a hole for a lock, you also have to drill a hole in your bar in this step.
You do not need any extra-hard special-purpose drilling bits to drill in metal. Any general-purpose drilling bit will do the job. Make sure you wear a pair of protective glasses before you start drilling.
Make a mark where you want the lock hole to be and drill a hole.
9. Drilling in the Brackets
If you’re building a sliding security bar and your brackets do not have a hole, this is where you drill a hole.
Make sure this hole is drilled from the same bit or size as the hole in the bar. You also want this hole to be at the same lateral position as the bar.
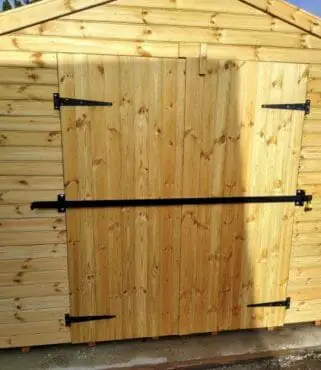
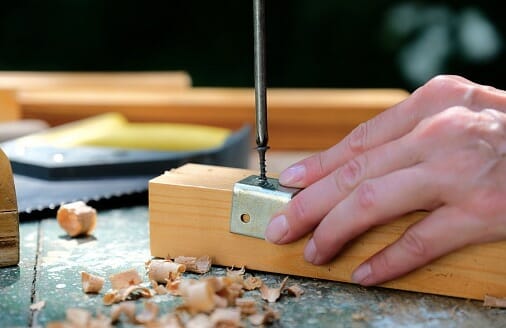
10. Install the Brackets
Once the bar and the brackets are ready and the holes have been drilled, you can install the brackets. Place the brackets in marked positions and use carriage bolts so they can’t be unscrewed from the outside. Ensure the bolts are heavy-duty, so they do not come off easily.
You will have to put in the carriage bolts from outside and put the nuts inside the shed.
If you’re making the sliding security bar, place the bracket with the hole on the handle side of the door.
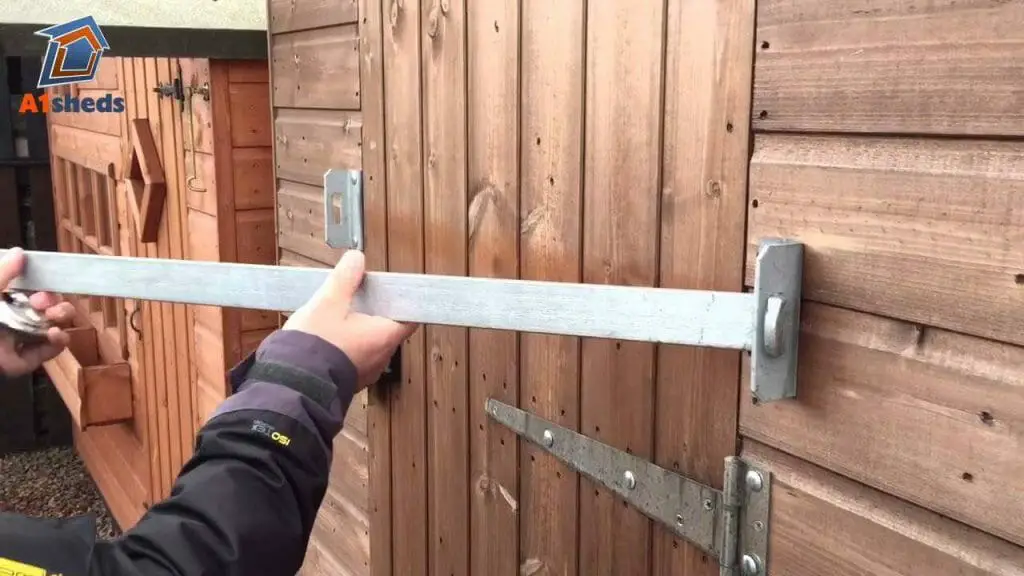
11. Mount the Bar
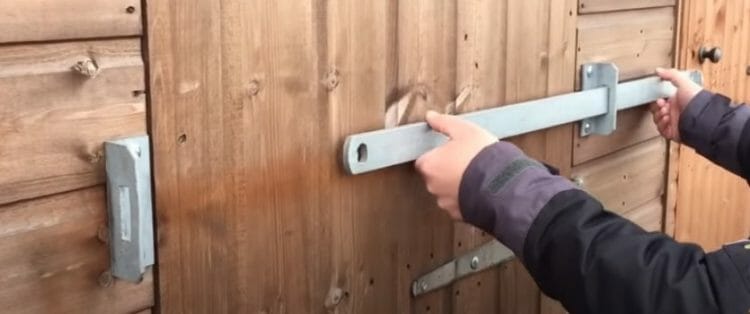
Once you have installed the brackets, the bar is ready to be mounted. Insert the bar from both the brackets, lock it in, and you have added an extra layer of security for your belongings in the shed. Make sure the bar cannot come off in any way when locked.
12. Test your Security Bar
You can test the security bar from all angles. You can try giving it a good jerk to ensure the brackets are screwed tightly. You can try to unscrew the carriage bolts with a spanner from outside.
If you don’t mind scratching the wall a little bit, you may also try to use a crowbar against the bolts. Most likely, they won’t come off because they have nuts on the other side of the wall.
You may want to check the video below;
Whether you build a DIY hook security bar or a DIY sliding security bar, once you have made a security bar this way, you can bet thieves will have some real trouble stealing from you.
Ensure you choose good materials so the security bar cannot be compromised. Use carriage bolts so they cannot be unscrewed from outside, and place the brackets tightly, so they don’t shake and loosen over time.
Why Do You Need a Shed Security Bar?
Outdoor areas are one of the favorite places thieves target. This is because it is easy to find valuable and sellable items like bikes, sports items, machinery, tools, gardening equipment, etc., in sheds. According to the insurance industry, the items in a shed, on average, amount to more than a thousand dollars. The contents of your shed must cost around this figure too. (1)
Since normally there are no other security systems in a shed, the contents of a shed are extremely vulnerable to being stolen. Protecting your shed with a shed security bar is a really good idea.
References
(1) insurance industry – https://www.investopedia.com/ask/answers/051915/how-does-insurance-sector-work.asp
(2) metal – https://depts.washington.edu/matseed/mse_resources/Webpage/Metals/metals.htm