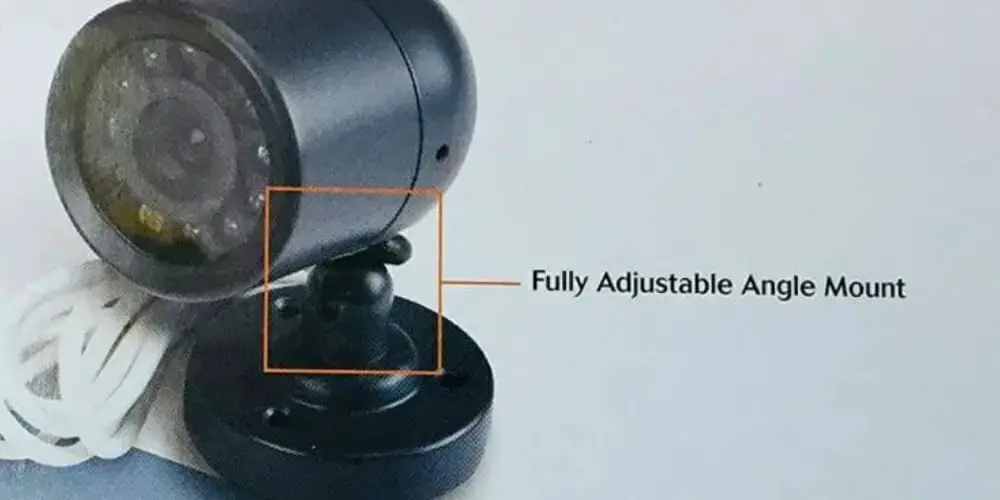
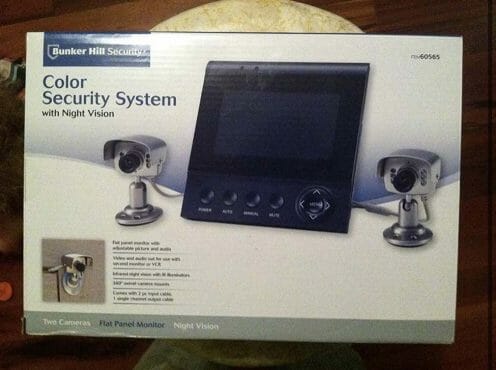
Security systems are excellent tools and the best forms of home protection in today’s age. The Bunker Hill Security Network is an outstanding wireless security system that enables customers to monitor their homes and keep track of what they love no matter where they are.
The Bunker Hill Security Network has many benefits and features including affordability, no monthly fees, easy access with an internet connection, and simple installation!
In this article, we’ll be telling you how to set up your Bunker Hill Wireless Security System with an easy step-by-step guide. Be sure to follow all the steps accordingly to get your security system up and running in no time!
What You Will Need To Follow this Tutorial
- First, you will need to connect your DVR to the router.
- Secondly, you’ll need to make sure that the router is connected to the internet.
- Now, you’ll need a laptop or a computer that’s connected to the same network as the DVR.
- The fourth thing required for this tutorial is a compatible browser since the instructions were made with a particular web browser and other web browsers may not be suitable for this tutorial.
- The last thing needed for the tutorial is an up-to-date version of Windows XP or Windows Vista.
If you have all of the things required and mentioned above, you can move on to the next section of this article where we’ll provide a step-by-step guide on how to set up your Bunker Hill Wireless Security System!
How to Setup the Bunker Hill Security Network
1) What You Need
Once again, we’ll be mentioning the necessary things needed in order to follow this guide without facing any issues. The following things are required to set up your Bunker Hill Security Camera:
- Your DVR needs to be connected to the router
- The router needs to be connected to the internet
- A laptop or a computer that is connected to the same network as that of the DVR
- A web browser that is compatible with the set of instructions mentioned in this process
- An updated version of Windows XP or Windows Vista (1)
An important thing to keep in mind is that your computer and DVR both need to be connected to the same router since this procedure requires your computer to be located in the same place as the DVR for the primary setup.
2) Setting Up The DVR Online
Now, we can proceed with the set-up process! The first thing you’ll need to do is to set up your DVR online. Many people wonder if their security system can be connected to the internet for remote viewing. The simple answer is yes! To set up your DVR online, the following things are required:
- A live internet connection
- A router
- A bunch of Ethernet cables
- A monitor
- A DVR that enables you to view footage remotely
Now that you have all the required material to set up your DVR online, we can move on with actually setting it up online! To set up your DVR online, you’ll need to:
- Ensure that your modem is connected to the internet.
- Make sure that your modem is connected to your router’s internet port.
- Connect your DVR to one of the router’s 4 ports (the internet one) by using a cat5 cable.
- Connect your DVR to the monitor. This last step depends on the type of monitor you’re using and the available DVR outputs.
Now that your DVR is set up online, you can continue to the next step.
3) Connecting The DVR To The Router
The third step of this guide is to connect your DVR to the router. To do this, you need to follow the steps mentioned below!
- Firstly, you’ll need to switch off the DVR. You can do this by disconnecting the power cable from the back of the DVR.
- Once the DVR is powered off, take the separate network cable and connect it to the Ethernet port located in the back of the DVR.
- The other end of this network cable is to be connected to one of the available ports on the router. This could either be the 1-8 port or the 1-4 port.
- Now switch on the DVR by reconnecting the power cable located at the back of the DVR.
- You’ll notice a green light at the Ethernet port at the back of the DVR as well as at the port on the router. This means your DVR is now connected to the router!
4) Finding Your DVR’s Internal IP Address
To find the IP address, follow the 4 simple steps provided below:
- Log in as the admin user and access the main menu of your DVR. You can log in by using the login information displayed on the top of your DVR.
- Go to “Settings” under the main menu and click on the “Network” option.
- Click on the TCP/IP tab to access the IP address settings. The TCP/IP tab is located on the left side of the interface. (2)
- The IP address will be found in a list alongside other information.
5) Testing The Network
Now that you know your IP address, the last thing left to do is to test your network! Below are ways you can test your Ethernet cable and router port connections!
To Check Your Ethernet Cable Connection:
- Connect your DVR to a router with an Ethernet cable.
- Disconnect your DVR for 30 seconds and power it back on.
- If you still don’t have a connection, disconnect and reconnect using a different Ethernet cable.
To Check Your Router Port Connection:
- First, connect your Ethernet cable to another port on the router.
- Disconnect your DVR for 30 seconds and power it back on.
- Look for a green or yellow flashing light on the back of the router. This shows that your connection is stable.
And if you’re looking for the Bunker Hills manual for your security camera’s version, you may click here.
Wrapping Up
That sums up our detailed guide on how to set up your Bunker Hill Wireless Security System with just 5 easy steps! This step-by-step guide is highly beneficial for people who find it difficult to follow the complex instructions and manuals provided by the company and found on different sites. With this guide, setting up your wireless security system is no longer a hassle and a process that can be completed within minutes!
We’ve also written some of the best security learning guides. You may check the list below. Until our next article!
- Best outdoor wireless security camera system with DVR
- Wireless security camera iPhone remote viewing
- How to mount security camera to brick
References
(1) Windows XP or Windows Vista – https://www.webopedia.com/definitions/
windows-operating-system-history/
(2) TCP/IP – https://www.techtarget.com/searchnetworking/definition/TCP-IP