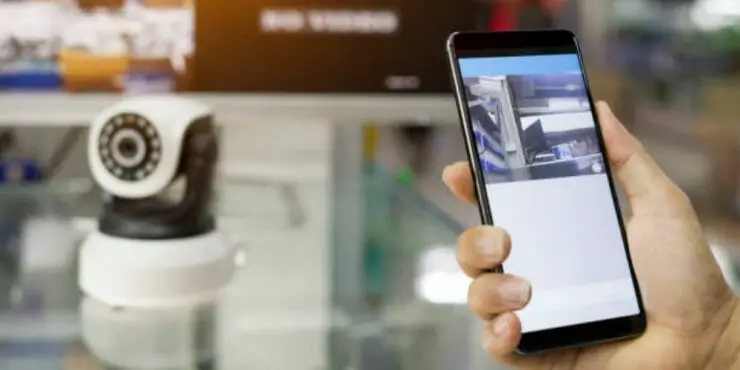
Using your iPhone for remote viewing, you can watch your home at any time without actually being there. This has brought about a lot of convenience and ease to the lives of many homeowners.
In this article, I will be talking in detail about the various aspects of this system, from the basic components to the advanced features, so when you are done reading this article, you will know everything there is to know about the best way to get your wireless security camera iPhone remote viewing going.
Setting up the security cameras in your home on an iPhone
Homekit is a framework for apple software that was created for the Apple operating system to allow users to configure and edit as well as control different smart home devices using subsequent apple devices, well cover how to use a home kit to set up a security camera below.
Setting up a HomeKit Secure Video camera and viewing the live video feed or recorded video clips is easy, and you can do it all from your iPhone.
To set up your camera, open the Home app and tap on the “+” in the top right corner. Scroll down to Accessories, tap “Add Accessory,” and then scan the HomeKit setup code that came with your camera.
When you’re done setting up your camera, you can access it by tapping on it in the “Rooms” tab of the Home app. Tap on the screen where your live stream should be and then tap “Watch Live.” You’ll see a preview of what your camera is seeing.
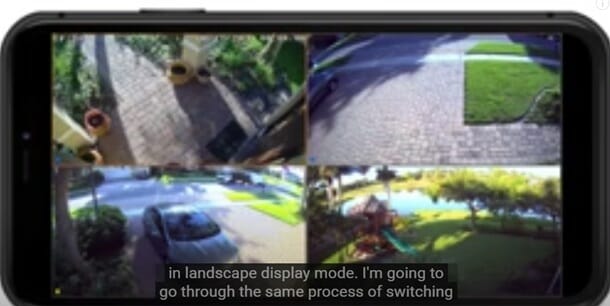
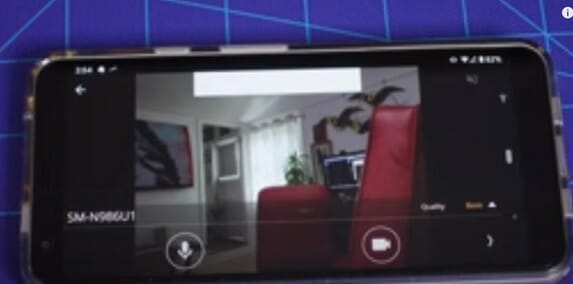
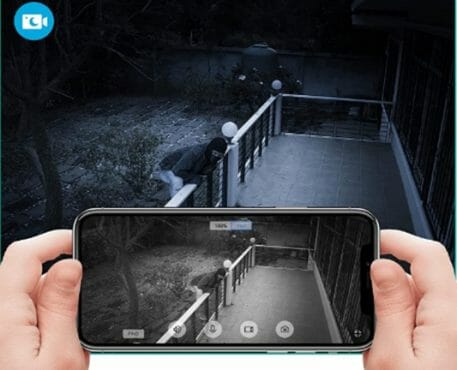
You can tap on the screen to hide or show controls such as mute audio, use night vision mode, take a screenshot, record a clip of video (and save it to Photos), or turn off the camera. If you want to watch a full-screen live stream, rotate your phone, so it’s in landscape mode.
If you want to watch saved videos clips recorded by your camera, go back to the “Rooms” tab of the Home app and select the room where your camera is located. You’ll see thumbnails of activities that have been detected by your camera.
Camera options
The HomeKit Security camera can be added to the Home app. Set up streaming and recording options, assign it to a room, or mark it as a favorite. To edit those settings later, touch and hold the Camera button, then tap the Settings button to see these options:
Room
This lets you tell the system what room your camera is in. This helps us to keep track of each camera you have, so you can stay organized when it comes to controlling them. You can select where to view your camera feed, either from the bedroom, living room, or other areas in your apartment/home.
There are two options to view your camera feed. You can either choose to watch a live stream of what is happening in the room, or you can watch a playback of events that have happened while you were away.
The live stream will show all motion within the room. It will also allow you to use 2-way audio to talk to those in the room.
To view playback of previously recorded events, click on any event under “Recent Activity.” This will bring up a video of the event occurring. From here, you can playback, pause, and fast forward through the video. You also have an option to export or delete it as well as save it as a bookmarked event.
Notifications Options
You can choose how you want to receive notifications from your camera. The available options are by phone call, by text message, or by email.
Click on the checkboxes next to each option you want to turn on or click on the arrow next to ‘Notifications’ to go to different sections.
Recording Options
You can choose how long you want your recording options to be saved for. The available options are 1 week, 2 weeks, and 3 weeks.
Click on the radio button next to each option you want to turn on or click on ‘Next’ at the bottom of this page when you’re ready.
Lastly, you can set any recordings to be saved to your drive. You’ll have access to unlimited storage!
Set up notifications
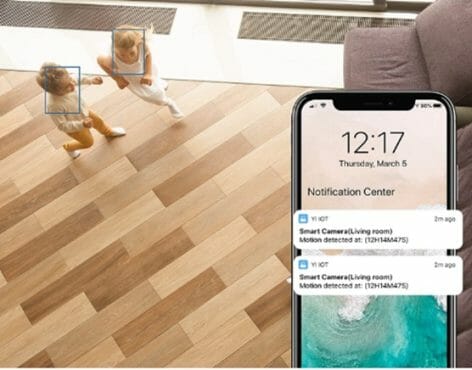
Setting up notifications is easy. Just open the Home app and navigate to the camera you want notifications from. Then, select “Activity Notifications.” Choose whether you’d like to receive a notification at a specific time of day when someone is or isn’t home, when a clip is recorded, or when a specific motion is detected (like people, animals, vehicles, or package deliveries).
That’s it! Now you’ll be able to get notifications right on your phone whenever something is detected by your security camera.
Tip: By choosing a specific motion, such as detecting people, you can reduce the number of clips recorded by your camera. This can help you save storage space and reduce the number of alerts that you receive. For example, when you choose person detection, your camera doesn’t record the movement of trees or squirrels.
Create Activity Zones
Activity Zones allow you to focus your camera on the most important areas within its view—an area right outside your front door, for example. You will be alerted when there is some sort of motion detected in that activity zone.
Note: Activity Zones let you apply motion detection only to cameras that are set up to record when specific motion is detected. Activity Zones don’t affect any other motion detection automation. (1)
- First, open the app and tap Home. Touch and hold your camera’s icon, then tap the Settings button.
- Next, tap ‘Select Activity Zones,’ and then select the video area where you want to create a zone. Tap ‘Add Zone.’ If you want to have your camera detect motion only outside this zone, tap ‘Invert Zone.’
- Now you’re ready to create more zones within your camera’s view if you want them—for example, one for the driveway and another for the mailbox. Tap ‘Done’ once you’ve created all of your zones. (2)
To remove an activity zone:
- Select the Activity Zone, tap inside the activity zone, then tap Clear.
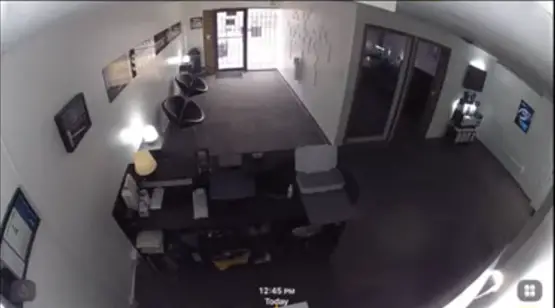
View video
Once you’ve set up your camera in the Home app, tap Home, then tap your camera. Live video should play automatically. For browsing the recorded clips, you need to swipe through the timeline on the bottom of the screen. Tap a clip to play it and pinch left and right on that clip to show the timeline, then drag to go forward or back through the video. You can also switch back to the Live Video by tapping on the Live button.
Also—one quick note: when you set up your camera to detect specific motion, like people or animals or vehicles, those will show up as unique symbols on your timeline. Pretty cool, isn’t it?
Choose access options
Here is a way to make sure you have the best experience possible.
- First, you’ll want to make sure that the people you want to view your cameras have been given access to do so from their phones. Here’s how:
- Tap the Homes and Home Settings button.
- Tap on Home Settings, then click on the “Person” tab below the People heading, then opt for an option.
Wrapping Up
I hope you’ve found this guide useful. It may be too early to tell what the future holds for wireless cameras in the iPhone Home, but I would not be surprised if more models come out as time went on.
And if you want more learning and product guides, I’ve listed a few below that you can check. Until our next article!
- What to look for when buying a home security camera system
- Best solar-powered security camera
- How far can a security camera see
References
(1) automation – https://www.ibm.com/topics/automation
(2) mailbox – https://www.sciencedirect.com/topics/computer-science/mailbox
Check Videos Below;