Are you looking for a speedy way to watch your Lorex client security camera stream on your computer? Today we’ll discuss Lorex pc remote viewing. The FLIR Cloud Client is one of the desktop applications to make camera remote viewing possible. You can use this viewing service and have your Lorex remote access available on your pc.
In general, you can access your Lorex cameras via the FLIR Cloud Client with the following steps:
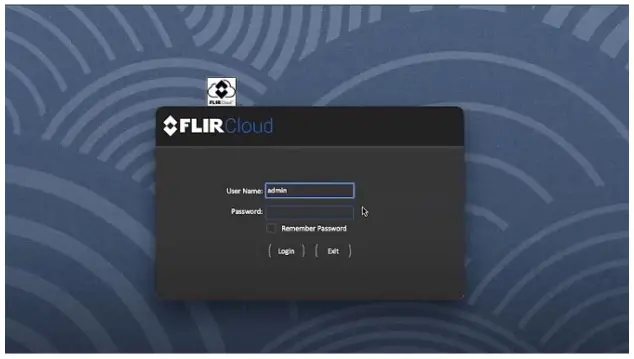
- Download and open the FLIR Lorex Cloud Client software on your computer and enter your login credentials. Tap log in to access the Home window > Devices icon to enter the Devices tab.
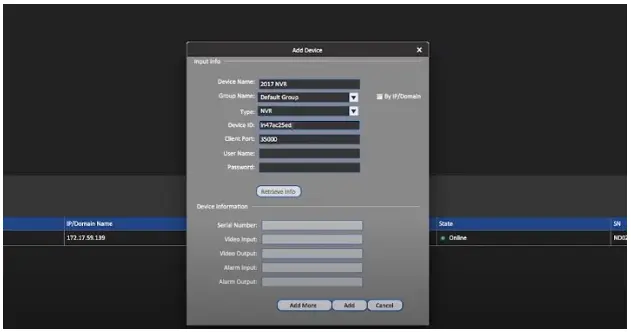
- Choose Manual Add in the bottom-left corner to open the Manual Add window.
- Fill in the needed information in the Manual Add window.
- Link your DVR / NVR and click Add. It could take a little time for the connection to get established.
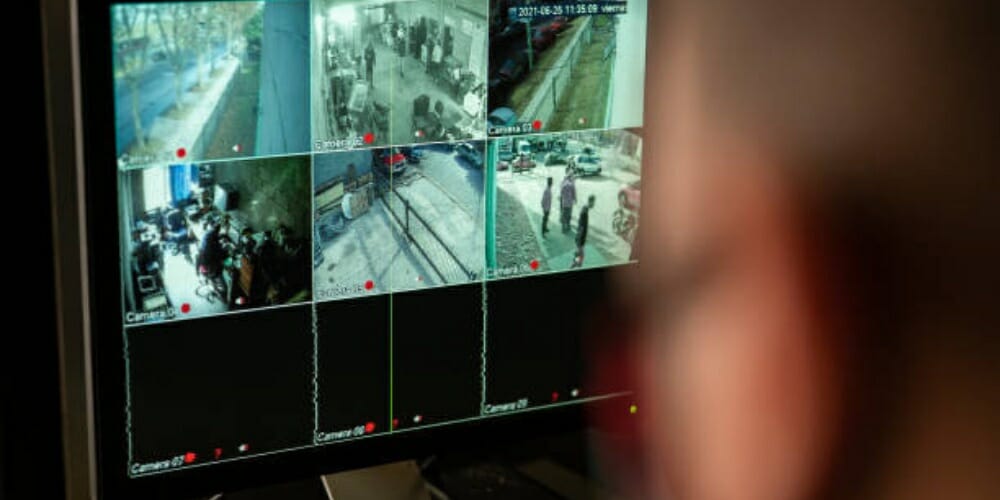
- Now load your connected cameras, go to Home, and double-click Default Group.
Stick with us as we go into more detail on the desktop Lorex app that will let you view security cameras remotely through your PC:
Basic Requirements
- Ensure you have the FLIR Cloud Client Lorex remote viewing software for PC, and the FLIR PC-NVR installed on your computer.
- Write down the device ID and IP address of the camera or DVR / NVR system you want to add to PC-NVR.
- Ascertain that your PC is on the same network as your DVR / NVR device. (1)
Steps To Link Your Lorex Security Camera To FLIR Cloud Client
The steps below will guide you on how to use the FLIR Cloud Client application on a PC to access your device.
The steps below are demonstrated using the Windows 10 operating system:
#1: Install and Launch the FLIR Cloud Client
Download and run the FLIR Cloud Client program on your computer. (2)

#2: Sign in
Please enter your login credentials. If you need to know your default Username and Password, consult your user handbook.
#3: Manually Add Your Device
1. Click “Log in” to access the Home window.
2. To enter the Devices tab, hit the Devices icon.
3. Select Manual Add in the bottom-left corner to launch the Manual Add window.

4. Input the information in the Manual Add window.
- Device Name. To establish the DVR / NVR, type the Device Name of your choice.
- Device ID. Input the device ID or scan the QR code on the DVR’s / NVR’s top.
- Client Port. Fill in the Client Port number (default: 35000).
- Username. Provide a username for the DVR or NVR. If you need to know your default Username, look it up in your user handbook.
- Password. Type the password for the DVR / NVR. If you need to know your default Password, search in your instruction guide.
Now, Press Add to link your DVR / NVR. It could take a little time for the connection to establish.
Lastly, Go to Home and double-click Default Group to import your connected cameras.
Take a look at some of our related articles below.
- How to view a security camera on a phone using cellular data
- Wireless security camera iPhone remote viewing
- Lorex cloud storage
References
(1) PC – https://www.britannica.com/technology/personal-computer
(2) program – https://www.tutorialspoint.com/computer_programming/computer_programming_overview.htm
Video Reference

