One thing I noticed when installing different camera systems for clients is that the Lorex surveillance cameras have outstanding night vision. That’s not in dispute, though. The big question is; do you know how to configure the night vision settings yourself, which is the most common issue I get with people trying to do the configuration alone. We’ve used this article to show you one of the ways of configuring the night vision mode for your Lorex day/night surveillance camera – via the Lorex Secure app.
Follow these steps to configure Lorex night vision settings.
Start the FLIR or Lorex Secure app on your tablet or smartphone. Then, set your camera for streaming live video on the home screen. Next, go to the settings screen (hit the gear icon) and press the tab named “Video”. Then, to turn on night mode LEDs automatically in low-light situations, click on the ‘Night Vision’ drop-down arrow. Next, tap ‘Auto’ on the drop-down list to automatically set your security camera to turn on night vision mode during low light situations. To disable this function, choose ‘Off.’ Finally, hit the ‘Night Vision’ option to save changes.
Notable Things
The company designed Lorex’s HD wifi security camera night vision mode to activate on default automatically. During no or low light situations, the infrared cut filter of the security camera moves aside from the camera to allow the entering of 100% infrared light. This setting ensures optimal night vision capture for your security camera. (1)
Configuring Lorex Night Vision Settings via the App
One of the reasons you may want to switch off the night vision mode of your security camera is when aiming your security camera through the window. It helps to get rid of possible halo effect reflections associated with IR LEDs and, in turn, ensures the presence of ambient light. The FLIR Secure/Lorex secure app on your tablet or smartphone will come in handy.
1. Pre-conditions
- Download the Lorex Secure app on Google’s Play Store (for Android) or the App Store (for iOS – Apple). The FLIR Secure app available on these platforms is equally good.
- Use the Lorex Secure app or FLIR Secure app to connect the NVR/DVR system or the HD wifi security camera.
2. Step By Step Guide For Configuring Lorex Night Vision Settings
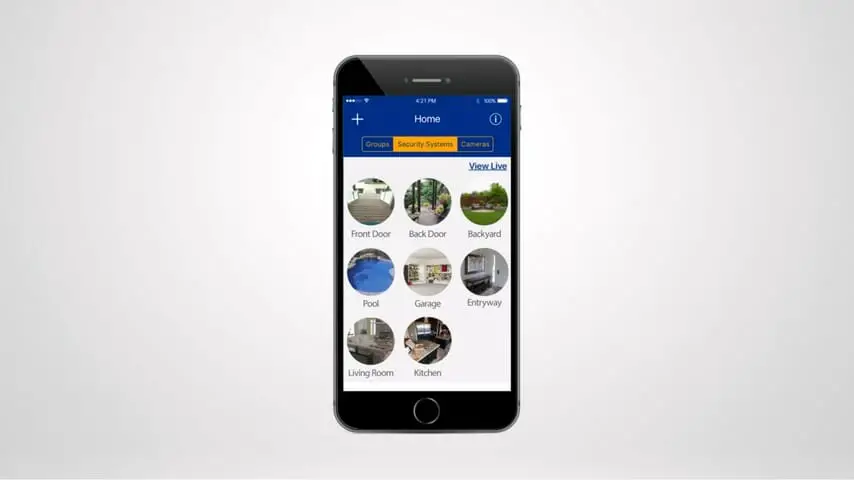
- Start the FLIR or Lorex Secure app on your tablet or smartphone. (2)
- Set your camera to streaming live video on the home screen.
- Go to the settings screen (hit the gear icon) and press the tab named “Video”.
- You want the night mode LEDs to turn on automatically in low-light situations. Click on the ‘Night Vision’ drop-down arrow.
- Tap ‘Auto’ on the drop-down list to automatically set your security camera to turn on night vision mode during low light situations.
- To disable this function, choose ‘Off.’
- Hit the ‘Night Vision’ option to save changes.
You can also keep active night vision recordings of your security camera through the FLIR Secure web portal, but that’s a discussion for another day.
Configuring Lorex color night vision settings through the Lorex Secure app is a simple process. We hope that you found the article valuable and you will share it for others to learn. All the best as you embark on configuring your security camera color night vision settings.
Take a look at some of our related articles below.
- CCTV camera night vision problems
- Lorex invalid camera video standard
- Why does my security camera flicker at night
References
(1) infrared – https://www.britannica.com/science/infrared-radiation
(2) tablet or smartphone – https://www.quora.com/What-is-the-difference-between-a-smartphone-and-a-tablet-1