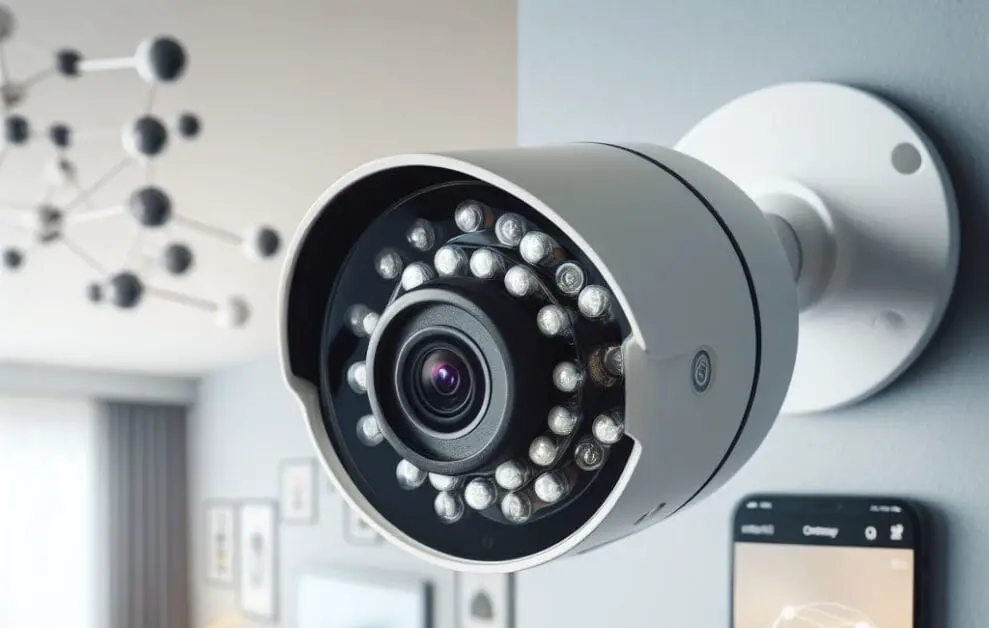
So, you’re looking to install Night Owl wired security cameras? Great choice! I’ve been through the process, and I can tell you that it’s easier than you might think. In this article, I’ll guide you through the essential steps to get your security cameras up and running.
Initial Setup
When I first started installing my Night Owl wired security cameras, I was surprised by how user-friendly the process was. Here’s my experience with the initial setup:
Choosing the Optimal Installation Spot
Here are a couple of things to have in mind for optimal placement:
- Choose spots with a wide field of view.
- Avoid facing cameras directly at sources of light.
- Pay close attention to potential obstructions.
- Prioritize high-risk entry points.
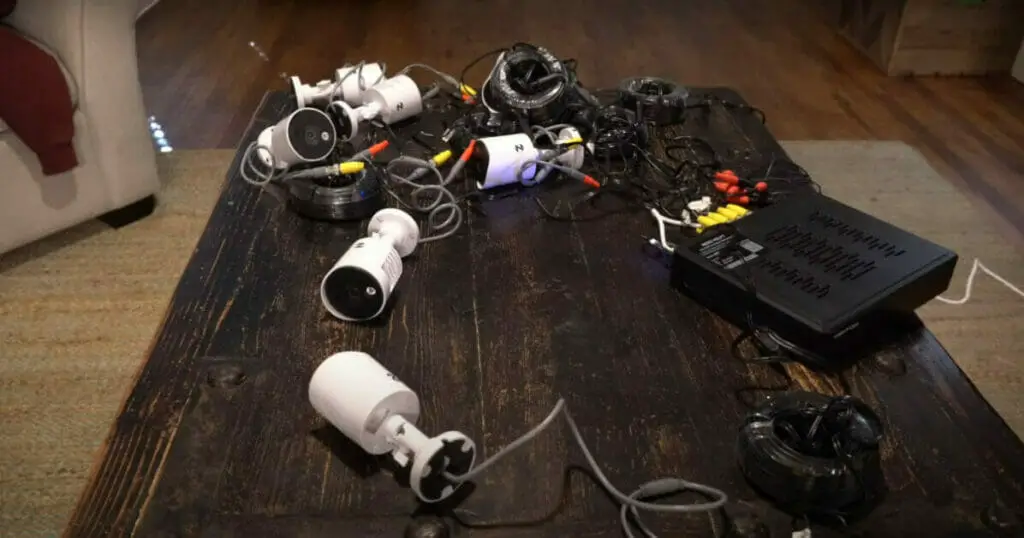
Running the Wiring
I labeled and secured each cable according to which camera it connected to to keep everything neat and organized. I can’t stress enough how much this helped me during the setup process, especially when I had multiple cables to work with.
Attaching the Cameras
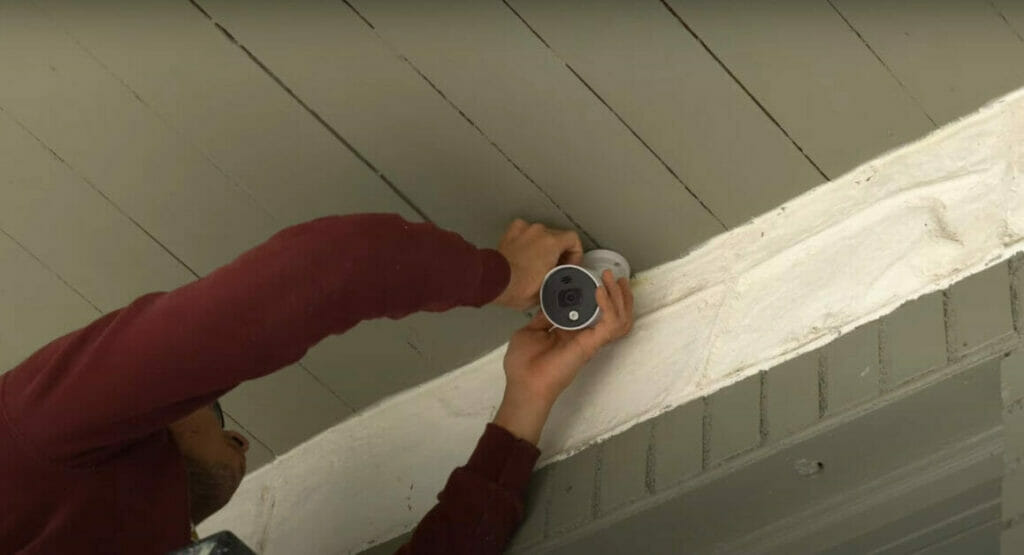
Now, it’s time to mount the cameras. First, I’d mark the holes for the screws using the camera’s base as a template. Then, I would drill holes and insert the provided mounting anchors.
Once the holes are drilled, I attach the camera base to the wall or ceiling using the included screws and secure it tightly. After the base is in place, I snap the camera onto it, ensuring it’s securely attached.
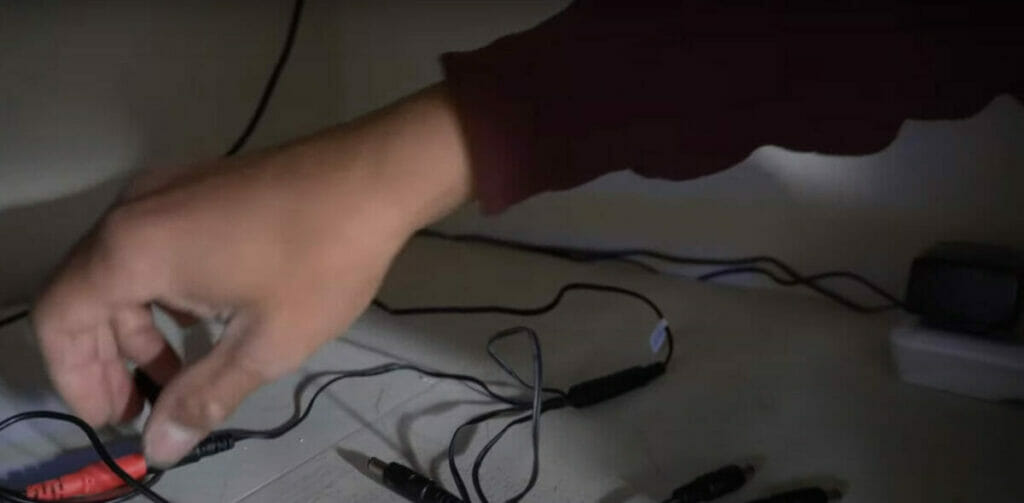
Connecting Cameras to Power
When it comes to connecting the Night Owl wired security cameras, it’s all about securing a reliable power source. Trust me, it’s simple.
First, we should locate the 12V DC plug-in power adapter with our Night Owl camera system.
Connecting Cameras to DVR
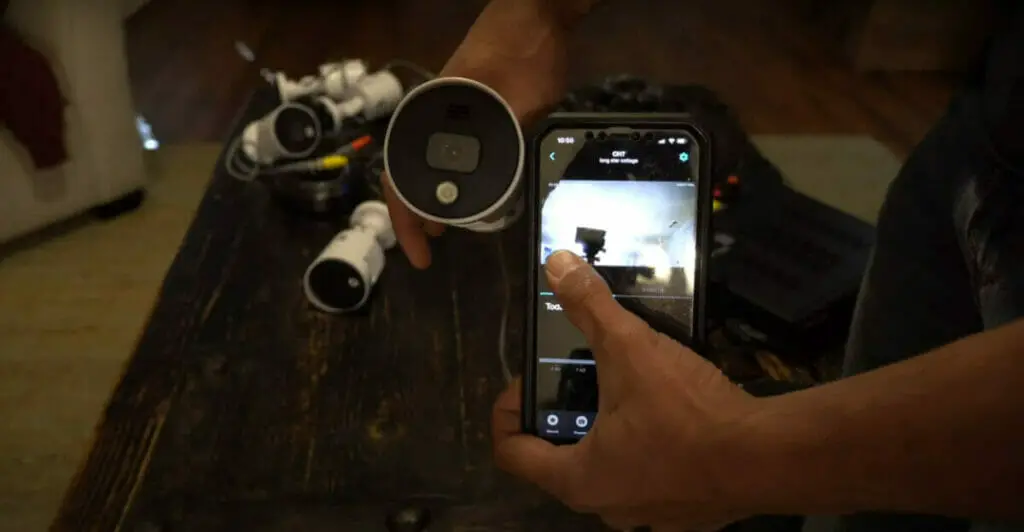
When I first started installing my Night Owl wired security cameras, I found that connecting the cameras to the DVR was straightforward. Here’s what I did to make it happen.
Step 1:
I decided to test each camera locally before installing the cameras. I connected them to the DVR and power supply to make sure they were working properly without any issues.
Step 2:
I connected the DVR to a TV or monitor to set up everything. This was easy; I needed an HDMI or VGA cable – whatever was compatible with my display.
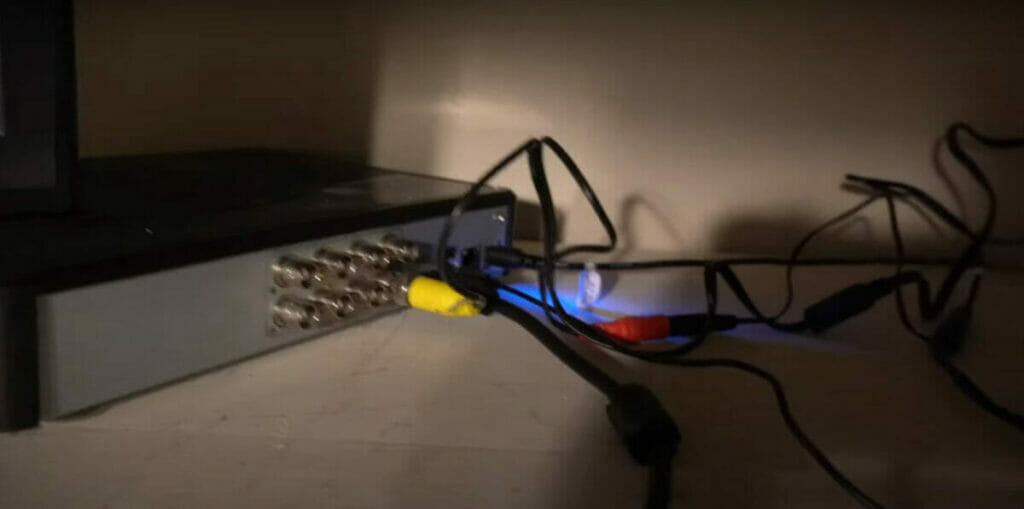
Step 3:
Now was the time to connect the cameras to the DVR. I used the pre-made BNC cables that came with the system. These cables provide video and power transmission between the camera and DVR. I connected each end to the respective devices.
Step 4:
After all cameras were successfully connected, I powered on the system for the Setup process. This was a breeze, as I followed the on-screen instructions and configured DVR settings, such as recording preferences and motion detection.
Configuring Camera Settings
I found that configuring camera settings was surprisingly simple. I had my cameras set up and ready to go in just a few steps.
First, I made sure all my cameras were connected to the DVR. It’s essential to have a stable and secure connection so that live and recorded footage can be easily accessed. The Initial Setup: Wired DVR guide served as an invaluable resource.
Once everything was in place, I fired up the camera system and discovered the camera settings menu on the DVR interface. This is where the magic happens! From here, I could fine-tune settings such as resolution, frame rate, and night vision sensitivity. I appreciated that Night Owl allowed me to customize these settings for each camera individually.
Experimenting with these settings, I found the ideal balance between video quality and system performance. Higher resolution and frame rate can impact the storage capacity of the DVR, so it’s important to find the sweet spot.
Another critical setting I found was adjusting the motion detection. I enabled motion detection for specific cameras and set up sensitivity zones. This way, I can minimize false alarms while keeping a watchful eye on essential areas.
Proper configuration of the night vision settings ensures crystal-clear footage even in pitch-black conditions. Night Owl cameras come equipped with powerful LEDs for optimal night vision performance. Remember to provide adequate power to the cameras, as explained in the Wired BNC Camera Installation & Support article.
I had my Night Owl wired security camera system set up quickly with optimal settings. The result? Peace of mind and a reliable, round-the-clock surveillance system perfectly suit my needs. And all it took was a little tweaking in the camera settings menu.
Troubleshoot Common Issues
Hey there! Setting up a security system can be a bit of a bummer, especially when you encounter problems. But don’t worry, I’ve got you covered! Let’s look at some common issues and their fixes when installing Night Owl wired security cameras.
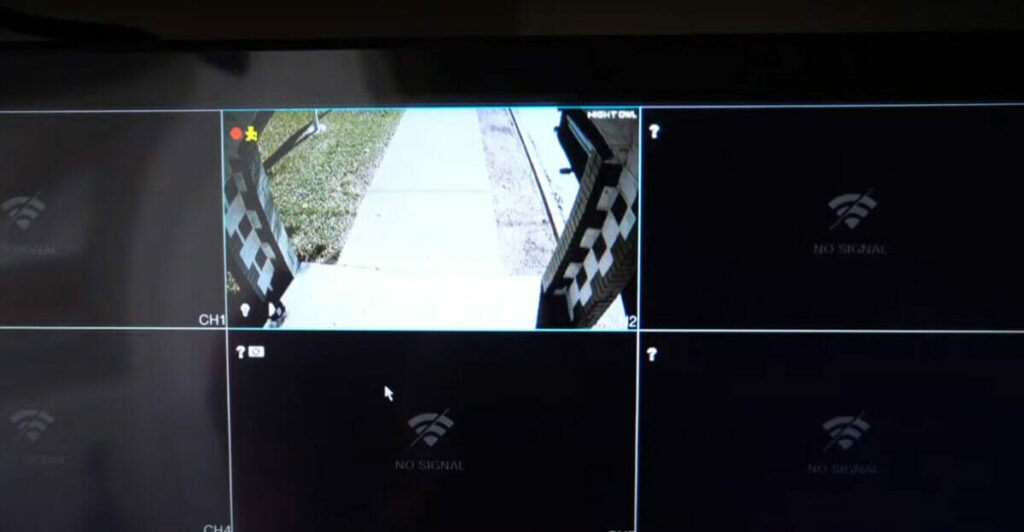
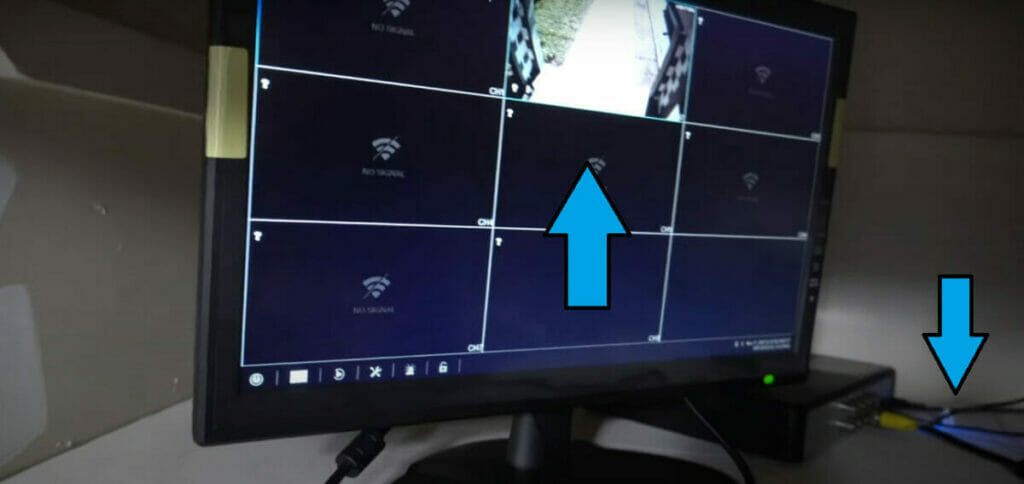
First up, no image or video signal. This can be frustrating, but the fix might be simpler than you think. Double-check that you’re tuned to the right HDMI port on your TV or monitor, and make sure the camera’s power adapter is plugged in and the outlet is live.
What if your recorder isn’t powering on? Before you panic, let’s verify if it’s getting power. Check the LED if your recorder has one. If not, look at the network port on the DVR or NVR. If you still don’t see any signs of life, maybe it’s time to contact technical support.
Lastly, if everything is set up, but you’re experiencing poor image quality, it might be the position or angle of the camera. Ensure it’s installed so the lens is clean and the environment isn’t causing any obstructions. Additionally, check the Camera Troubleshooting section on Night Owl’s website for more guidance.
Maintenance and Care
When it comes to maintaining and caring for your Night Owl wired security cameras, I recommend you take a few simple yet essential steps to keep your security system in top-notch condition.
Firstly, it’s vital to check the camera connections routinely. With time, cables can become loose, affecting the quality of the camera feed. Consequently, ensure that all the connections are secure and that there’s no visible damage to the wires. A Wired BNC Camera Installation and Support can guide you if something seems off.
Another key maintenance aspect for your Night Owl wired security cameras is cleaning the camera lens. A dirty or dusty lens can lead to blurry images, making it difficult to identify important details. I suggest using a soft, microfiber cloth to remove any dust or debris from the camera lens gently. Avoid using any harsh chemicals, as these may damage the lens.
The camera housing should also be inspected periodically to ensure it remains in good condition. The housing protects your cameras from harsh weather elements, so ensuring it isn’t damaged or compromised is essential.
Also, don’t forget about the power! Inspect the power supply regularly to confirm that there are no loose cables or connections. Ensuring a consistent power supply for optimal functioning is crucial for wired security cameras like Night Owl.
These simple yet essential steps will ensure that your Night Owl wired security system remains in excellent condition, providing you with peace of mind and reliable security for your home or business.
FAQs
I know security cameras might not be as flashy as a new sunroom or kitchen island, but they’re just as essential for a happy and safe home. So, let’s tackle the most common queries folks have about setting up and maintaining their Night Owl wired security cameras.
Q: Is it essential to mount the cameras up high?
A: Well, think of it this way – ever seen a bird’s eye view of a house? It’s all about perspective. Placing your cameras up high gives you that broad overview, catching more in the frame. But remember, don’t place them so high that you miss out on details.
Q: My camera’s image is a bit foggy, even after cleaning. What’s up?
A: Ah, the old foggy lens trick! It might be condensation. Cameras outdoors can sometimes get a little moisture inside. Make sure the housing seals are tight, and there’s no way for water to get in. If it persists, reach out to the pros at Night Owl.
Q: How often should I check on the system and perform maintenance?
A: Think of it like checking the air pressure in your tires before a big road trip. Every month or so, give everything a once-over. Check connections, ensure power is steady, and wipe down those lenses. Keep everything ship-shape!
Q: I’ve got tons of footage. How do I make sure I don’t run out of storage?
A: Storage, the silent hero of any security setup! Regularly back up your important footage to another drive. Also, set up your DVR to overwrite the oldest footage. This way, you’ll always have the latest snapshots of what’s happening around your home turf.
Q: Motion detection is setting off too many false alarms. Any advice?
A: Ah yes, the classic “every leaf is an intruder” situation. You can adjust the sensitivity on your cameras so they only pick up larger movements. Plus, some cameras let you set “motion zones,” – so only specific areas get monitored. It’s like deciding which part of the yard gets the best lawn chairs!
References
Website Resources:
- Night Owl Support. https://support.nightowlsp.com/hc/en-us
Video References:
vierdoesit