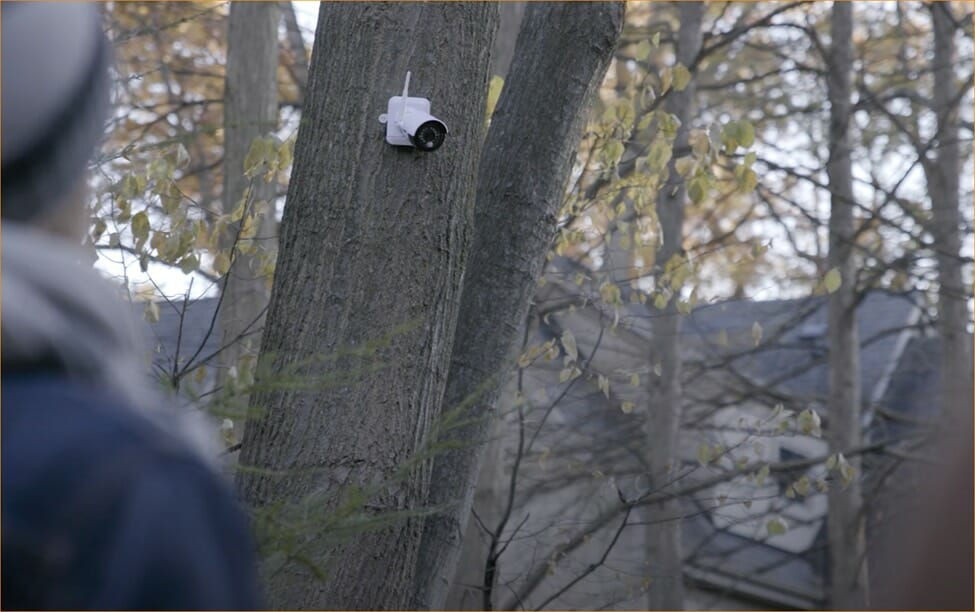
Lorex is one of the most recognized security technology companies that you can find out there. They provide a wide range of systems for both residential and commercial use with cameras that provide high-quality video recording and night vision.
While there are many cool features that these systems have to offer, like night vision, one of the most impressive ones has to be the Lorex Motion Zones™ setup. This smart system allows you to select specific areas on your display that you want to enable motion detection. This makes the system much more convenient and stops annoying notifications as well.
Selecting custom motion zones requires you to enable motion detection settings, and then go into the Motion Zones™ menu where you can select the area you want to monitor using your Lorex camera’s motion detection.
What Makes Motion Zones a Great Feature?
For most people, the reason why they would want smart area selection for their camera’s motion detection is annoying notifications. Everyone wants to know if there is movement on their property when they are not expecting it but being notified of every single incident of movement in the picture can quickly become annoying. With Motion Zones™ technology, Lorex allows its users to only highlight areas where they do not expect to go towards frequently.
This means you can monitor the area outside your home but also avoid getting notified every time you need to go outside. Of course, this is just one basic example of the system as the applications can be endless.
How to Enable Motion Zones™ on Your Security Camera
To enable smart motion detection on your Lorex cameras, you need to open your Lorex app and change a couple of settings.
First, you need to enable motion detection on your camera which you can do by simply selecting a feed of your choice and then tapping on the three-dot line given on the top right of the camera feed.
This will take you to a setting screen where you can move the slider in front of “Motion Detection” to the right. (1)
You can also use the camera’s person detection feature by sliding the button next to “Person Detection” the same way.
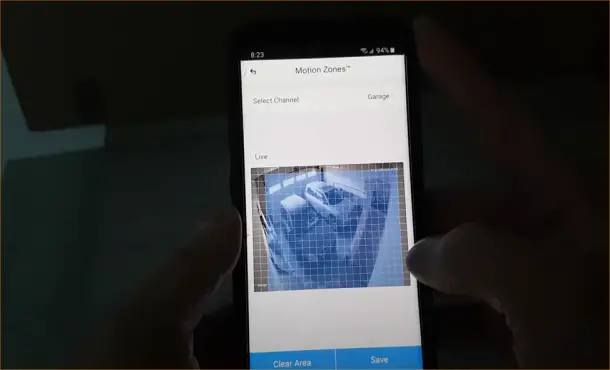
Configuring Motion Zones™
With these settings open in the Lorex cloud app, you can tap on the last setting in the menu that says, “Motion Zones™.” This will open the feed again but with a grid on top. Wherever you tap, the grid will turn blue, and this is where the camera will detect motion. You can use the live feed to decide which parts you want to enable the motion detection for. (2)
If you want to reset the motion detection area you have selected, you can tap on the bin option at the bottom of the screen. You also have the option of fine-tuning your selection using the eraser button. Once you have selected the area that you want to monitor, you can tap on the Save text to apply the changes/updates you have made.
You can also check other product and learning guides we’ve written below.
- Why do my Lorex cameras say offline
- Best self-monitored home security system
- Best solar-powered security camera
References
(1) slider – https://blog.hubspot.com/website/best-wordpress-slider-plugins
(2) live feed – https://www.cloudflare.com/learning/video/what-is-live-streaming/