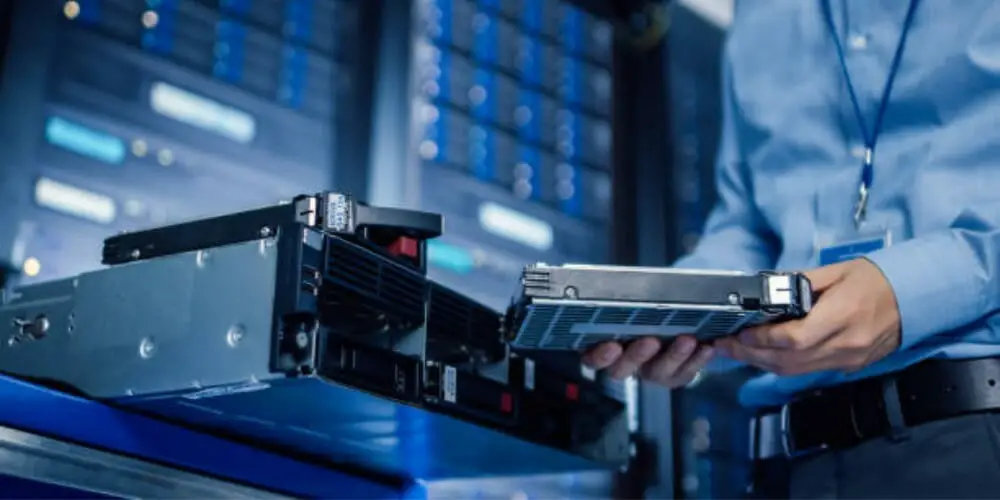
If you are using a Lorex security camera system, having a proper storage method is essential. Sometimes, you might run out of storage space. Or sometimes you might have to replace the old hard disk with a new one. Either way, learning how to replace a Lorex hard drive is a must for do it yourselfers.
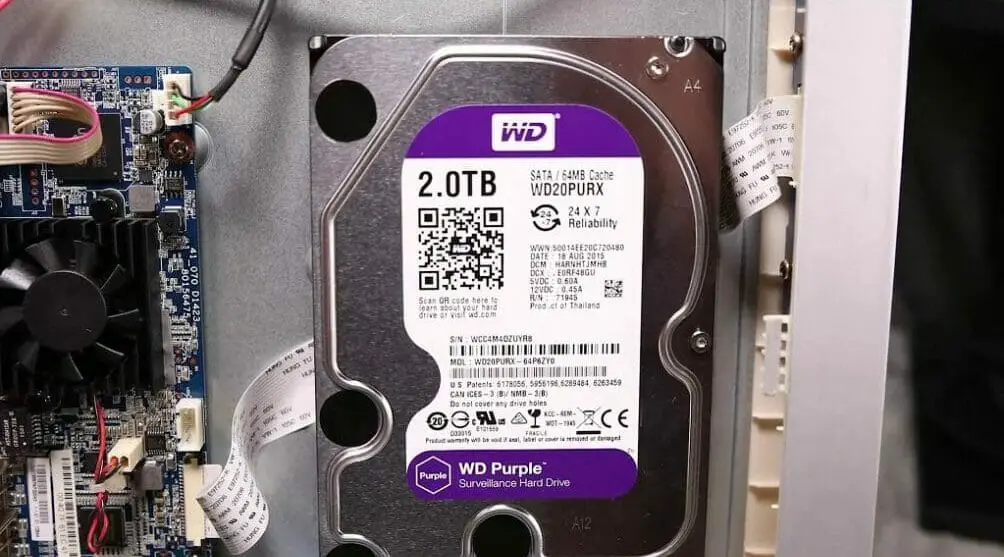
For those who didn’t know, your DVR or NVR recorder is equipped with a pre-installed 3.5 inch SATA hard disk drive. You can replace the Lorex hard drive with one up to 10GB. Depending on the product, the number of HDDs and storage might vary.
Compatibility of Your Device
Before you start to purchase a hard disk for your DVR or NVR, first, you have to check for compatibility. When checking for compatibility, you should get the following details.
- Is it possible to upgrade your Lorex system?
- Maximum upgradable space (depends on the model)
To obtain a compatibility chart, follow these steps.
Step 1: First, go to the official Lorex website. Then go to the following link.
Step 2: Select your device by category or enter the model number.
Step 3: After that, you will get all the compatible devices (Including a hard drive) that are related to your DVR or NVR.
Guide for Replacing a Lorex Hard Drive
In this section, we are going to cover two topics; Removing the old HDD and Installing the new HDD. (1)
How to Remove Existing Hard Drive
Step 01: Turn off the system’s power.
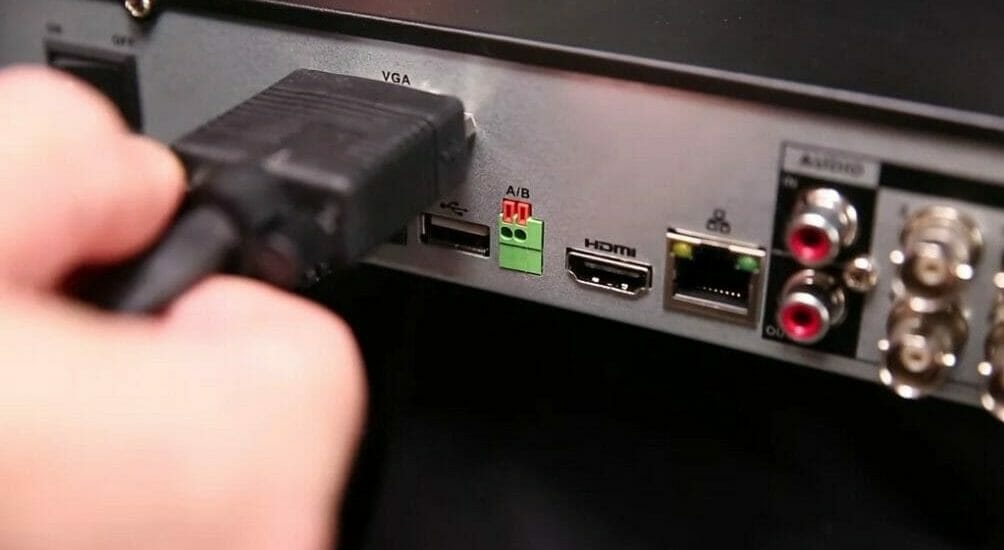
Step 02: Disconnect all cables, including the power adapter.
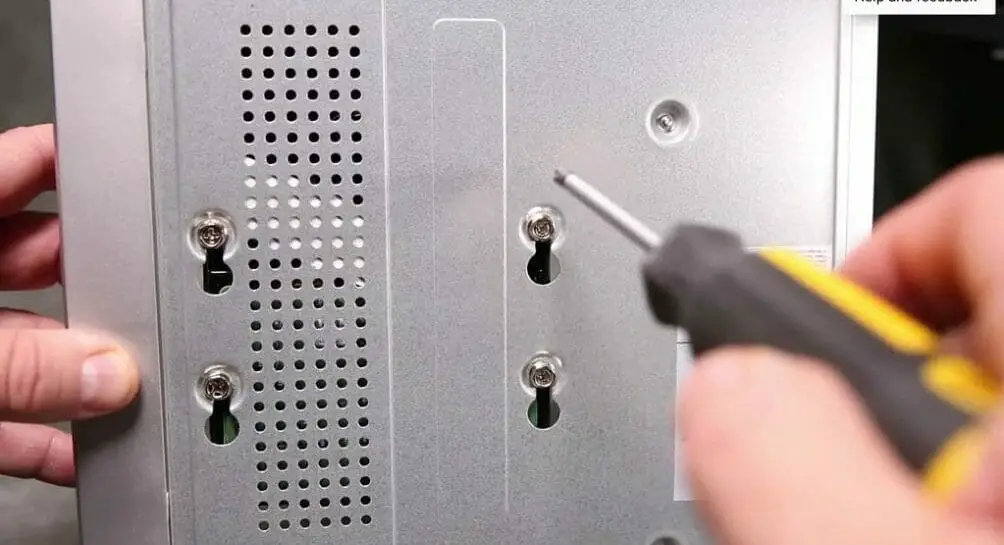
Step 3: Flip the DVR or NVR upside down. Locate the panel screws and remove them from the panel.
Step 4: Now lift off the front panel carefully. Sometimes, there might be a few wires that connect from the bottom panel to the top panel. If so, while lifting the top panel, you will have to be careful not to break them.
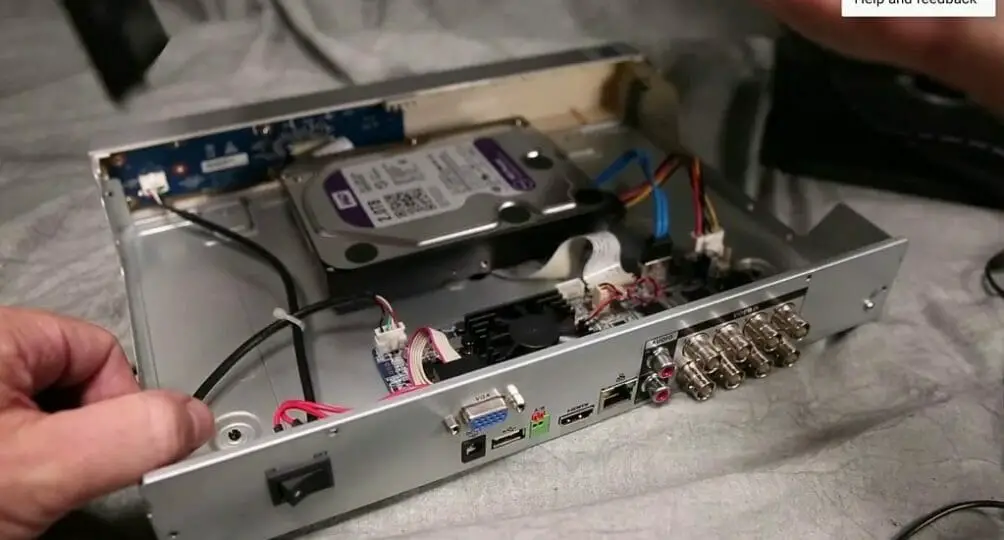
Step 5: Remove the SATA and power cables from the hard drive. Loosen the four screws that are holding the hard drive to the panel. Then lift off the hard disk from the bottom panel. Now you are all set to start the Lorex DVR hard drive replacement. (2)
How to Replace Lorex Hard Drive in DVR or NVR
Step 1: Make sure that the power adapter is disconnected and the system power is turned off.
Step 2: Place the hard disk in the right place and tighten the four screws halfway.
Note: When you tighten the screws halfway, the HDD should still be unattached to the bottom panel.
Step 3: Connect the SATA and power cables properly to the HDD.
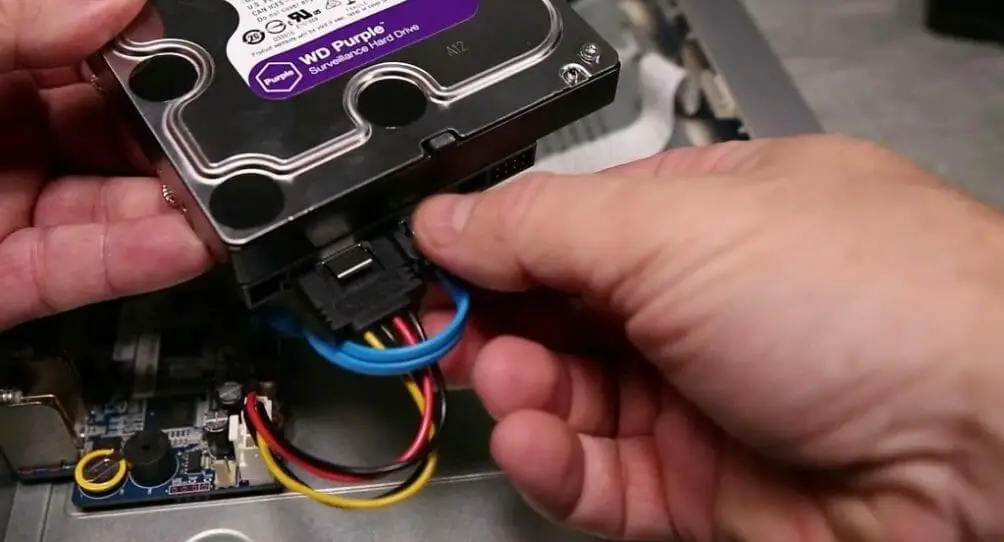
Step 4: Now tighten the four screws. If needed, turn the casing of the DVR or the NVR (depends on the tightening side of the screw). In some models, you have to tighten the HDD screws from the outside of the bottom panel. Sometimes, you can tighten the screw from the inside.
Step 5: Then reattach the casing using the screws. Finally, connect the DVR or NVR to the monitor and the powers source.
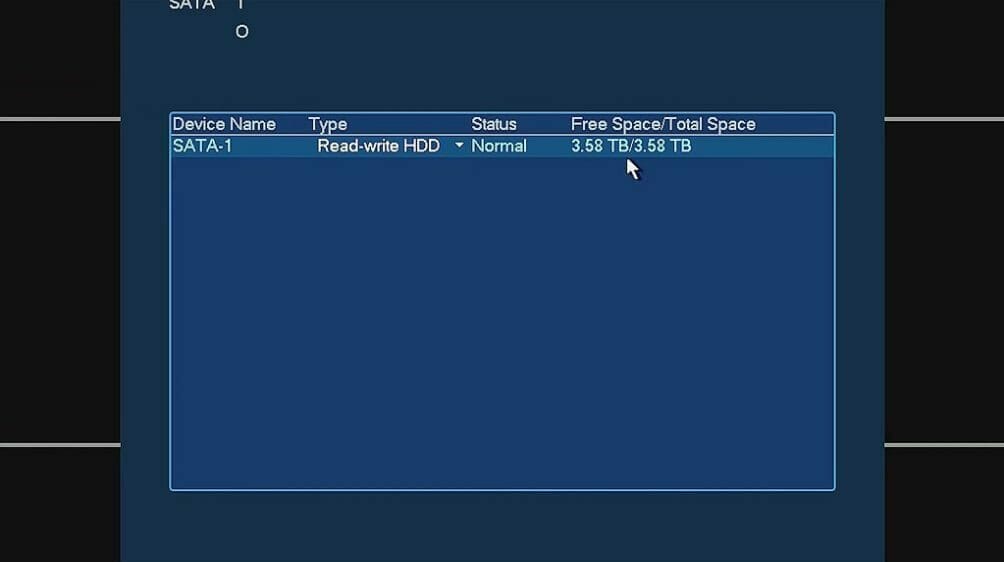
Note: After installing a new HDD, you might have to format it before using it.
If you followed the process above accordingly, you shouldn’t have any issues while replacing the hard drive in Lorex DVR. However, while dealing with Lorex HDD replacement, you should be a little careful.
Take a look at some of our related articles below.
References
(1) hard drive – https://www.seagate.com/do-more/everything-you-wanted-to-know-about-hard-drives-master-dm/
(2) SATA – https://www.britannica.com/technology/SATA
Video Reference