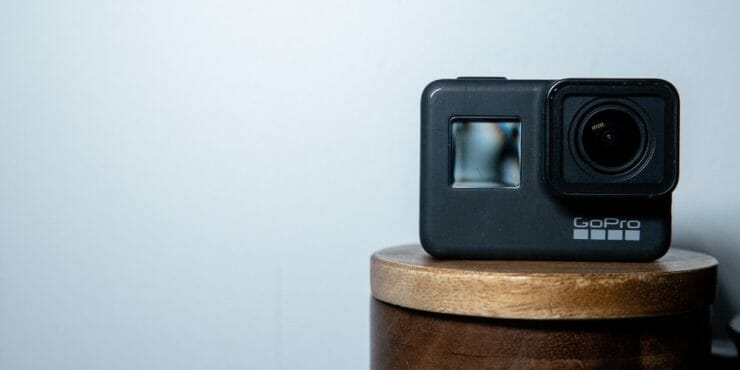
A GoPro’s ultra-wide settings and excellent video resolution make it ideal for a security device.
Don’t worry because it is a straightforward process. Installation is easy, and you don’t need to invest heavily in secondary parts.
Let’s get started.
Things to Prepare
This post is your complete do-it-yourself guide on how to make a GoPro security camera. There are a couple of items that you need to prepare, namely:
- GoPro Cam (any model)
- A tripod
- USB Cable(s)
- USB Extension Cord(s)
- Download the GoPro app on your device
8 DIY Steps to Turn your GoPro into a Security Camera
Step 1: Look for the Right Angle
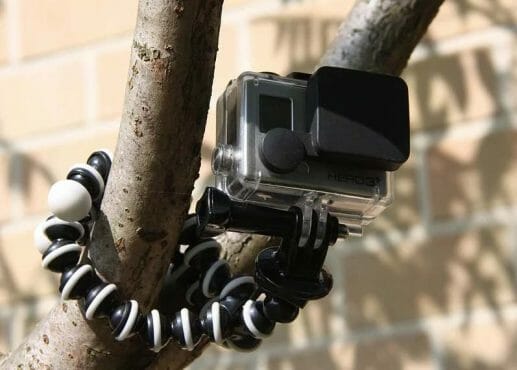
The first thing you should do is find a suitable location for your camera. If you’re using a tripod, be sure you have enough space to support the tripod. You want to ensure the image you take is clear and that you span the entire region. This is the time to try out several locations to ensure your camera is in the right place.
When you determine the position, it’s time to install the wall mount. I recommend having it near an area wall outlet to power the GoPro.
Step 2: Download the GoPro Application

Ensure you install the GoPro app on your device and turn your camera on so the two can communicate.
You’ll need to set up a broadcast connection with the computer to transform the GoPro into a security camera. It may take some tweaking, but the final result will be worth it.
You should also have a content video player installed on your computer to reach the recordings, such as VLC. Access the network menu in the software and type udp:/@:8554 into the URL field. This is for streaming purposes only. (1)
Step 3: Link to the Web Server of the GoPro
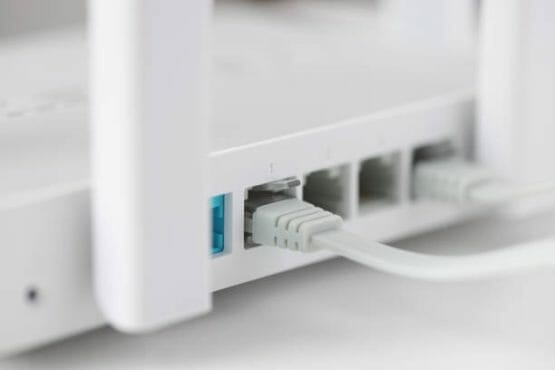
Open a web browser and enter 10.5.5.9:8080 as the IP address. This is possible because GoPro runs on a web HTTP server on port 8080. However, it is better to be sure. Select GoPro from the router list, then navigate to the TCP/IP tab in the System Preferences > Network > Advanced menu. You can find the IP Address under the name “Router.”
Your GoPro app typically uses this port on mobile devices such as Android or iOS to access files from your GoPro camera into mobile devices. In this case, you must connect your computer to GoPro’s HTTP server to stream videos directly to your computer.
To see what the camera is streaming, click the Live folder link. The folder contains access to the streams generated by the GoPro camera for live streaming to mobile apps.
Step 4: Make Sure Your SD Card has Enough Space
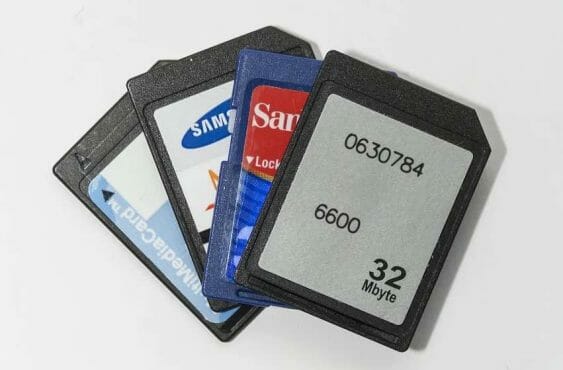
You must confirm that the SD card in your GoPro has sufficient storage space to record the videos. If the SD Card’s memory reaches its capacity, the previously taken footage will be replaced. This is why it’s crucial to know how much memory you have so you don’t lose any vital data you might need or want to see ahead.
Step 5: Set the Resolution
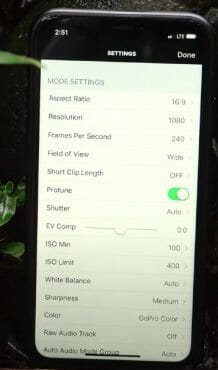
Set the resolution to 720p and the frame rate to 30 frames per second. It’s already in HD and takes up less space than higher resolutions.
Moreover, you may choose any resolution you want because GoPro offers a wide range of ultra-high-quality video resolutions, unlike traditional CCTV cameras.
However, a resolution higher than 1080p isn’t necessary in your case. The larger the resolution, the greater the storage the recordings will occupy on your disk.
Step 6: Choose the Low-Light Option
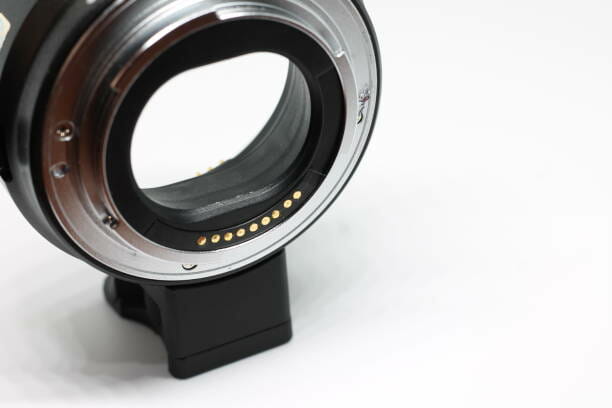
When shooting in low-light conditions, switch on the Low-light function and Protune to increase the video ISO. (2)
Assure that all other sounds, as well as LED lights, are turned off. This helps keep your security camera from drawing attention to itself, letting you record precise clips.
Step 7: Connect to Power Source

Connect the USB cable to the GoPro camera before attaching it to the wall. Using the 5V charger, connect the GoPro USB cable to the nearest wall outlet.
This is to ensure that your GoPro camera has a constant power supply. After that, turn on your device’s wireless operation. Your camera is now ready to be used as a security camera.
Step 8: Start and Test Your Camera
First, you must open the “capture settings” menu and select “Loop” to have your camera record the content indefinitely. If you set the camera to Loop mode, you’ll receive 15 minutes of continuous recordings. In this case, you must ensure that the SD card in your GoPro has sufficient storage space to capture the video content.
After that, connect the GoPro USB wire to the nearest wall socket with the 5V charger. Turn on your GoPro and check if it is working.
Top 3 Reasons Why to Use a GoPro as Security Camera
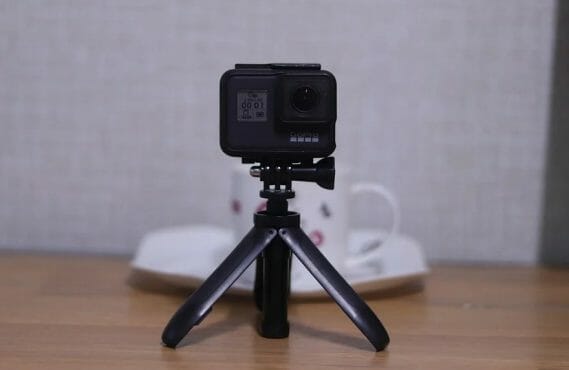
The concept of a camera system constantly monitoring your house is appealing; however, the price of such a surveillance system and a DVR is disheartening. But what if you happen to have an extra GoPro action camera lying around? Why not modify it and turn it into a powerful security camera?
1. A Practical Solution to an Expensive Home Security Upgrade
Purchasing a camera for security purposes may be expensive, so you may want to use your spare GoPro in another way.
Using a GoPro can save you money and get more use out of something that you already have. You may use these devices inside your home, and you may also use them outside. These cameras are water and shockproof, so you can be confident that they will work perfectly. The ultra-wide settings and excellent video resolution of the GoPro make it suitable as a surveillance monitor.
2. Giving your Home Security Assurance
You may have had a sneaking hunch that a burglar is targeting your home. Or you may sense somebody is up to no good and wants to ensure your family and house are safe. This is when a camera may provide you with that sense of security.
It can operate as a deterrent since people will avoid places where they are likely to be caught doing something they shouldn’t be doing.
3. To Capture Footage for Evidence Purposes
Camera footage is admissible evidence in court.
You might also use your GoPro camera’s footage if you need to verify something, in which case a spy camera would be an excellent choice. A hidden camera can assist you in proving your case and putting your mind at ease.
FAQs
Are There Any Drawbacks to Using a GoPro Cam as a Surveillance camera?
Connecting your old GoPro to a computer or smartphone sounds excellent on paper. The ultra-wide settings and high video resolution of the GoPro make it perfect for a security camera. Still, some severe issues are looming over the concept.
Manufacturers expressly state that GoPros are not intended for continuous use. Using the camera in this manner will cause it to overheat, resulting in sudden stream termination, and it might potentially damage the device. Another issue is that if the company discovers you were tweaking the device by using it for unintended reasons, they will deny your warranty claim.
How to Watch the Live Feed on Your Computer?
Connecting GoPro WiFi to your device can be handy. Through this method, you can try to preview your movie on Quik or GoPro Studio. Since Quik/GoPro Studio does not transmit audio to the live preview, it will compress the clips to such low quality that you won’t be able to hear anything.
You should have a feature-rich media player installed on your computer to access the footage, such as VLC. Enter the following line into the URL box of the software’s network menu: udp:/@:8554. This is for streaming.
You may use VLC across WiFi, although there are certain drawbacks to doing so:
- It will compress the videos, resulting in a slow preview.
- Since you will need to connect the GoPro to your laptop/PC’s WiFi, you won’t be able to use the internet simultaneously.
- When the GoPro is not recording, it sleeps and disconnects the WiFi.
References
(1) VLC – https://www.pcmag.com/encyclopedia/term/vlc
(2) ISO – https://www.investopedia.com/terms/i/international-organization-for-standardization-iso.asp

