Recharging the battery of a wireless camera throughout the year can be tedious and potentially dangerous, particularly during the winter. This makes using a solar panel to power the camera a really good idea.
You can make a solar-powered outdoor wireless security camera by following these seven easy steps:
- Choose a solar panel that provides the same voltage as your charger
- Choose a USB cable with 90-degree plugs
- Test the solar panel by appending it to charge your phone
- Waterproof the USB module of the solar panel using a glue gun
- Chose a location to mount the solar panel such that it gets a lot of sunlight
- Mount the solar panel
- Waterproof the USB port of the camera.
In this article, I will go through the process of making an outdoor wireless security camera solar-powered in more detail.
Things You Need
Here’s a list of everything you will need to follow in this guide.
- Wireless chargeable camera with battery
- Solar panel
- USB cable
- Hot glue gun
- Screws and anchors
- Drill and drill bits
Since there is no sunlight at night, you should pair the solar panel with a battery. However, pairing solar power with a battery may not be approved by your manufacturer and may void your warranty. Do this at your own risk.
Let’s get on with the steps.
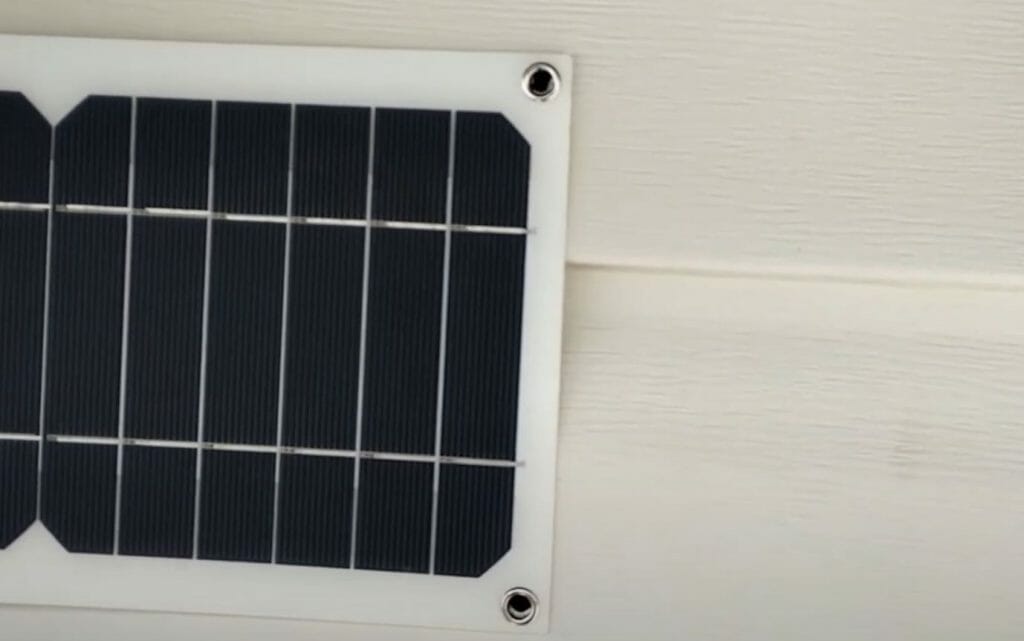
Step 1: Choose the Solar Panel
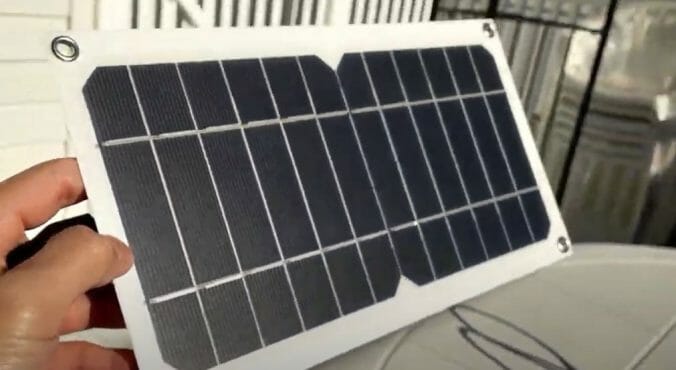
You need a solar panel that can provide the right voltage and enough power. You can determine the required voltage by reading the labels on the charger. Usually, security camera batteries charge at 5V. (1)
Since the voltage is fixed, the current is the only factor determining the power output. You can also estimate the current needed to charge the camera by reading the labels on the charger. For most cameras, a solar panel the size shown in the pictures will do.
The camera we used needs 5 volts to get charged according to the labels on the charger. The charger supplies 750mA of current. The solar panel we used outputs 5 volts.
However, the current depends on the amount of light on the panel. The panel we used can maximally provide 800mA of current, but it would be much lower most of the time.
This is not a problem for most cameras. We do not have to provide the current charger; we have to provide a bit more power daily than the amount of power the camera uses. An 800mA solar panel was adequate for our camera. In just 15 days, the camera battery went from 65 percent to 80 percent. This 1 percent increase per day is not bad, considering the camera ran the entire time.
Step 2: Choose the USB Cable
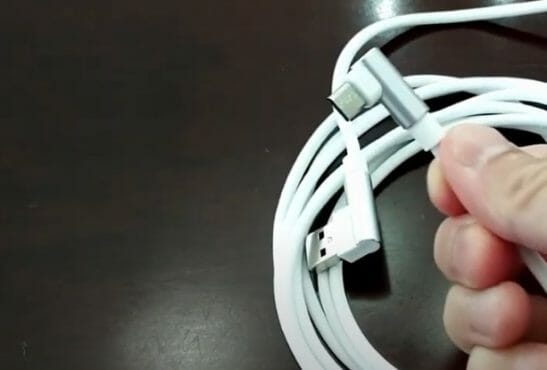
The length of this cable will depend on how far you want to place the solar panel from the camera. However, do not use a USB cable longer than 3 meters. The power supplied will decrease significantly if you use a longer USB cable. (2)
Make sure both the solar panel and the wireless security camera are USB-enabled. You also need a USB cable with 90-degree plugs.
Step 3: Test the Solar Panel
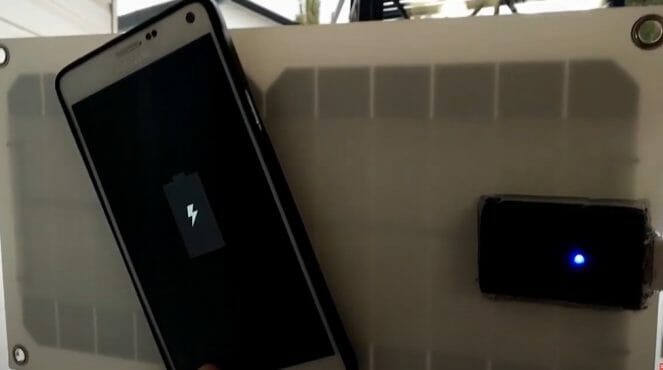
If the solar panel outputs 5V, you can test it using your phone. Most phones use a 5V charger and can theoretically be charged with a 5V solar panel.
Connect the USB cable to the solar panel and the phones, place the solar panel somewhere with direct sunlight, and see if the phone starts charging. You do not have to wait till the battery percentage increases, however. It’s enough to verify that the solar panel is working if your phone starts charging.
Alternatively, you may use a USB tester or a USB voltmeter to verify that the solar power is working and supplying 5 volts.
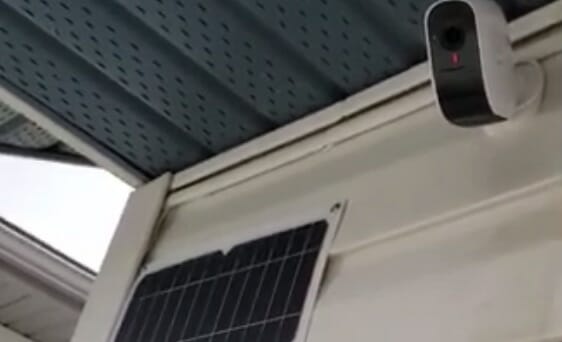
Step 4: Waterproof the USB Module
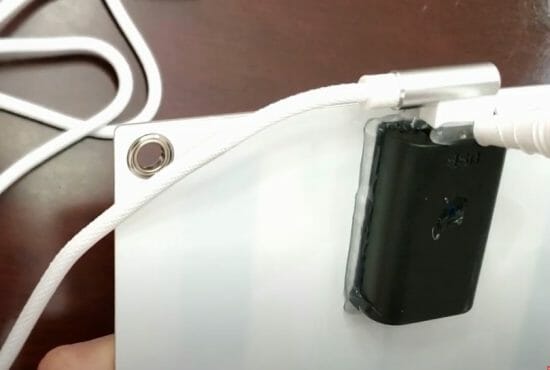
The USB module at the back of the solar panel may get exposed to water and elements. To keep the solar panel from deteriorating, you can waterproof the module with a hot glue gun.
Cover all the open edges and holes where water can get through with hot glue—also, waterproof the USB port after plugging the USB cable in.
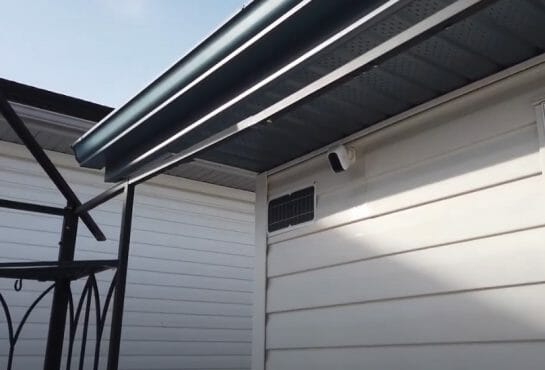
Step 5: Choose the Location
This is the most elaborate step in this process and requires carefully considering several factors. I thought it best to discuss each factor individually.
- Direct Sunlight
As you would have guessed, the solar panel must be outdoors to get direct sunlight. Indirect and reflected sunlight may not allow the solar panel to produce much power.
- Direction
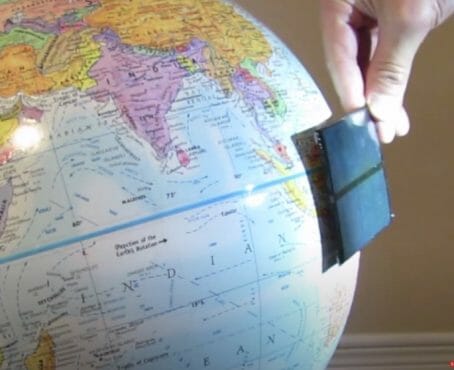
To maximize the power output, the solar panel should be directed toward the average location of the sun.
If you live in the southern hemisphere, you must direct the solar panel toward *true north*. The solar panel should be tilted towards the true south if you live in the northern hemisphere.
- Angle
The closer you are to the equator, the straighter up the panel should point. For people living near the equator, the mean location of the sun is directly above, and hence the solar panel should best direct upward.
The farther you are from the equator, the greater the tilt angle. The direction of the tilt is still determined, as described in the previous point.
- Seasons
The mean location of the sun oscillates slightly throughout the year. But this change is not significant enough to vary your results. The weather changes, however, can greatly impact the sunlight intensity. Long battery life can help the camera stay alive during these seasons. But a larger solar panel that collects more light and produces more power can also work as a solution.
- Dust and Snow
Accumulating dust and snow on the solar panel can lower the amount of light that reaches the diodes in the solar panel, significantly reducing the power output. Regularly cleaning the solar panel will fix this, but you must consider that you will need to clean the solar panel regularly, setting calendar events can help.
- Surroundings
Different structures, such as trees and other houses, may block sunlight from reaching the panel at different times.
Placing it in direct sunlight is not enough because the sun will shift, and some structures may cast a shadow on the solar panel during the second half of the day.
Carefully place the solar panel so that it gets the maximum light most of the day.
- Distance to Camera
If the solar panel is too far away from the camera, you will need to use a longer USB cable which would result in power loss. Hence, the solar panel should be placed close to the camera to get optimal results.
All of these factors are significant in determining the power that the camera will receive. Security camera batteries last quite a long time, and the camera uses a very small amount of power. You can sacrifice some of these for your convenience and still get more than enough power to charge and run the camera continuously.
Step 6: Install the Solar Panel
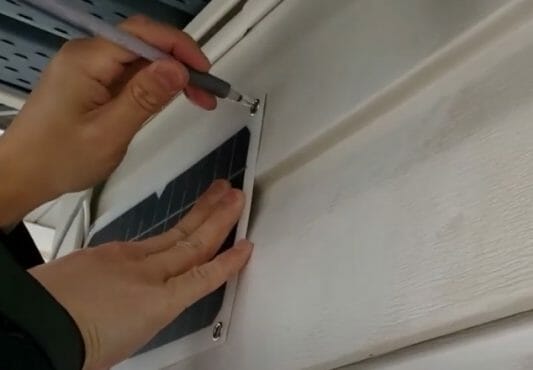
Depending on where you wish to place the solar panel, you may need to use a drill. First, use the holes on the solar panel to mark where the holes should be.
Use appropriate drill bits for the anchors.
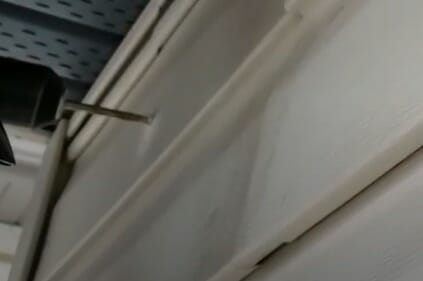
Check the alignment of the holes after drilling each hole.
Once all the holes have been drilled, you can insert the anchors.
Secure the panel from one corner partially and then route the USB cable to the camera. At this stage, you can test whether the solar panel can charge the camera adequately.
Doing this process during the daytime makes it easier to test the solar panel. You may need to use a bright light source on a cloudy day to perform this test.
Complete the routing process after verifying and tuck away any extra cable.
Step 7: Waterproof the Camera

Wireless cameras are not designed to be waterproof while they’re being charged. When you remove the cap to plug the USB cable, the USB port is exposed to water and the elements.
You can use the same hot glue gun to waterproof the USB port on the camera after you have plugged the USB cable in. Make sure to fill it thoroughly and let the glue cure.
You may want to check the video guide below;
Other videos you may refer to;
And with that, you’re done. Your camera will start charging, and the solar panel will not let the battery drop. This way, you get the benefits of a wireless camera without having to recharge the camera now and then.
References
(1) voltage – http://hyperphysics.phy-astr.gsu.edu/hbase/electric/elevol.html
(2) USB – https://www.computerhope.com/jargon/u/usb.htm