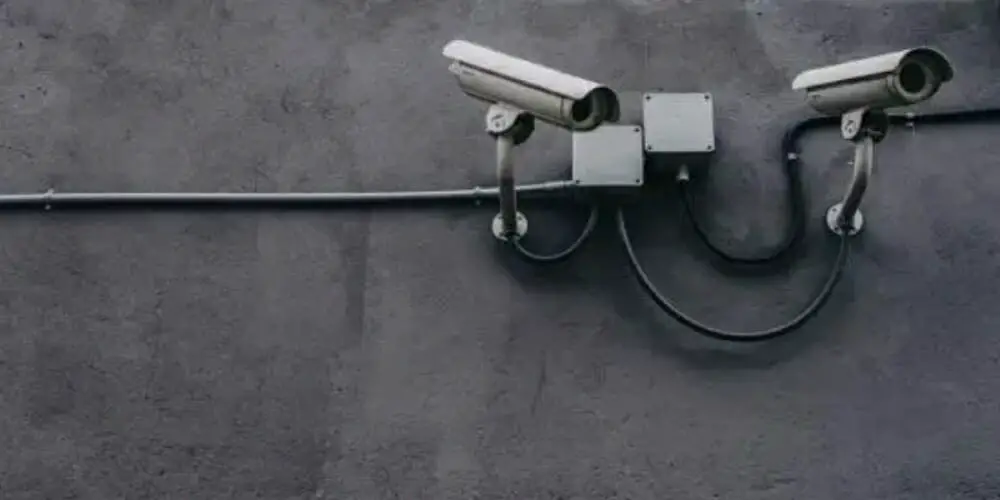
Wireless security camera systems have many perks and benefits that you cannot get from traditional wired security cameras. However, the additional cost of installing one can be a problem, apart from other challenges. You can easily repurpose a wired security camera as a wireless IP camera in just a few simple steps, eight, to be exact!
We are going to tell you exactly how to make a wired security camera wireless and easily access the video feed from any device you want, mobile or otherwise. Let’s start with the list of things you will need to acquire to make it work.
List of Equipment You Need
IP Wireless Security Camera
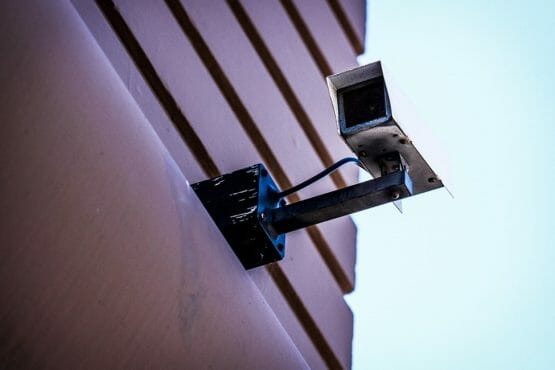
The first thing you need when learning how to make a wired security camera wireless is obviously the wireless security camera itself that you want to convert. You can either pick one up that you already have or opt for a new one that meets your requirements like night vision, wide FOV, and high image resolution.
2.4GHz Wireless Access Point
Since your camera will be working over Wi-Fi, you will need to create a wireless network using a 2.4GHz access point. While it is possible to do this using your home router, there will always be signal and reliability issues, so a dedicated device is recommended. To ensure performance and reliability, you can choose from the following options. (1)
Access Point for Outdoor Use
This needs to be something that has an 11dbi antenna, weatherproofing for outdoor use, and a large enough range to cover your desired area including obstructions. Typical usage would be industrial locations and large office buildings.
Access Point for Indoor Use
This would be a smaller unit with a relatively smaller range. It can work great for indoor applications and would generally require an additional wireless antenna attachment to work.
Other Necessary Hardware
Some other things that you will need to complete your setup include the following:
- A device to view the feed from the cameras is like a laptop. This can either be a PC or a Mac with an updated and secure browser, preferably Google Chrome.
- 12V DC PSU with at least 1A of output current to power the camera. You can check the camera specifications for further clarification on this.
- In case your power outlet is not close by and you need to extend the wire for the camera, you will also need additional wire. An 18awg 2-lead wire should do the job.
- One male and one female power terminal to connect the wire extension to the primary camera wire.
- PVC pipe to act as a mast if you are planning to mount the camera indoors
- Some screws, zip ties, and electrical tape for covering exposed wiring.
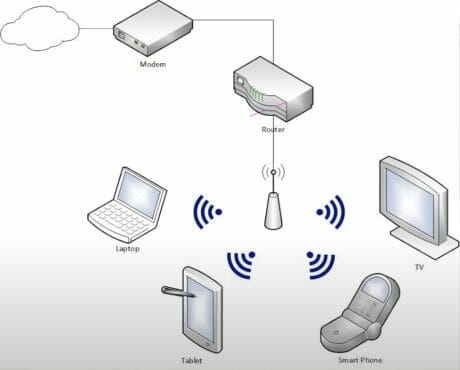
Setup Diagram
Step 1: IP address setup for your camera
To set up the IP address of your wireless security camera, you need to access the control panel of your access point device. The manual that comes with the device usually has this information and once you open the control panel, you can find your camera connected to it and give it an IP address of your choosing. Keeping a static IP instead of automatically prevents connectivity issues caused by new IP address assignments if the router power cycles.
Configuring the IP Address of Your Wireless AP
Since your wireless AP will be connecting your camera to your viewing devices wirelessly, a compatible IP address needs to be configured for it to act as a bridge between the camera and the viewing device of your choice. Use a compatible IP address for the wireless AP so that it can seamlessly transmit your camera feed to your devices. (2)
Step 2: Connecting Your AP to Your Internet
You will see a Power over Ethernet (PoE) injector with your AP device which you will use as a wireless converter for a wired security camera. The PoE cable will connect to your AP device and the LAN cable will connect to your router/network switch’s secondary LAN port.
Step 3: Log in to Your Access Point Device
Find out the default login IP address of your Access Point and enter it on a computer connected to the same network. Once you enter the correct IP address (192.168.1.20 for Ubiquiti), you will see a device log-in page. In case you get a security error saying, “Your Connection is Not Private”, simply click on the underlined “Advanced” text link and click on “Proceed to 192.168.1.20”, or whatever your IP address may be.
The login page will ask for a username and password, and each device has default values that you can use to log in.
Step 4: Update Your Password
Once you enter the setup screen, be sure to change that password to avoid security breaches. You can find the setting to do so under the “System” or “Settings” menu/tab. The process is self-explanatory and usually requires you to enter the current password along with the new password for the device.
Also, check for other settings like Time Zone and correct it if wrong values are selected. Do not forget to Apply Changes once done, as some devices require you to do that before applying the values. Some devices also restart to apply changes, so let them do that if they prompt you.
Step 5: Configure Wi-Fi radio in Access Point mode
Your device can either be used as an Access Point or as an Extender which is used to expand Wi-Fi coverage. Since the latter is not your concern, you will need to go into the Wireless settings menu/tab and select Access Point as your device’s wireless mode. You will need to leave most of the other settings untouched as they will already be set according to your need.
Ensure the IEEE 802.11 Mode is set to “B/G/N mixed” or a similar setting to ensure maximum compatibility. If you have other wireless modems operating nearby, you may change the frequency to a lower value to avoid interference. Also, change the SSID of the device to something that you can easily recognize on your computer or mobile device’s Wi-Fi menu to connect.
As for camera wireless security on your device, the mode you should select for security should be WPA2-AES with the Authentication method set to PSK. Also, use a strong password in the WPA Key option for maximum wireless security.
After all the settings have been updated, select the relevant button at the bottom of the screen which may say “Apply”, “Change”, or “Update” in most cases.
Step 6: Turn off MIMO signal transmission on Ubiquiti radios
Multiple Input Multiple Output (MIMO) is a technology introduced in 2015 to improve data transmission speeds between devices and pretty much all good quality APs come with this option included. However, very few laptops or mobile devices have this feature, so turning it off is best. You can find the option to disable this feature under wireless or network settings.
Some devices like Ubiquiti, come under a special menu. Typically, this is the first tab and the option you will need to uncheck for Ubiquiti devices is called airMAX. Do not forget to click on the “Change” or another relevant button to apply this change.
Step 7: Connect AP to Camera
By now, your device should be successfully configured to transmit a secure Wi-Fi signal with the MIMO option turned off. The next step here is to disconnect the AP from your router/network switch and connect it to your camera. It is extremely likely that you are using a PoE IP camera that comes with two ports, an RJ45 network port, and a power input cable.
The RJ45 network port should be enough on its own to provide both power and network access to your camera if you are using a PoE injector as a wireless converter for a wired security camera. In case you do not have a PoE injector, you will also need to connect the power cable to a power outlet with a 12V adapter with 1A current capacity. Use the following guidelines to make sure you configure the wires correctly for all devices.
Security Camera:
- RJ45 Port – connected to PoE injector’s LAN port
- Power Port – connected to LAN port of the PoE injector of your Access Point
Access Point
- RJ45 Port – connected to port market PoE on the PoE Injector of your Access Point
PoE Injector
- LAN Port – connected to RJ45 port of your camera
- PoE Port – connected to LAN or MAIN port of the Access Point
- AC 110V – plugged to 110V AC source. Depending on your country this can also be 220V.
Step 8: Connect to the AP from your Laptop using WiFi
Now that your camera is connected to the internet and transmitting, it is time to view its feed on your computer or other devices. To connect to your camera’s feed, you will need to search for the Wi-Fi name that you gave to your access point. Once you find the name showing in your list of Wi-Fi options, select it and enter the password that you set for the AP when prompted.
Once you are connected to the Wi-Fi, you will enter the IP address you assigned to your IP camera in the beginning. This will take you to a login page where you will enter the login and password for your camera, and you should be able to see the camera feed on your screen.
In case you get confused at any stage of the setup process, be sure to consult the device manuals for clarification on technical terms and connectivity options. If you have any questions regarding the process or anything else you would like to share, please do so in the comments below. We would love to hear your views on the subject and help you out in any way we can! Do check out other posts on our website for more useful information.
References
(1) access point – https://www.pcmag.com/how-to/modem-router-and-access-point-what-is-the-difference
(2) IP address – https://www.kaspersky.com/resource-center/definitions/what-is-an-ip-address