
When I help clients with security installations, one of the most common issues they have is hooking up their security camera to a TV (traditionally, it was a VCR).
While these may be outdated, some people still choose to use these and hopefully upgrade to a DVR or NVR later; regardless, here, we’ll cover it all, including the basics of hooking up a camera and connecting it to a TV, VCR, DVR, or DVD recorder.
What Will You Need?
You will need a video camera, VCR, and TV to monitor the activity that your camera has seen or captured.
A VCR performs well because it records or captures video for a long period, up to 8 hours or above. To connect a VCR, you don’t need a special technician. It can be done by you alone, by following some important steps.
Here I will go through how simple it is to set up a CCTV system on a standard TV.
Step 1: Install the Video Camera
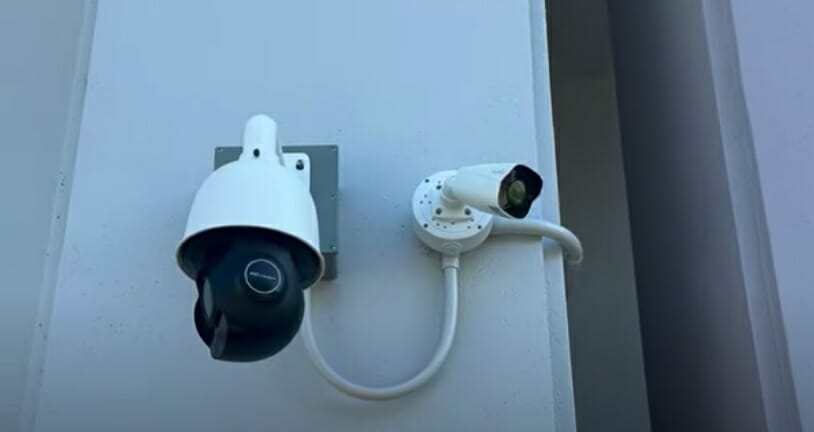
Start with mounting the video camera, for that you need to go to your television. It should be within the range of the CCTV or security camera.
How to mount security cameras on the wall.
- Markdown the screw points on the wall where you want to install the camera
- Drill three or four holes on the marked points inside the wall
- Create a space or a larger hole for plugging and wiring
- Attach the wire cable with the power adapter
- Now connect the cable to the camera
- Line up the camera screw holes with the screw holes you drilled and screw them in tightly.
- Now adjust the camera’s direction, and your camera is successfully installed.
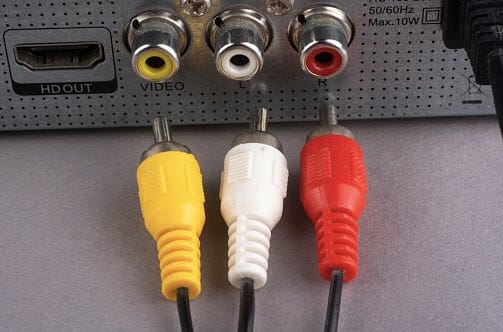
Step 2: Connect an RCA Video Cable
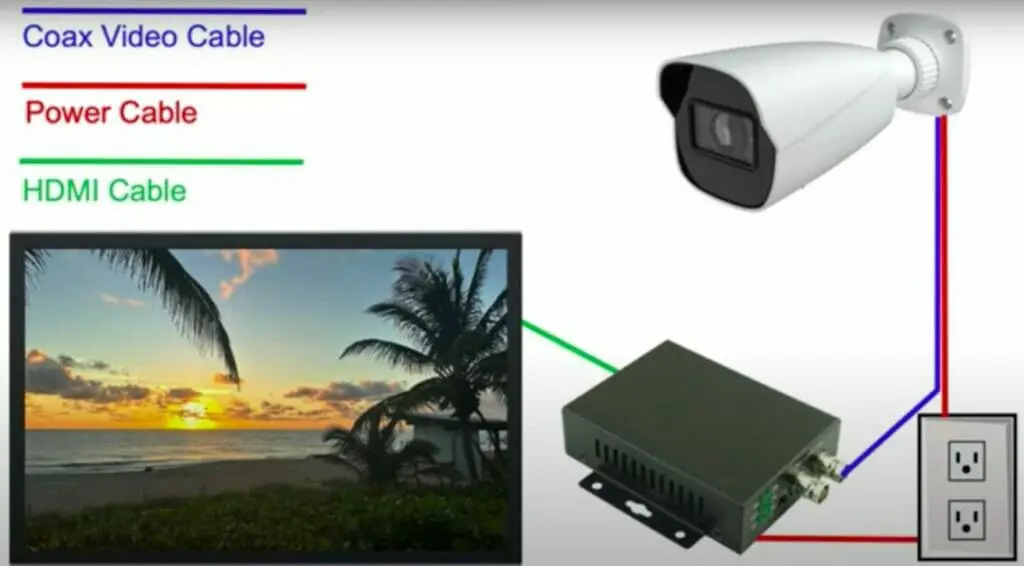
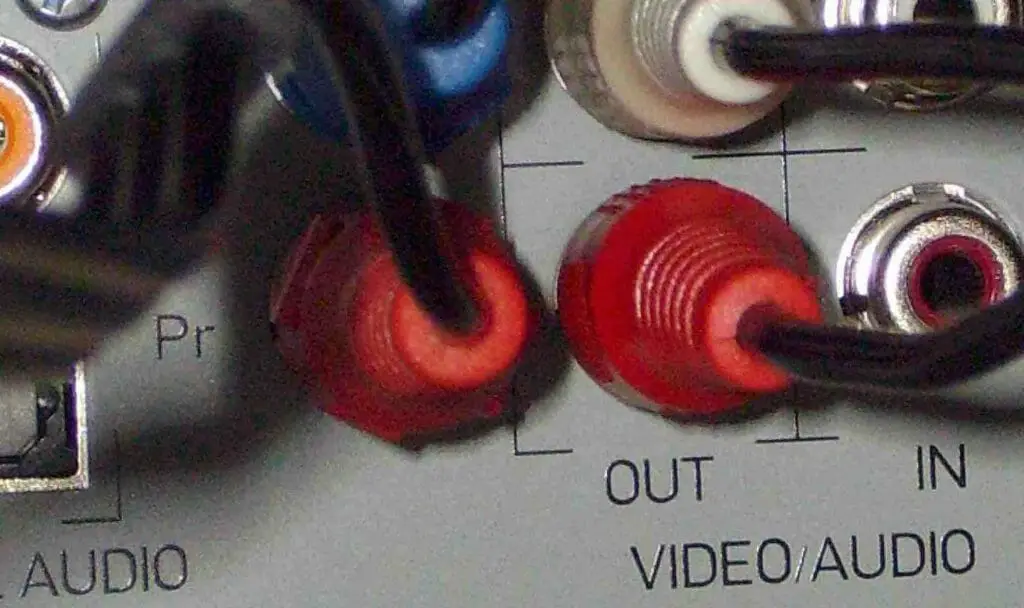
We all know about the three color-coded cables connected to your TV and DVD player. Those three colored cables are known as RCA Video Cables. The colors usually used in RCA cables are Red, Yellow, White, or Black.
Usually, the red cable is for the Right Audio channel, and right or black for the left audio channel, and the yellow for the video output.
Step 3: Plug in the Power Cord
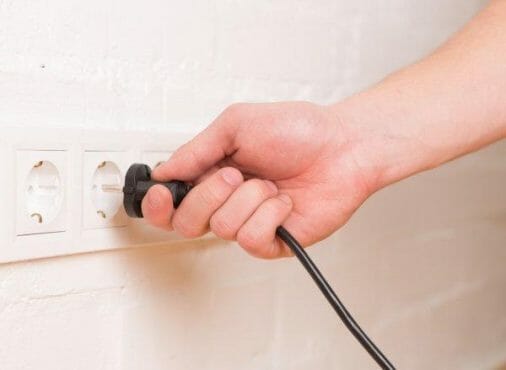
To connect you’re Power Cord with your AC (Alternating current) jack of the camera and another end PowerPoint with the socket. Use wire biddings to hold the long-length cable.
Connect your camera with RCA cables and the adapter by following the color code.
Plug your RCA video cable into the video jack and the audio cable into the audio jack of the camera. This will also connect your camera to the microphone.
After plugging the security camera with an RCA cable, connect the camera to the power adapter with the main switch.
Step 4: Connect the Other Ends of The Video
Now, it’s time to connect the other ends of the RCA cable with the TV or VCR, or DVD player. Follow the same color code you use to connect with the camera.
Step 5: Connect Video and Audio Cables
Plugin the other ends of the cable of Audio and Video into their Jacks of the VCR. Your camera is successfully connected to your VCR.
After connecting both ends of the RCA cable with the camera and TV or VCR or DVD and power adapter, you will have access to the video camera.
Step 6: Connect the Other Ends of the Cords to the Video and Audio In Jack

You need a VCR attached to your camera and TV to record what your camera has seen. You can use a DVR for long recordings as well.
As I mentioned above. For that, you need to connect the audio output to the VCR and not to the TV and use another RCA cable to connect the video output of the VCR to the TV.
When done, you can test the image and sound your camera sees.
Step 7: Configure the TV and VCR to Channels 3 or 4
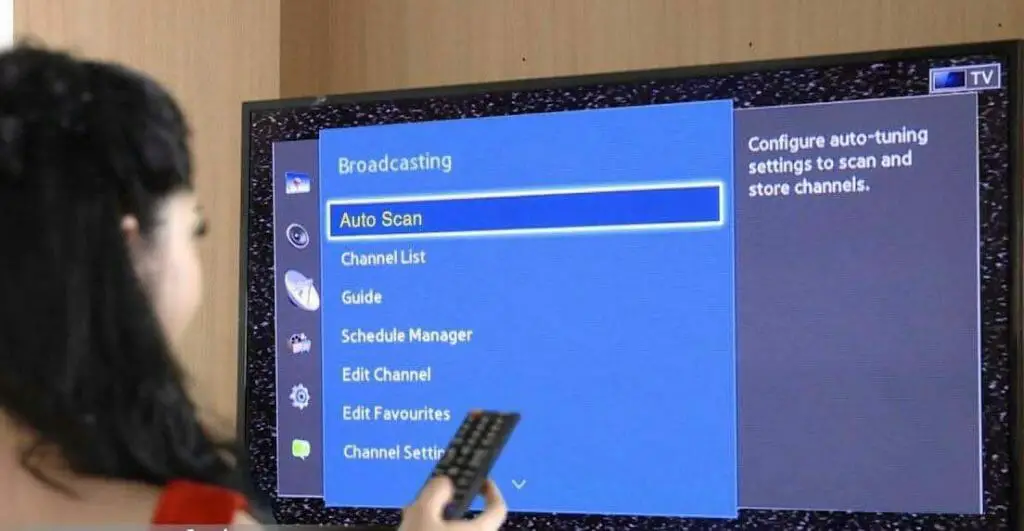
At this stage, you are connected to your VCR or Television. You only need to adjust the channel to either 3 or 4 to check the correct clear view and sound.
Go to the 3 or 4 channels to monitor the view from the surveillance system you installed. Then it is ready to go. (1)
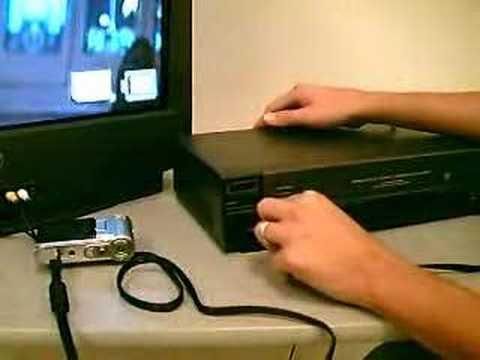
Step 8: Insert a Blank VHS Cassette that Can be Recorded into the VCR

Also, don’t forget to get a blank cassette to insert in the VCR to record the videos. Push the record button on the VCR camera to start recording and monitor properly that it records the correct area you want to record. (2)
Step 9: Set the VCR to Record
Check to see if your VCR player is hooked up correctly to your television. Connect the three colored RCA plugs to the corresponding positions on the television. These plugs are usually found on the back or front of the television.
The red plug should go into the red hole, the white plug should go into the white hole, and the yellow plug should go into the yellow hole.
On the VCR player, press the record button. Allow several minutes for it to run.
Allow the cassette to play what is captured by pressing play so you can check it’s up to par.
Step 10: Monitor the Surveillance Zone
Your surveillance system is ready to monitor. Look at your video and make sure it is live and working and there are no impediments to your camera.
Better Option – To Use an NVR
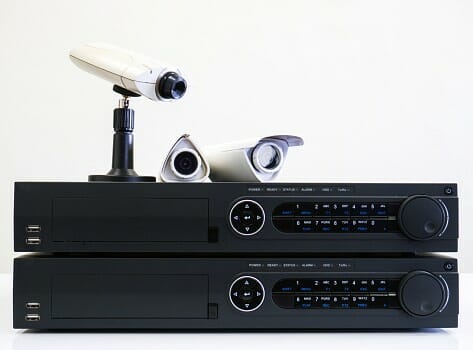
If you’re looking for a video surveillance system for your business, you’ll come across two popular options: DVR (digital video recorder) and NVR (network video recorder) systems. The option you select will impact your total costs, video quality, and film retention.
NVR (network video recorder) security camera systems are the more suitable choice since they provide more convenience and better technology.
How to Set Up an NVR
You can find some main switches for IP surveillance according to different configurations.
The connection will start within the hardware setup; here, we discuss the procedure that helps you
set up the hardware.
Take a cable, and if possible, use Ethernet from your router and connect it with your NVR at the backside of the NVR.
Ensure that the NVR has been connected to the Internet.
Use that ethernet cable to the camera (IP camera) to NVR.
Now, take another cable, known as an HDMI cable, or you can call it a VGA cable to any device like NVR, TV, or with your monitor screen.
If you have done these steps, you can easily access your camera with NVR.
Another step is to connect to your chosen software. This is very easy to do, and more detailed instructions usually come with your particular NVR device.
Benefits of NVR
1. It can easily record video and audio, whereas DVR only records video.
2. NVR performs better than any other device as it has the quality to capture better images.
3. NVR is more flexible to use as compared to other devices.
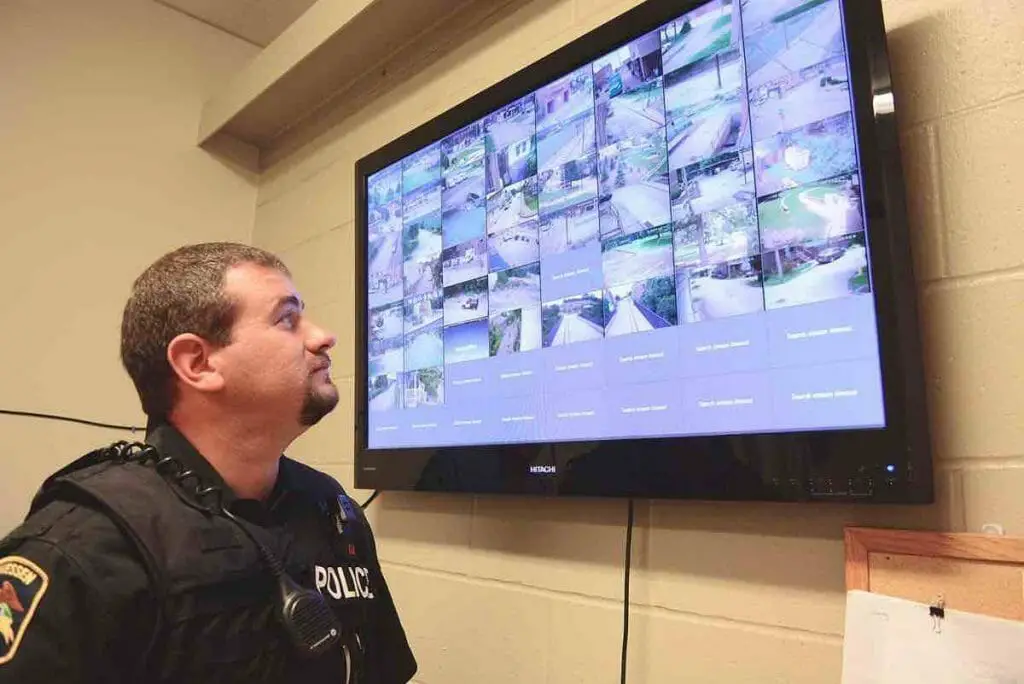
4. The best part of an NVR is it can cover a large area. NVR allows multiple lenses on a single screen which helps in better coverage.
5. It can be wired or wireless, depending on your preference, whereas DVRs are unavailable as wireless units.
5. I found NVR best because it needs only one cable for video, audio, and power.
6. As we discuss, NVR has a quality of more extensive coverage and better image quality. This is the best security option for identifying faces, license plates, and other recordings.
Cables, Connectors, and Other accessories to install the CCTV camera on the TV
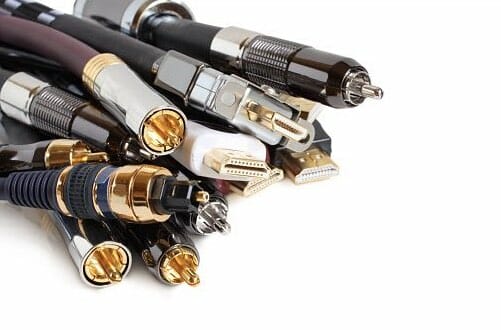
Here we discuss the BNC to RCA adapter. If you want to connect audiovisual equipment like Digital cameras, DVDs, TVs, gaming, speakers, and much more digital equipment, you need many cables and connectors to connect with. RCA cables are typically used to connect many composite video signals or analog video. But if you want to go with a BNC cable, you need a connector cable, though BNC is very easy to a plugin or operate, as you can connect much different equipment with it.
RG59 siamese coaxial cable
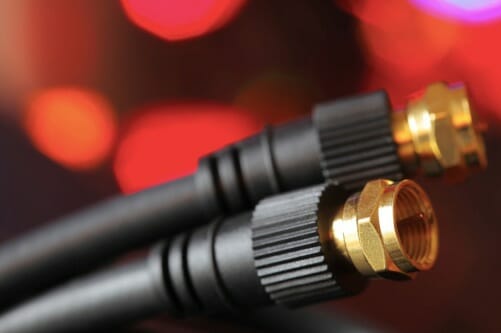
Siamese RG59 cable has the best feature; it can operate video and power in a single Go.
The main benefit of this cable is that it is highly protected from electromagnetic interference; it also has a coax cable inside it. (3)
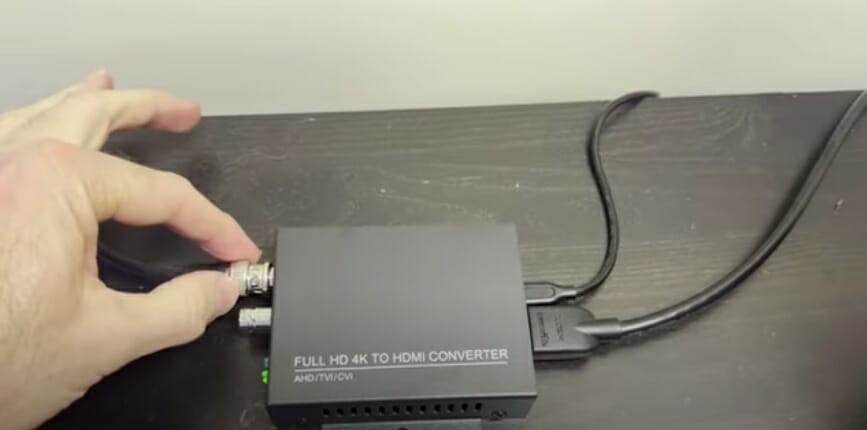
BNC to RCA adapter
Suppose you want to use both cables together by mixing. Then it is possible to use a BNC cable to an RCA connector together. Whereas BNC to RCA adapters are devices that are enabled to plug in a BNC connector to one end, and the other end is to be connected with an RCA connector.
Power Jack Plug Adapter Connector
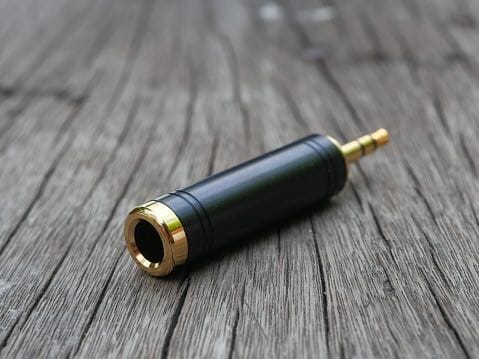
The standard plug or jack automatically has two conductors, one for power and another for Ground. The connection is made to connect it with a center pin to get power access and an outer portion to get ground. And it accepts the reversing connection. Very few power jacks have three conductors, which will form a switch with the outer sleeve of the conductor. One is for switch functioning and insertion of the plug. Another one is used to select a power source between the plug.
BNC connector

You will find a BNC connector in male or female connectors. This also followed universal techniques such as the Male plug will connect to the female and the female plug to the Male. BNC female jack to RCA female jack adapter depends on the connector and which type of connector you use for your cables. The amazing thing is that with BNC, the BNC female jack can be connected to the RCA female jack adapter, even with any other adaptor too. As the same as above, the male BNC will connect to the female BNC connector.
References
(1) Television – https://www.britannica.com/technology/television-technology
(2) cassette – https://www.britannica.com/technology/cassette
(3) electromagnetic-interference – https://www.sciencedirect.com/topics/engineering/electromagnetic-interference
Video Reference
CCTV Camera Pros