I initially hesitated using mini cameras, thinking they’d be difficult to set up and operate. However, I was pleasantly surprised at how user-friendly they can be.
Quick Instructions Summary – To begin, charge your mini camera using the provided USB cable. Most mini-cameras have an LED indicator that shows the charging status. Once fully charged, install a MicroSD card into the designated slot, ensuring it’s correctly seated. Next, download the camera’s companion app on your smartphone or tablet, usually available for iOS and Android platforms.
I will dive deeper into simple instructions and tips to help you make the most of your mini camera below.
Setting Up Your Mini Camera
Initial Set Up
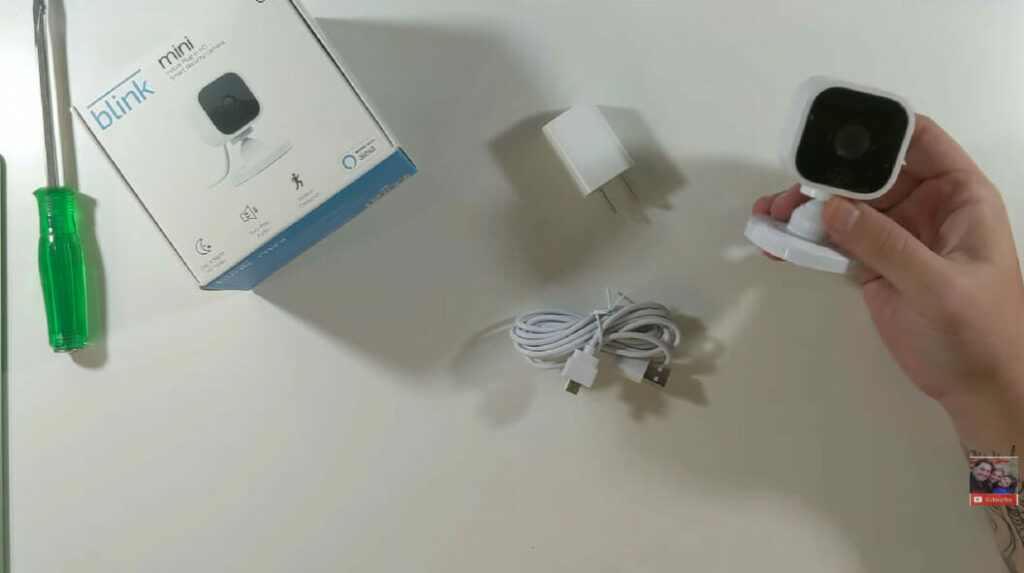
First, ensure your camera has all the necessary components, such as a charging cable and a mounting bracket (if needed.)
Then, you need to set it up properly, so here’s what to do:
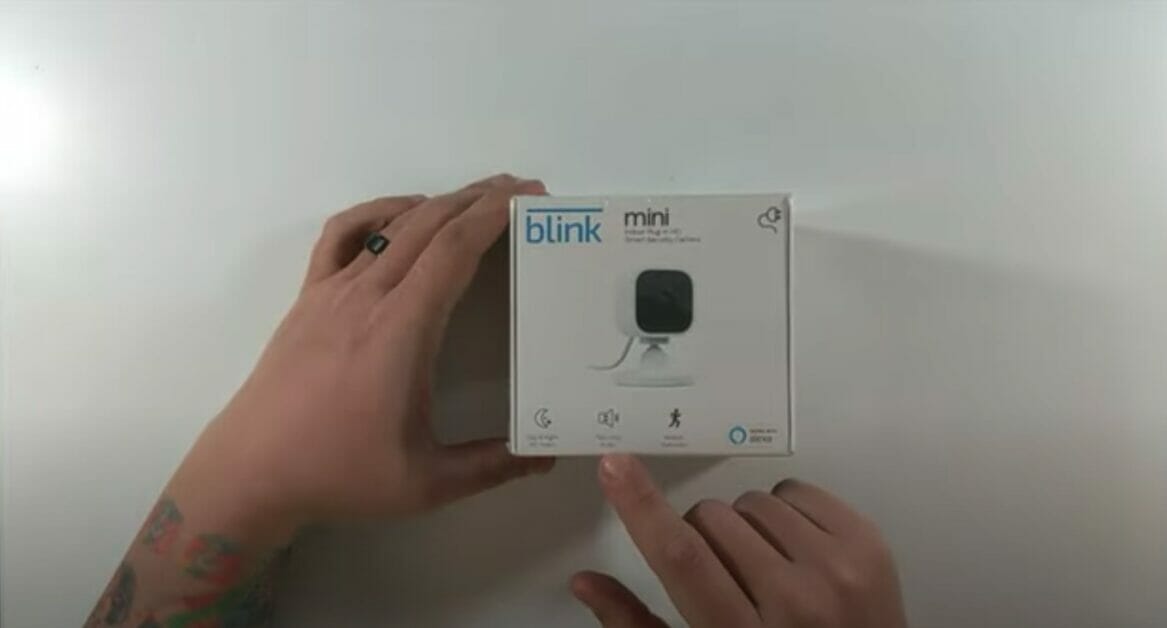
- Unbox your mini camera and carefully inspect it for any damage or defects.
- Make sure that its internal battery is fully charged. Connect it to a power source and wait for the charging indicator to show fully charged.
- Once the battery is ready, insert the memory card into the camera.
- Finally, test the mini camera by pressing the power button and checking if it is turned on.
If everything goes well, the camera’s LED indicator should light up, and you’re now ready to move on to the next step.
Connecting to Wi-Fi
You can now connect to the Wi-Fi with your fully charged mini camera.
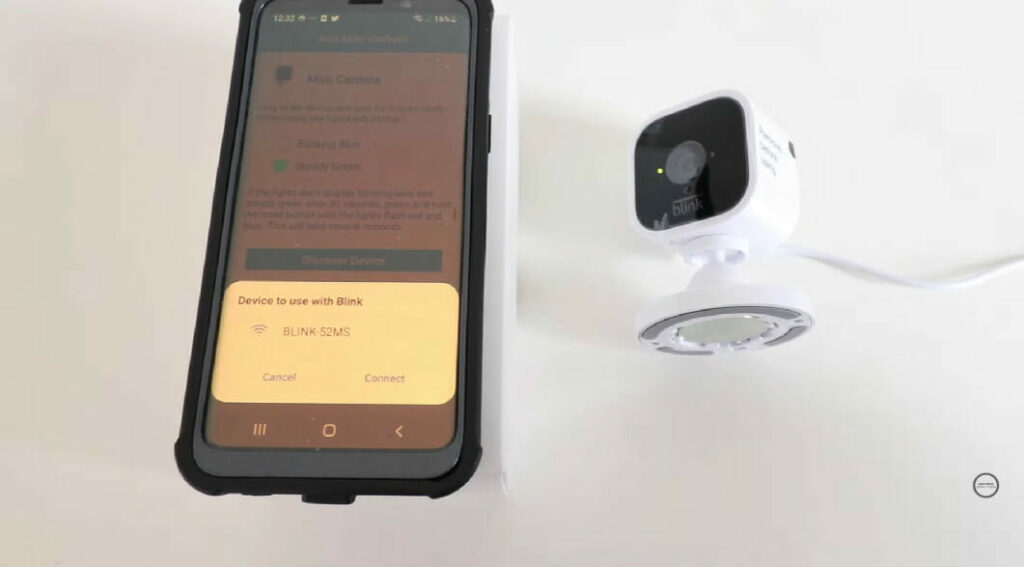
- Go to the Wi-Fi settings on your phone and look for the mini camera’s network.
- Connect your phone to the camera’s Wi-Fi network (the initial password is usually “12345678” or “00000000,” but be sure to check your camera’s manual as it may vary.).
- Once connected, open the mini camera’s companion app (more about that later) and access the camera settings to connect it to the home Wi-Fi router.
It’s that simple!
App Installation and Configuration
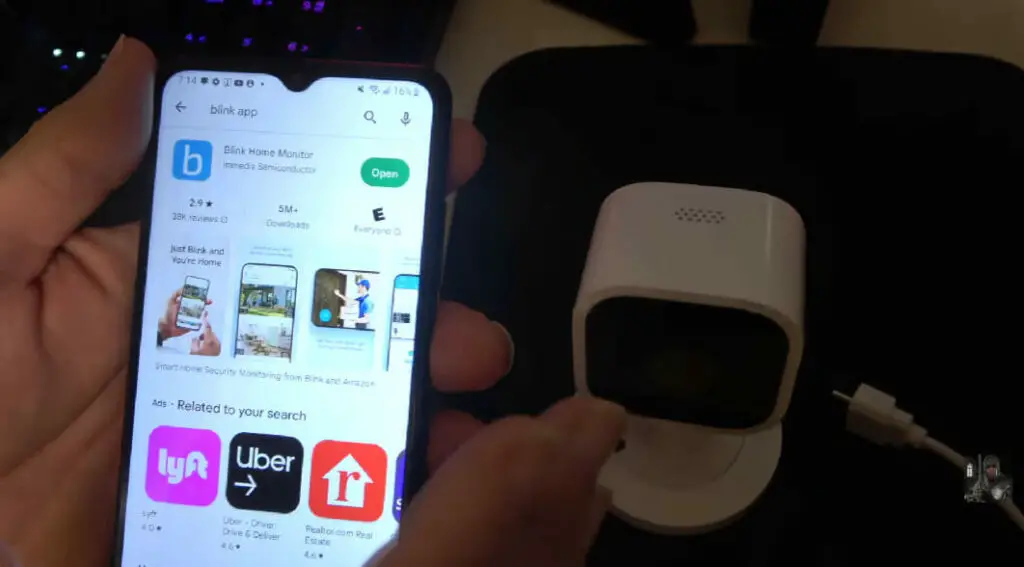
Now, let’s install an app for your Android or iPhone.
- Head to the Google Play Store or Apple App Store on your smartphone.
- Search for the recommended app in your camera’s user manual.
- Install the app and open it once the installation is complete.
Finally, onto the configuration:
- Sign up or log in to the app (use a secure password, please!).
- Look for the “Add Camera button” or a similar option to connect your mini camera to the app.
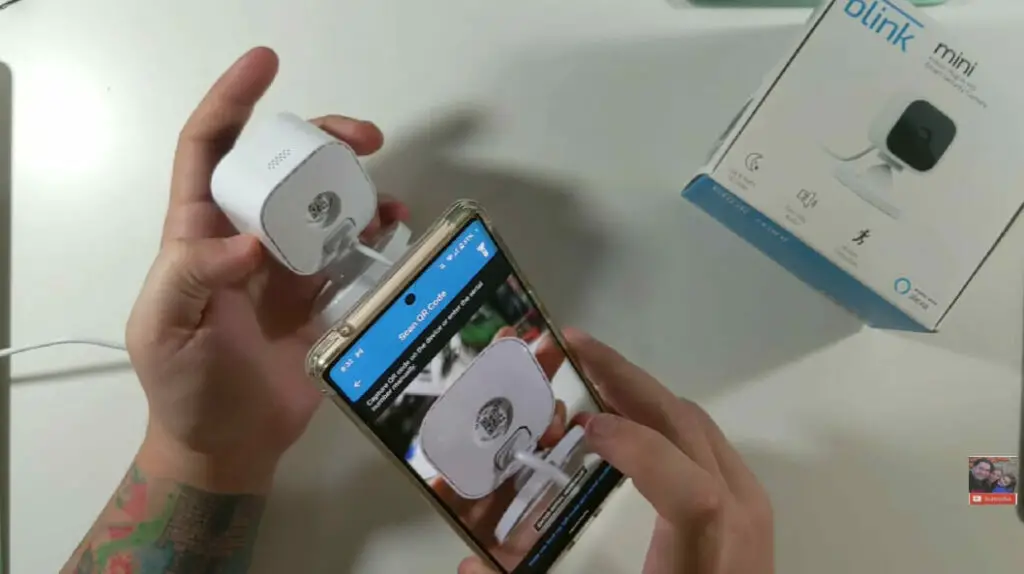
- Follow the on-screen instructions, usually scanning a QR code on the camera or manually entering its ID.
- Customize settings like motion detection, recording time, and video quality to your preference.
And presto! Your mini camera is all setup and ready to roll.
Advanced Features
Motion Detection
Motion detection is a game-changer. To make the most of this feature, put your mini camera in an area with a clear line of sight and no obstructions.
This allows the camera to detect any movement within its field of view. Accordingly, I’ve found it extremely useful for monitoring my front door, keeping an eye on my pets, and ensuring my home is secure when I’m away.
Setting up motion detection is quite simple, and here’s how you can do it:
- Turn on the mini camera and navigate to the settings menu.
- Select the “Motion Detection” option and toggle it on.
- Adjust the motion sensitivity as desired – higher sensitivity will trigger the camera more easily.
- Save the settings and exit the menu.
The best part? It saves battery life and storage space since it only records when there’s movement detected.
Sound Activation
Another cool feature of the mini camera is sound activation. This allows the camera to start recording when it detects sound, which can be useful in different scenarios, such as monitoring a baby’s room or safeguarding your home.
Here’s how to activate the sound detection feature:
- Power on the mini camera and go to the settings menu.
- Find the “Sound Activation” option and enable it.
- Choose the desired sound sensitivity level – the higher the sensitivity, the easier it is for the camera to trigger.
- Save the settings.
Now, my camera is all set to record when it picks up any sounds, providing an additional layer of security and convenience.
Connecting to Computer

Transferring footage from a mini camera to a computer is super easy. All you need is a USB cable and a few minutes. Here are the steps I followed to connect my mini camera to my computer:
- Turn off the mini camera before connecting it to the computer.
- Locate the USB port on the side of the camera, and plug one end of the USB cable into it.
- Connect the other end of the USB cable to the USB port on the computer.
- Once connected, turn on the mini camera. The computer should detect the camera as an external storage device.
After connecting your mini camera, you can access recorded footage, transfer it to your computer, and edit or upload it if needed.
Connection and Transfer Options
| Transfer Method | Description | Step-by-Step Instructions |
|---|---|---|
| Wi-Fi Transfer | It uses a Wi-Fi connection to transfer photos and videos to a connected device wirelessly. | 1. Connect both devices to the same Wi-Fi network. 2. Open the camera’s app on the receiving device. 3. Select the files you want to transfer and hit ‘Send’. |
| USB Transfer | Uses a USB cable to connect the camera to another device, such as a computer, for file transfer. | 1. Connect the mini camera to your computer using the USB cable. 2. Once connected, your computer should recognize the camera as a removable 3. Copy and paste or drag and drop files to the desired location on your computer. |
| Memory Card Transfer | Uses the camera’s memory card to transfer files to a computer or another device with a card reader. | 1. Remove the memory card from the mini camera. 2. Insert the memory card into your computer or another device’s card reader. 3. Once recognized, transfer files as you would with a USB connection. |
Legal Considerations and Usage
Laws and Regulations Surrounding Mini Cameras
First, let’s talk about consent laws. When recording someone on video or audio without their permission, there are rules you need to follow.
In the US, we have the “one-party consent” law on a national level, which means recording a conversation is okay if at least one person involved agrees to it.
Now, about hidden cameras. Location is everything. Make sure to use your mini security camera in a legal and ethical way. If we’re dealing with a trespasser, they lose their expectation of privacy in your home.
That said, wiretapping laws can vary from state to state. So always check local regulations.
Choosing the Right Location for Your Mini Camera
As for choosing the perfect spot for your mini camera, there are a few aspects to consider:
- Line of Sight Ensure the camera is directly in sight of the object or area you’re watching. You want a clear view with no obstructions, so you can keep an eye on what’s important to you.
- Camera Dimensions The smaller the camera, the easier it is to hide. Make a note of your security camera’s dimensions and find the best location that works for its size.
- Sound Recording If you’re using a camera that records sound, make sure the area is relatively quiet, or the camera is close enough to pick up the audio you’re after.
- Purpose Served Are you monitoring a nanny, or more worried about break-ins? Make sure to position your camera accordingly. Point it towards the doors for break-ins, or focus on specific areas such as a crib for nanny monitoring.
As I mentioned, it’s essential always to be mindful of legal and ethical aspects, so do your research, and choose the right location for your mini camera.
Ultimately, using a mini security camera is an efficient and effective method that can help keep you and your loved ones safe.
References
Books:
- Understanding Surveillance Technologies: Spy Devices, Privacy, History & Applications by J.K. Petersen
Websites:
- Reddit: r/Cameras. https://www.reddit.com/r/Cameras/
- Quora Mini Camera Forum. https://www.quora.com/How-do-I-set-up-a-spy-camera-properly
Video References
BigC Vlogs
One Hour Smart Home
TonyAction Tech