
A door lock cylinder is a cylindrical device that is placed inside the lock of a door. It contains many components such as springs, pins, and tumblers. When you push a key into a keyhole, it pushes down the pins and creates a closed link between them. This allows the door to open. But if you find out that there is something wrong with it that can’t be repaired, then it is best to replace it. You can do this by following these steps:
In General, here’s How To Install a Door Lock Cylinder
- Clean the area around the lock cylinder.
- Open the door and remove the door panel.
- Remove the screws that hold the lock cylinder in place and remove it.
- Use a screwdriver to remove any obstructions that prevent you from accessing the screws on each side of the lock cylinder. This will make it easier for you to access them when installing your new lock cylinder.
Install your new lock cylinder by screwing it back into place with a screwdriver.
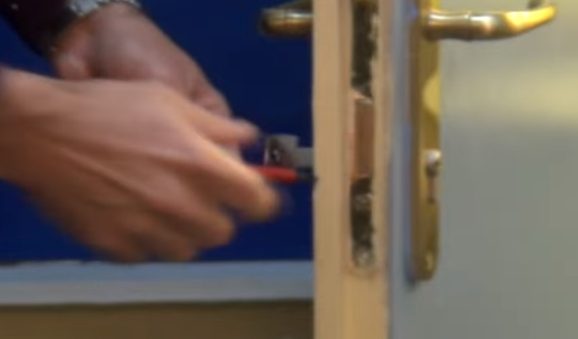
1. Remove the Faceplates
Remove the old lock, and then remove the faceplate. You may be able to simply pry the faceplate off with a flathead screwdriver if it’s just pressed on; otherwise, you’ll need a special tool called a door handle puller.
The puller has one end that fits in a hole on the faceplate and another end with a hook that fits into a notch in the door handle. Pull out on this hook until it pops out of its notch, then use it as a lever to pop out the entire assembly.
2. Remove the Door Handle Trim
If you have a door handle with a trim surrounding it, you’ll have to remove that first. Use a flathead screwdriver to gently pry the trim away from the door. You don’t need to pull hard or use a lot of force. Just give it a little nudge and it should pop off easily.
- Remove the plastic trim around the inside of the door handle. This is held on by snapping clips that run along the edge of the trim.
- Slide a flat-head screwdriver into the seam between the panel and door and pop out one of the clips holding it on (there are usually three or four). You may need to use some force to get the first one out but don’t worry, they’re not going anywhere.
- Remove all of these clips until you have enough room to slide your fingers in between the panel and door and pull off any remaining pieces of trim that are still stuck on there.

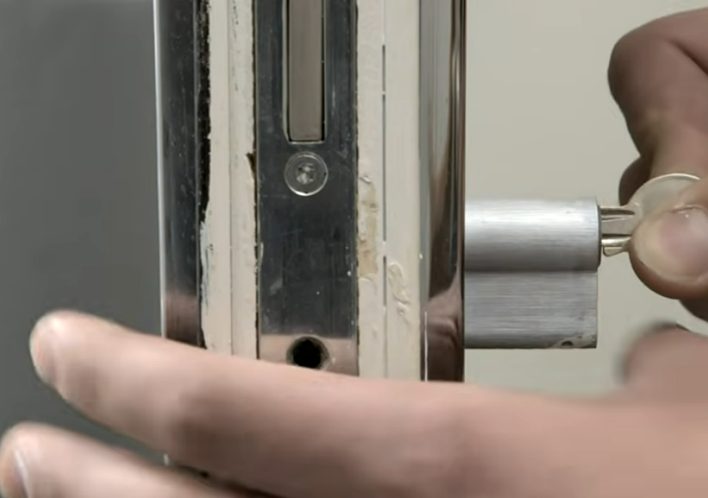
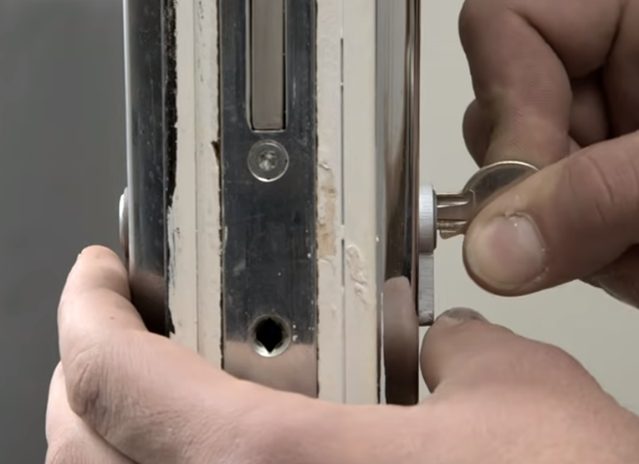
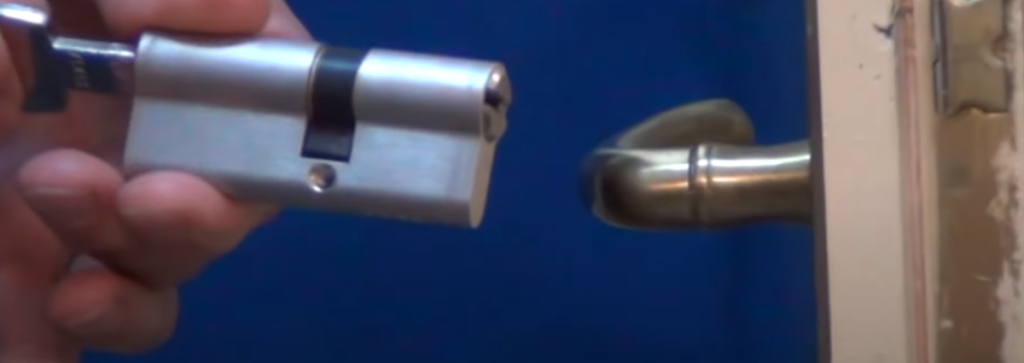
3. Unlock the Cylinder
The lock cylinder is the most important part of your door lock. It acts as a puzzle and the only way to unlock it is by inserting the right key. (1)
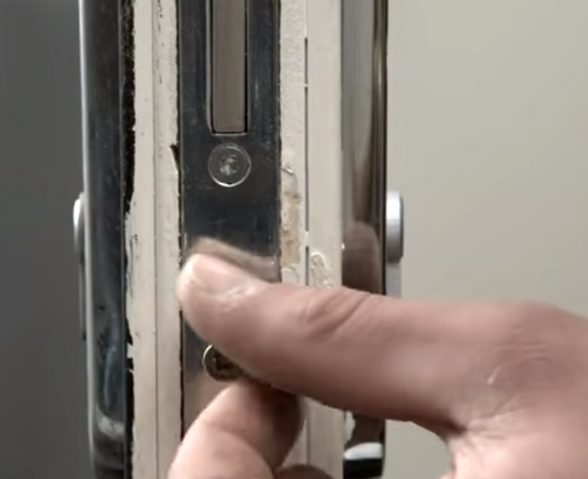
- Remove the cover screw. This is located on the edge of your door latch. It may be covered by a small rubber cap.
- Remove the cylinder from its housing. The housing can be found inside of your door jamb, behind the door itself. It will have a small hole in it through which you can see the inside of your lock cylinder.
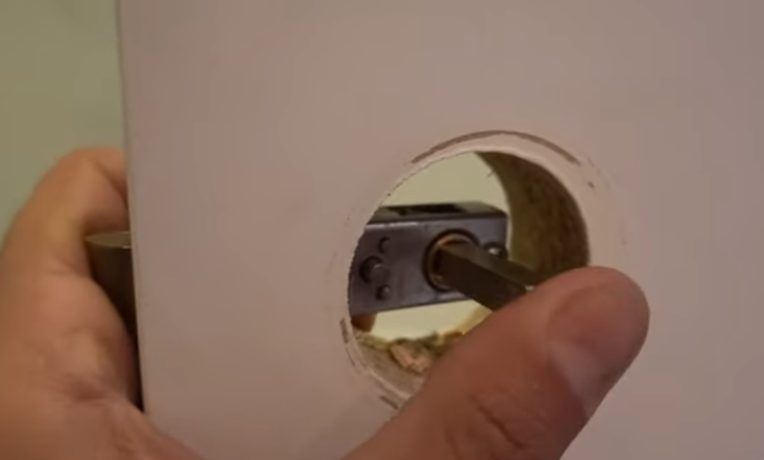
4. Remove the Spindle
Removing the spindle is a little more complicated than unlocking the cylinder, but it’s still not too difficult.
The first step is to remove the door panel by using a screwdriver to pry it off of its mounts. Once you’ve got it off, look for the spindle cover (it looks like a small metal plate) and remove it with a screwdriver or other tool. You may have to loosen some of the screws holding the cover on before you can pop it off with your fingers.
Once you’ve removed the cover, you should be able to see the spindle and its mounting screws. Remove these screws using a screwdriver or socket wrench, depending on how big they are.
With those out of place, pull out your new lock cylinder and put in your new one by following these steps in reverse order.
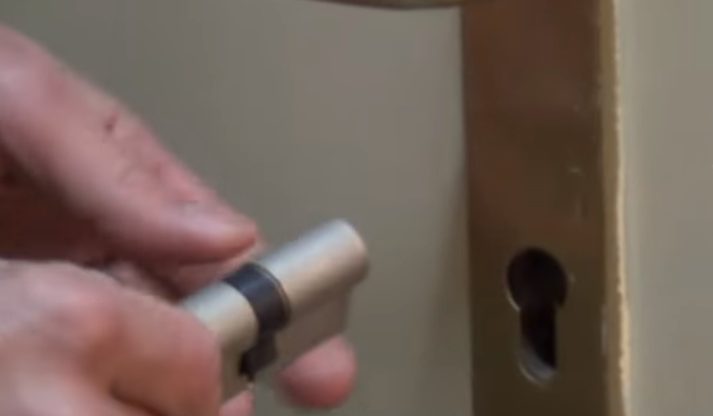
5. Remove the Lock Cylinder
A door lock cylinder is a device that works with the deadbolt and latches to lock and unlock your door. It’s usually located on the interior of the door near the knob or handle. To remove your old cylinder, you need to follow these steps:
- Locate the door lock cylinder, which is usually a cylindrical piece of metal with a keyhole on it. It will be located on one side of the door frame or deadbolt, usually near the floor.
- Use a flat head screwdriver to pry open the cover over the lock cylinder. This will expose several screws holding the cylinder in place.
- Remove these screws with a Phillips head screwdriver and pull out the cylinder by pulling back gently on it while keeping pressure on it with your fingers to keep it from falling out of its hole in the door frame. (2)
6. Install a new lock cylinder in place of the old one
After removing your old lock cylinder from its place, now it’s time to install a new one in its place. Make sure that you are using original parts when installing your new lock because using other types of parts can cause more problems than good ones.
7. Securely tighten all screws and bolts on the new lock cylinder
Securely tighten all screws and bolts on the new lock cylinder. This includes any mounting screws for the lock cylinder and strike plate, as well as any screws on the interior door handle.
Note: Make sure that you have no gaps between the end of the key and the tumbler inside of the lock cylinder. If there is a gap, then you will need to remove the cylinder and install it again so it fits better.
Take a look at some of our related articles below.
References
(1) puzzle – https://www.cbsnews.com/news/piecing-together-the-history-of-jigsaw-puzzles/
(2) pressure – https://www.britannica.com/science/pressure
Video References
B&Q
Unison Hardware
Billshowto
diy2010.com