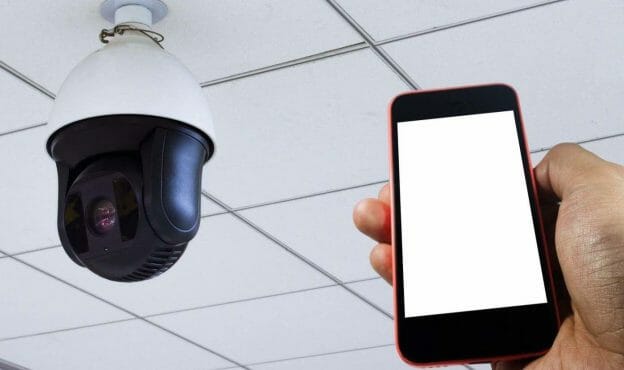
If you are a do-it-yourselfer, I will teach you how to make a security camera for your home. Doing this will take more time than paying someone to install a security system, but if you do it correctly, you can have high-quality protection and save a ton of money.
Below I will go through making the housing for a camera and using a cell phone inside the housing. This will look like a professional camera, hide your cell phone, and protect it from the weather, thieves, and other issues you may have.
Let’s get started with the guide. First, I will go over all of the items you’ll need. Feel free to use safe and equivalent alternatives if you can’t find any of these.
Materials and Equipment
The goal here is to keep expenses down while increasing usability. Here are the materials you will require:
- An old smartphone with a good camera and Wi-Fi capability
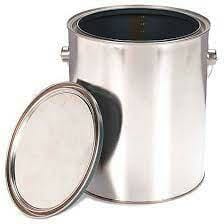
- Cardboard for the camera box
- Cardboard tubing
- Lightweight plywood or piece of cardboard (at least 10cm broad and 20cm long)
- Hot glue gun
- Masking tape or clear tape
- Plaster for joint strengthening
- Black and grey paint
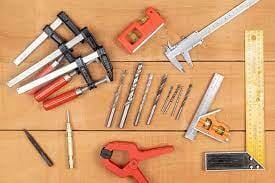
- Cutting tools for cardboard
Grab these items and prepare to go on to the next step.
Getting Started
The idea is to create a box with a slot for your smartphone. Your phone will peek out of a circular cutout on the surface.
The camera equipment will be placed higher up in your room, and the phone will be put in its slot camera-side down. You’ll connect using a long USB connection or a video conferencing arrangement, and the phone’s camera will view through the cutout. (1)
Let’s build a security camera from household items and a smartphone!
Step 1: Make the Cutouts
Begin by cutting four cutouts the same size as the wooden/cardboard baseboard. These four cutouts must be at least the same height as the smartphone you want to use.
Make another cutout the same size as the baseboard but 5cm shorter. This makes room for the phone to be removed.
Place the phone on the front panel and trace the contour of the phone on the outside surface of the board.
Next, create a circle around the location of the phone’s camera lens. Make the circle 1cm larger than required.
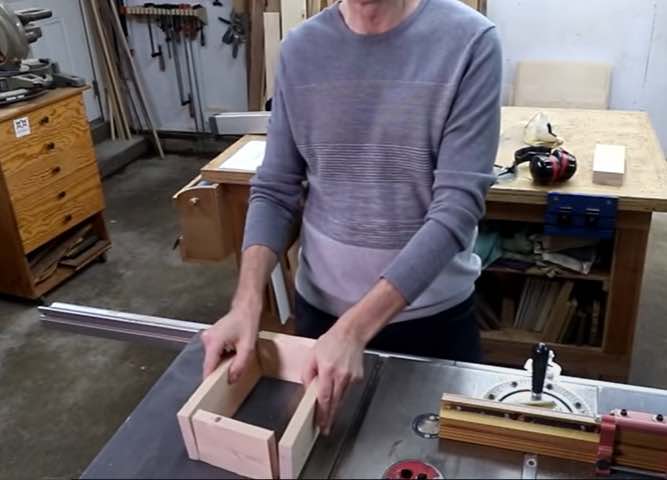
Step 2: Assembling the Camera Case

Glue the four walls to the baseboard with a glue gun. Glue them all together. You can apply the cover board when they’ve dried (slightly shorter cutout).
This will be the small box’s roof. So that area is now at the front of the unit; align it with the back of the box. This is where you’ll insert and remove the phone from its slot.
Now you must examine the marks and cut out the lens hole for your smartphone camera. To cut, use a box cutter or other appropriate tool.
Take some tiny pieces and glue them around the boundaries of where your phone will sit if it still moves around in its location. This will keep it in place and prevent it from moving around.
Step 3: Filling the Joints with Plaster
Spread the plaster over all the visible board connections and joints. Make it even and smooth.
After the plaster has dry, sand down the imperfections using fine-grit sandpaper to make it look smooth.
Make sure you haven’t forgotten anything by double-checking the coating.
Step 4: Assembling and Installing the Stand
This is the stand that will aid in the mounting of the camera on the wall.
The actions to take are as follows:
- Cut a piece of cardboard tubing to the length required for the wall stand shaft
- Cut one end at an angle (since it must meet the wall at an angle for the camera to have a decent angle of vision)
- To build a box around the stand shaft, cut four pieces of cardboard the same length as the shaft and glue them to it.
- Glue the tubing’s angled end to the camera unit.
- Allow for drying time on the stand. It’s up to you to mount it on the wall once it’s finished. The unit might be glued to a piece of cardboard and then taped or glued to the wall.
- It depends on the setup you prefer and the available space.
Step 5: Painting the Camera Box
Bring your black and grey paint out. The primary camera box should be black, and the stand should be grey; we recommend these colors, but obviously, you can use whatever you choose, especially if you want to camouflage the camera over the wall paint.
You may finish the look by attaching fake buttons or a glass lens hole to the camera’s frame.
Step 6: Placing Your Phone
If you’ve done everything correctly, there should be a place for your phone. Ensure the camera is pointed out the lens hole when you put it in.
If you want to be more creative, add a little cutout beneath the charging port.
This allows you to attach a USB charger to your phone and record for longer.
Test by allowing your camera to record for a few minutes. When you’re finished, remove the mobile phone camera and check the footage to ensure you see what you need.
Step 7: Getting Your Camera Connected
To begin surveillance, you must first connect your spy camera phone to your current smartphone or laptop. You may find a range of spy camera applications on the Google Play Store and the Apple App Store.
You’ll need to install a security camera app on your phone. Most apps offer the same features, such as local and cloud streaming, recording and storing footage locally or remotely, and motion detection and notifications.
Alfred is a fantastic app for converting your phone into a security camera. On your phone, open the Alfred app. In the upper-right corner, tap Skip. Toggle the camera. Get started; sign in with Google by tapping a button. Select the desired account. To confirm account permissions, tap Allow. Allow microphone access.
You can move it around your house whenever you like, but you’ll need to use the viewer device to check in on what it sees and manage most of the settings.
You can use any video conferencing software to see what the phone is viewing in real-time.
If you don’t require a live view, you can record it in your regular camera app and transfer the video later.
Zoom is recommended if your new mobile CCTV camera is close to the router and has a strong connection.
That’s all! You’ve just created a security camera out of common home items! Create a smaller, more subtle frame. We hope you’ve gotten some great ideas and have a good notion of how you want to design and install your mobile CCTV camera.
Privacy Laws / Concerns
Before installing a security camera, consider how you intend to utilize it and where you want it to be located. However, do not record in places where people have a legitimate expectation of privacy, such as the restroom. You should seek legal advice if you suspect someone has violated your privacy by placing a camera in a sensitive location. You can contact a lawyer in your region using the attorney search functionality. You may also need to discuss your concerns with police enforcement. (2)
We hope you’ve gotten some great ideas and have a good notion of how you want to design and install your mobile CCTV camera. But you may not want your cameras out in the open where they can be tampered with in some circumstances. Instead, make sure they’re securely hidden. Don’t worry if the steps are a little hazy right now. You’ll figure it out along the way after you get started.
References
(1) video conferencing – https://www.investopedia.com/terms/v/video-conferencing.asp
(2) violated your privacy – https://www.sciencedirect.com/topics/computer-science/privacy-violation